
A bag of coffee often ends up wherever there is a little space: beside the kettle, behind the grinder or on a shelf above the stove. In a small kitchen, giving the beans a better home does not require another organizer. Start with a nearby cupboard and a routine you will repeat after each brew.
This guide separates two jobs. The counter holds the tools you are using. The cupboard holds the coffee between cups. A small gap between those jobs keeps your brewing surface useful without turning your beans into a permanent display.
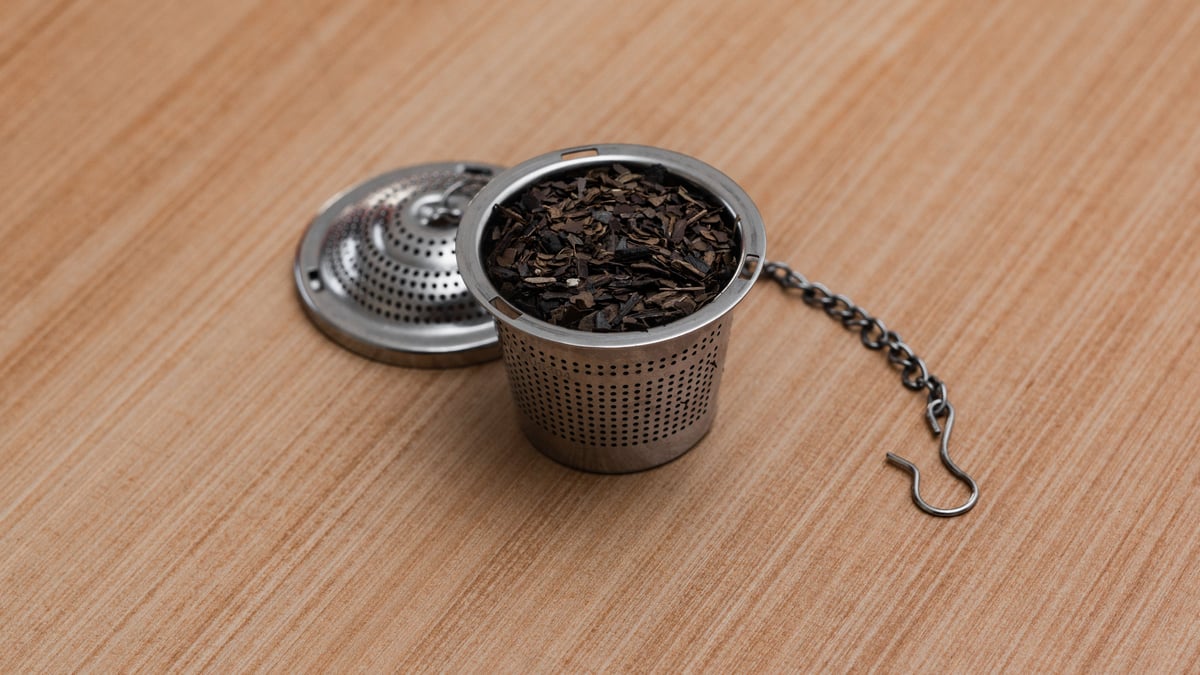
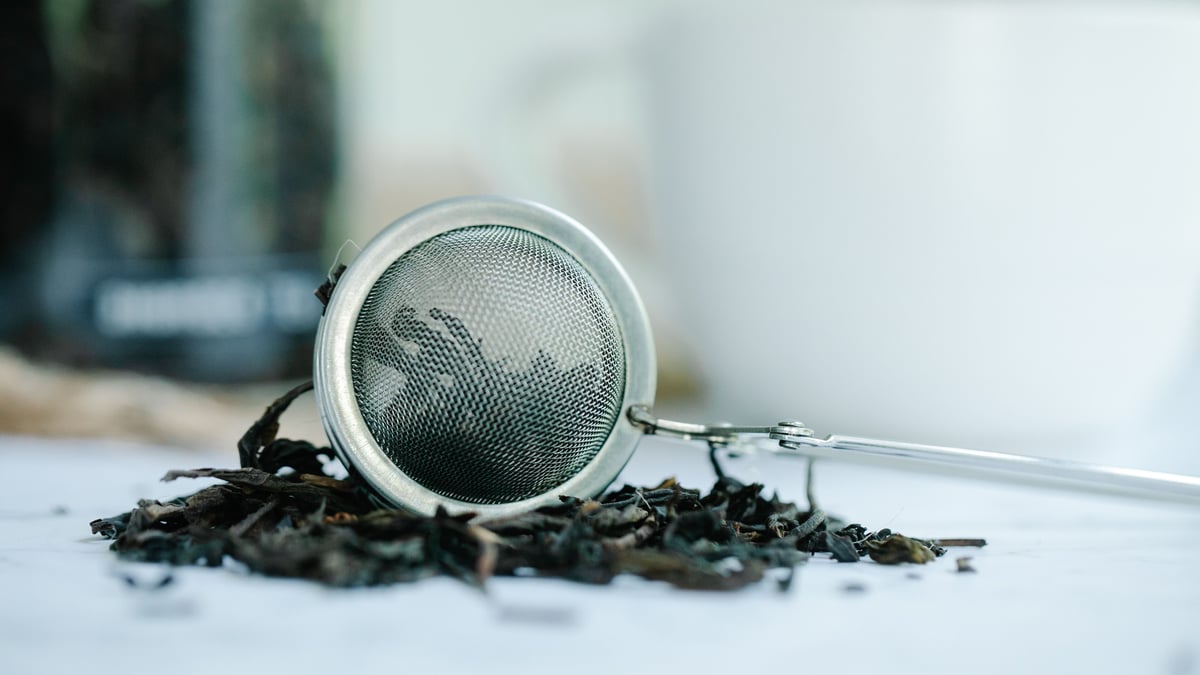
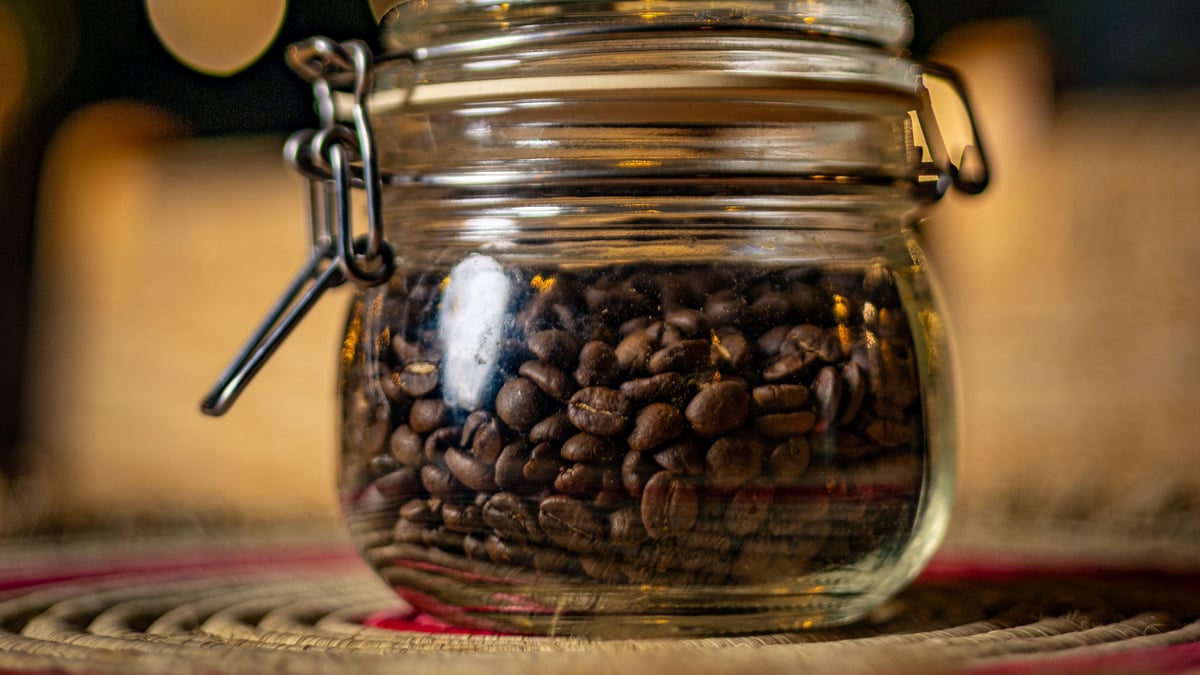
The photographs show glass jars so the beans are visible. They illustrate the topic, rather than demonstrate a tested storage product. A lid shown in a photo does not prove an airtight seal.
Choose the spot before the container
The National Coffee Association’s storage guidance recommends protecting roasted coffee from air, moisture, heat and light. It favors airtight, opaque containers in a cool, dark location, away from appliances or strong afternoon sun.
For your kitchen, translate this into a short inspection. Open the cupboards within reach of your brewing area. Choose a shelf where the coffee fits upright and you do not need to shift dinner plates to retrieve it. Check the location while you use the kitchen, rather than judge it from an empty-room photograph.
A cupboard beside the kettle is convenient, but convenience is only one part of the decision. If steam reaches the shelf or the space becomes warm during cooking, look elsewhere. You do not need to name the perfect cupboard. Choose a sensible location you will use consistently.
| Place | What to check | Practical next step |
|---|---|---|
| Cupboard near the brewer | Easy access without heat or steam | Give one bag or container a clear space |
| Shelf above the stove | Warmth during cooking | Move the daily coffee to another cupboard |
| Sunny counter | Light reaches the beans | Keep brewing tools out, put the beans away |
| Crowded pantry shelf | You must move several items to reach the coffee | Clear a small space at the front |
Give one daily bag a home
Choose the coffee you are brewing now and put it in the new spot. Keep its name and roast information available, whether the beans stay in their packaging or move to a container. A small removable label helps you keep track of the bag without starting a detailed pantry system.
Set unopened purchases behind the current coffee, where their labels remain visible. This is an organization choice, not a freshness guarantee. The purpose is to prevent a new purchase from hiding an older bag you already intended to finish.
Try this arrangement before buying anything. Leave enough room to take the coffee out with one hand, then return it without stacking another object on top. If the shelf requires an elaborate shuffle every morning, the routine will feel harder than it needs to.
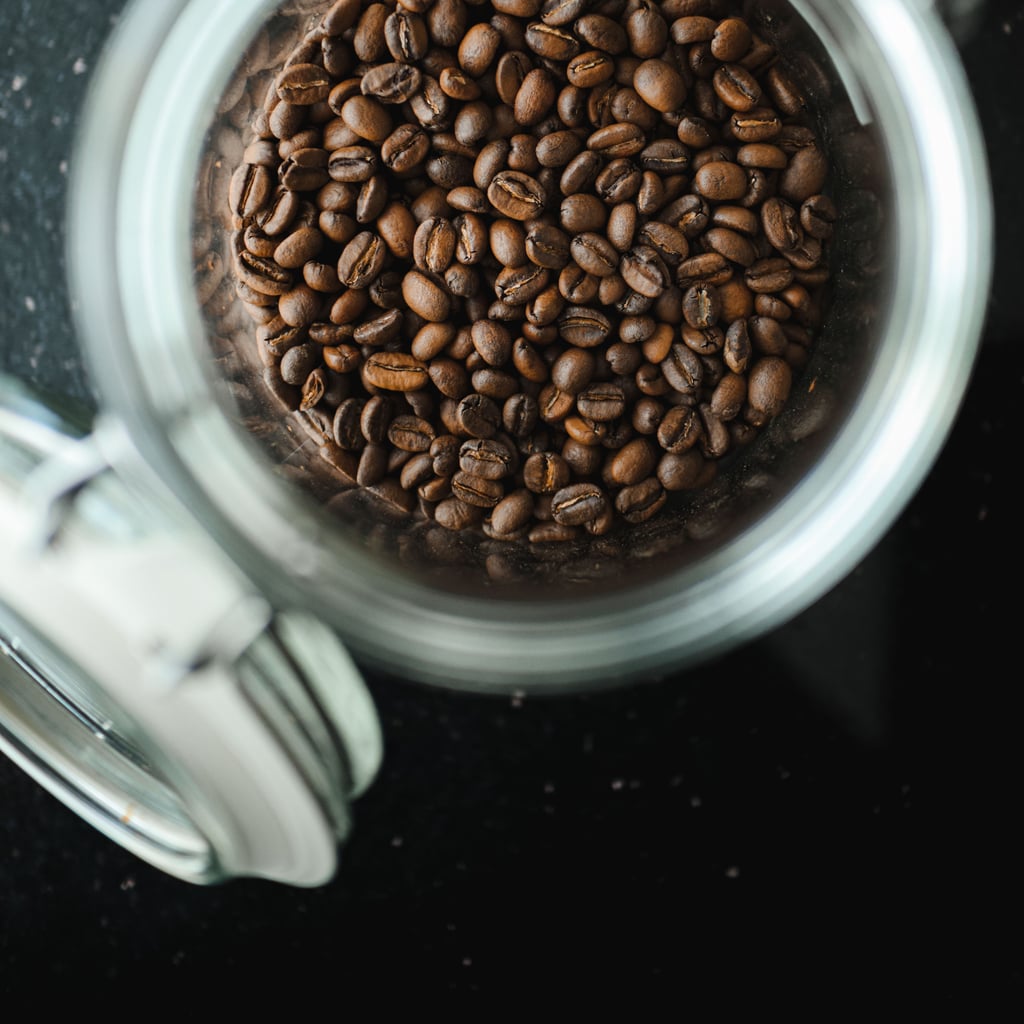
Photo: Cihan Yüce on Pexels. This open jar illustrates the beans. Close your container after taking the amount you need, and store clear glass away from light.
Use a container suited to storage
A decorative jar and a storage container serve different purposes. Follow the container maker’s instructions and assess the seal rather than relying on the jar’s appearance. The NCA specifically distinguishes attractive clear jars used for display from opaque storage containers.
If you already own clear glass, put it in the dark cupboard instead of leaving it beside the machine. You still need an appropriate seal. A cupboard addresses exposure to light, while the lid addresses a different part of the storage problem.
Stumptown’s storage advice also favors an airtight container in a cool, dark place. It notes coffee’s tendency to pick up surrounding odors. Avoid a reused container which still smells of its previous contents, and keep the daily coffee away from strong-smelling foods.
There is no equipment recommendation hidden in this routine. Use the label space, shelf and suitable container you already have before deciding whether a purchase solves a specific problem.
Match your next purchase to your brewing habit
Before ordering another large bag, write down the amount you normally use. This is a buying calculation, not a promise about how long the beans remain fresh.
For example, a household brewing with 18 grams once a day uses 126 grams in seven days. Two identical daily brews use 252 grams in seven days. A 250-gram bag therefore covers roughly fourteen of the first household’s brews or nearly seven days of the second household’s routine.
Your numbers will differ. Include the extra weekend cup or another person using the same bag. If you change recipes regularly, use your recent brewing amounts as a starting point and adjust after the next purchase.
The brew ratio calculator helps you work out a recipe’s coffee amount. Multiply the amount per brew by your expected number of brews before choosing a bag size. This also makes it easier to compare the cost of buying habits which fit your household.
Keep the calculation on a small note inside the cupboard if it helps. You do not need to measure inventory daily. The aim is to buy with a clearer idea of your routine, rather than automatically choose the largest package.
Make the return trip part of brewing
Treat putting the coffee away as one step in making the cup. Try this sequence with your usual recipe:
- Take the daily coffee from its cupboard spot.
- Measure the amount required for the brew.
- Close the packaging or container properly.
- Return it to the same shelf.
- Continue brewing with the tools on your counter.
This sequence is an editorial suggestion for an easier workspace. It does not replace your roaster’s packaging instructions. Change the order if your equipment or recipe needs a different setup.
For a compact kitchen, keep the movement small. Put the scale where you usually measure and leave a clear place for the brewer. A permanent row of extra jars often adds another obstacle without helping the next cup.
If you share the kitchen, explain the location to the other person using the coffee. One agreed spot is easier to maintain than two competing arrangements. Keep the label readable so nobody needs to open several containers to find the right beans.
Keep the counter for the next brew
Look at the surface once the coffee is back in the cupboard. Leave the tools which support your everyday drink and return occasional items to their own storage. Our home coffee station checklist helps you decide which tools earn that space.
For a wider layout change, use the small-apartment coffee station guide alongside this routine. Bean storage is one decision within the setup, rather than a reason to redesign the entire kitchen.
After a week, ask two practical questions: is the coffee easy to retrieve, and does it return to the cupboard after brewing? If either answer is no, adjust the location before adding more storage pieces. A routine which fits your kitchen is easier to repeat than a display which needs constant rearranging.
Frequently asked questions
Should I display coffee beans in a clear jar?
Use clear jars as an illustration or display, and keep your everyday coffee in suitable sealed storage away from light.
Does the weekly calculation tell me when coffee expires?
No. It estimates consumption for buying decisions. Follow your roaster’s guidance for the specific coffee and packaging.
Does the jar in the photo have a verified airtight seal?
No. The stock photographs illustrate coffee beans. They do not certify the containers or document product testing.
Tools and gear mentioned
Coffee Brew Ratio Calculator
Coffee-to-water for pour-over, French press, AeroPress and espresso.
Photo credits
Photo (pin 1): Mad Knoxx Deluxe on Pexels, Pexels License
Photo (pin 2): Mad Knoxx Deluxe on Pexels, Pexels License
Photo (inline 1): Cihan Yüce on Pexels, Pexels License