The Short Answer: Start With These Essentials
A home coffee station needs less than most shopping lists suggest. Start with one brewing method, coffee, water, a cup, and the measuring tools that fit your routine. Add equipment only when it solves a problem you actually have.
Choose one brewing method first
Your brewing method determines most of the rest of the setup. Common options include a drip machine, pour-over cone, French press, or espresso machine.
Ask yourself:
- Do you make one mug or several cups?
- Do you drink black coffee, milk drinks, or both?
- Do you want a fast weekday routine?
- How much counter space can stay occupied?
- Are you willing to grind, weigh, and clean each time?
A drip machine suits larger batches. Pour-over works for one or two cups. French press avoids paper filters. Espresso takes more space and more hands-on work.
A basic starting setup
Start with a brewer, coffee, water, and a mug. Add a grinder if you buy whole beans. A coffee scale can help with measuring, while a scoop keeps the setup simple.
A phone can handle timing, so a separate timer is optional. You do not need a server, specialty kettle, or display shelf before you know that your daily routine calls for one.
What can wait until later
Hold off on extra servers, dosing cups, tamping mats, distribution tools, milk thermometers, bean hoppers, display shelves, and specialty kettles. A station with the tools you use is more practical than a crowded counter full of items you rarely touch.
Coffee Makers and Brewing Tools
Choose equipment around your normal drink, available space, and tolerance for cleanup. Your method matters more than a long list of accessories.
Drip coffee maker setup
Leave enough room above a drip machine to lift the water reservoir or filter basket. Keep filters in a dry drawer or a small covered container.
If the machine has a glass carafe, keep the hot plate clear of cords, towels, and paper goods. A thermal carafe is another option if you prefer not to leave coffee on a hot plate.
Pour-over setup
A basic pour-over station uses a cone, paper filters, a kettle, coffee, water, and a mug or server. Choose a cone size based on the amount you usually make.
A gooseneck kettle is optional. A regular kettle can keep the setup smaller and less expensive. If you are weighing that choice, Do You Need a Gooseneck Kettle for Pour Over Coffee covers the trade-off.
Keep the cone, filters, and coffee together so the routine does not spread across the whole counter.
French press setup
French press is a compact option for a home coffee station. Choose a press based on the amount you usually make and the cleanup you are willing to do.
The plunger and mesh filter need attention after use. A small spoon or spatula can help remove wet coffee before rinsing.
Espresso setup
Espresso needs space for the machine, grinder, tamper, portafilter, cups, milk pitcher, and the other tools you use. Leave open space beside the machine for filling the portafilter and placing a cup.
If you make milk drinks, keep a cloth for the steam wand and a pitcher sized for the amount of milk you normally heat. Espresso tools should fit the machine you own, not a future machine you might buy.
Avoid buying tools for methods you do not use
Make a short daily coffee list before shopping. Write down your brewer, coffee type, cup size, and cleanup steps. If an item does not support that routine, leave it off the first purchase.
An espresso distribution tool has no role in a French press station. A large coffee server is unnecessary if you always brew directly into one mug. Buying by method keeps the station smaller and prevents duplicate equipment.
Grinder, Coffee, Water, and Measuring Tools
Choose ground coffee or whole beans
Whole beans may lead you to add a grinder and storage container. Ground coffee fits a simpler routine. Choose based on how you buy and use coffee.
If you drink coffee once a day, a small bag of beans and a hand grinder may fit well. If several people brew throughout the day, an electric grinder may save time.
Grinder choices
Grinder needs vary by brewing method. Pick one that suits the brewer you use and the routine you want. If grinding each morning feels like work, pre-ground coffee may be the better choice for your station.
Coffee scale, timer, and measuring scoop
A scale measures coffee and water. A timer tracks a brew. A measuring scoop offers a simpler way to portion coffee, and a phone can replace a separate timer.
Choose the measuring tools you will actually reach for. A scale that stays in a drawer is less useful than a scoop kept beside the brewer.
Water and refill habits
Keep water in a clean container with a lid if that suits your routine. Place it where refilling is convenient, but do not let the water container crowd the brewer or grinder.
Store whole beans simply
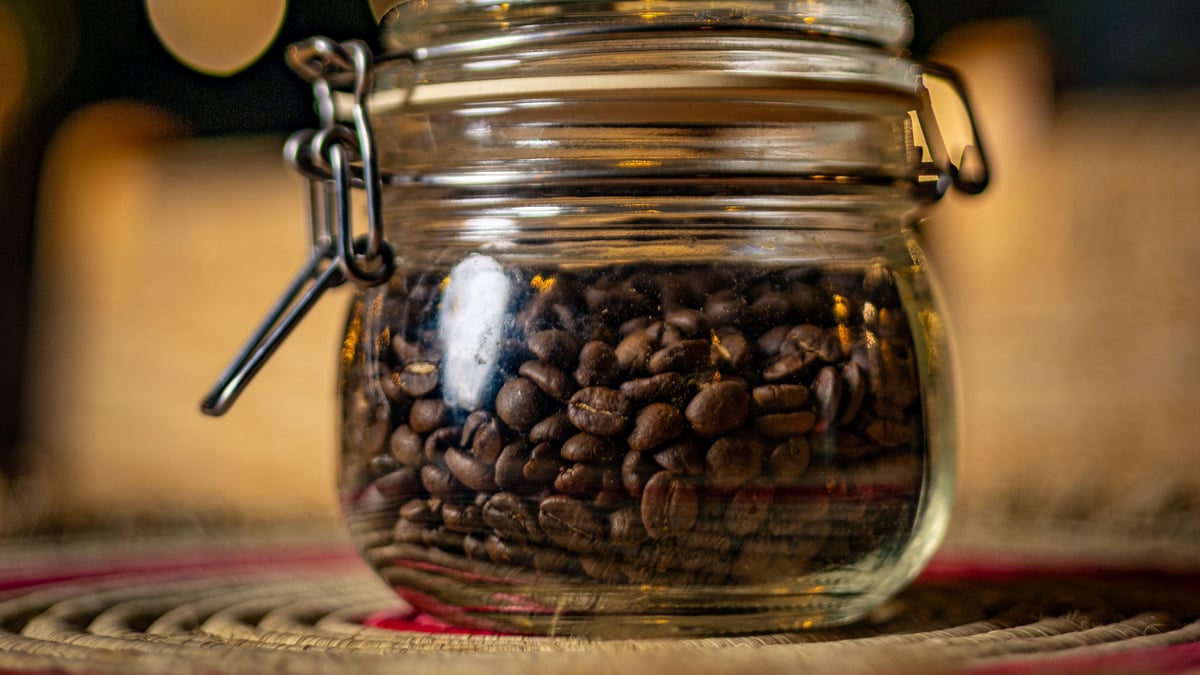
You might use an airtight container, the original bag, or another container that fits the amount of coffee you use. Choose storage that keeps coffee and tools dry and easy to reach.
Label the container with the roast date or the date you opened the bag if that helps you rotate coffee.
Mugs, Serving Gear, and Small Conveniences
Mugs sized for your usual drink
Choose mugs for the drinks you actually make. Some people prefer a smaller cup for espresso or a short milk drink. Others want a larger mug for drip coffee, French press, or pour-over.
Keep two or three everyday mugs within reach and store the rest elsewhere if that makes the station easier to use.
Carafes, servers, and travel cups
A carafe or server is an optional vessel for pour-over or other brewing routines. A thermal carafe is another option for serving.
Keep a travel cup in the station only if you use it often. Otherwise, it takes up space and becomes another item to wash.
Milk pitcher, spoon, kettle, and tray
A milk pitcher is useful for espresso drinks. A spoon can help with French press, sugar, or stirring. A kettle belongs in a pour-over or French press setup unless your brewer heats water itself.
A tray can group small items and catch a few drips, but it should be easy to lift for cleaning. Avoid deep corners where coffee grounds and milk residue collect.
Extra cups, saucers, syrup bottles, cream pitchers, decorative signs, and display shelves can wait. Add them when they make serving easier, not because a café counter has them.
Plan the Counter and Electrical Setup
Measure the station before shopping
Measure the width, depth, and height of the space. Check cabinet clearance above the brewer, especially if the water reservoir or lid opens upward.
Place a piece of paper on the counter to mark the footprint of the brewer and grinder. This makes crowded layouts obvious before you buy anything.
For a small footprint, compare your measurements with Apartment Coffee Station Ideas: A 60 cm Corner That Works. If you need a separate setup, How to set up a coffee station in a small apartment has more compact layouts.
Create brew, storage, and cleanup zones
Keep the brewer and grinder in the brew zone. Store beans, filters, and scoops together in the storage zone. Leave a clear area near the sink for rinsing and wiping.
This layout puts the main steps in order: retrieve coffee, brew, serve, and clean. It also makes the station easier for another person to use.
Keep cords and heat in mind
Keep cords away from the sink and hot surfaces. Place heat-producing appliances on a stable surface with space around vents and switches.
Do not let towels, paper goods, or loose cords gather around a hot plate, kettle, or espresso machine.
Small-space coffee station ideas
Use a narrow shelf, rolling cart, or cabinet if the counter is limited. Store filters, beans, and mugs below the brewer, but keep daily items at the front.
For a very small station, choose one brewer that makes your usual drink and store the grinder in a cabinet after use. A wall shelf can hold mugs, while a drawer keeps small tools out of sight.
Cleaning, Storage, and Waste
Daily rinse and wipe-down tasks
Rinse removable brewing parts after use and wipe splashes from the counter. Empty used grounds before they sit in the brewer, press, or filter basket.
Keep reusable filters, press screens, portafilters, and other wet parts clean and dry before putting them away.
Weekly cleaning tasks
Set aside a weekly cleaning session for the parts that collect coffee oils, grounds, or milk residue. Wipe the grinder area, wash storage containers when needed, and clear the space beneath the brewer.
Descaling and appliance maintenance
Put descaling and appliance maintenance on the same calendar as your regular cleaning. Keep the care instructions with the appliance or save them on your phone.
Grounds disposal and storage
Choose a grounds container that is easy to empty and clean. Keep coffee grounds away from the sink if they tend to collect around the drain.
Store filters and dry tools where spills and splashes will not reach them. Coffee storage should also stay away from heat, light, and moisture.
Coffee Station Budgets and Smart Upgrades
A low-cost starter station
One possible starting point is a brewer, coffee, water, two mugs, and an optional measuring tool. Use your phone as a timer if that suits your routine.
This setup gives you time to learn what you actually want to improve before buying more equipment.
A balanced everyday setup
Possible additions include a grinder, scale, storage container, or dedicated kettle. Choose only the items that fit your method and daily routine.
An espresso-focused station
An espresso setup may include a machine, espresso grinder, tamper, milk pitcher, cleaning cloths, and a waste container. Give the machine a permanent location if possible, since moving it daily can make the routine harder.
Keep cups, coffee, and the portafilter close by, but leave enough room to work without knocking into the grinder.
Possible upgrades
Add tools when they solve a specific problem:
- A grinder for whole beans
- A coffee scale for measuring
- A timer for tracking brews
- A water option that fits your preferences
- Coffee storage that suits your bag size
- A brewer that matches your normal batch size
Decorative upgrades can come later. For seasonal ideas, Autumn Coffee Station Decor Ideas for a Cozy Home shows how to add detail without making the daily setup harder to use.
A buying order that prevents duplicate purchases
- Choose one brewing method.
- Measure the counter and cabinet clearance.
- Add the brewer.
- Add coffee and water storage.
- Add a grinder if you use whole beans.
- Add a scale or timer if you want those measuring options.
- Finish with cups, serving pieces, and cleaning supplies.
This order keeps purchases tied to the space and the routine. Stop when the station works well for the coffee you make most often.
Frequently asked questions
What is a simple starting point for a home coffee station?
Start with one brewer, coffee, water, a mug, and the measuring tools you prefer. Add other items when they support your daily routine.
Do I need a grinder and coffee scale for a basic coffee station?
No. Pre-ground coffee and a scoop can support a simple setup. Add a grinder for whole beans or a scale if you prefer to measure coffee and water.
How much counter space does a coffee station need?
Measure the brewer, grinder, and the space needed to fill, brew, serve, and clean. Check cabinet clearance before buying equipment with an upward-opening lid or reservoir.
What should I keep next to my coffee maker?
Keep the coffee, filters, measuring tool, mugs, and cleaning supplies you use regularly nearby. Store water where refilling is convenient.
How often should I clean a home coffee station?
Rinse brewing parts and wipe the counter after use. Set aside a weekly session for parts that collect coffee oils, grounds, or milk residue, and keep up with appliance maintenance.
Photo credits
Photo (inline 1): freestocks.org freestocks on wikimedia via Openverse, CC0 1.0