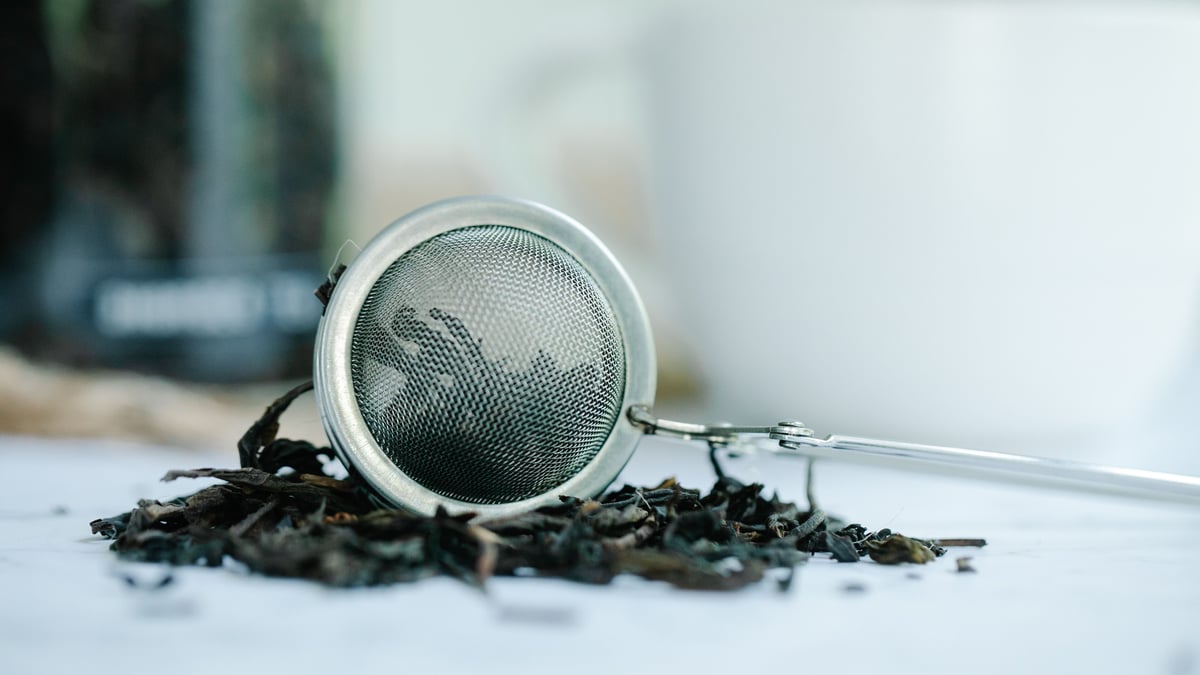
A mesh infuser is easy to leave beside the sink after tea. The leaves stay damp, small pieces lodge in the holes, and a quick rinse may leave the basket looking clean while the rim still holds residue. Give the infuser a short return routine after each cup: let it cool, empty the leaves, wash the mesh and seams, rinse, then dry it before storage.
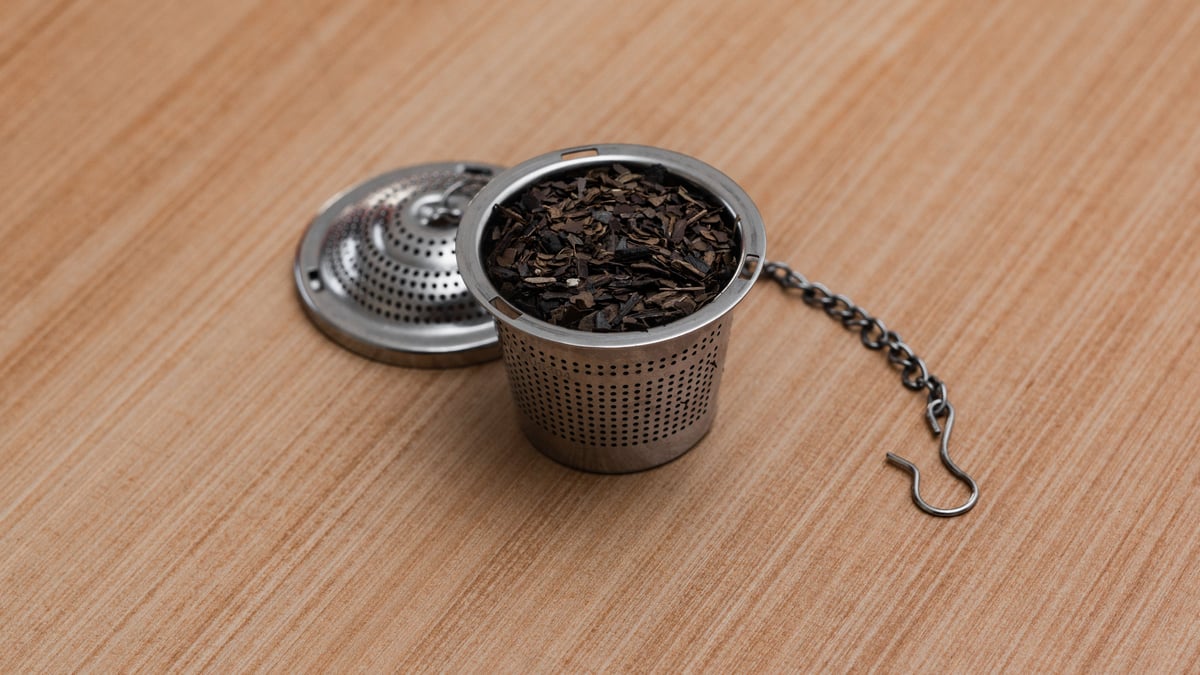
This guide is for a removable metal tea ball or basket used with loose-leaf tea. Check your own infuser’s care instructions first. A ceramic pot, insulated travel tumbler, silicone lid or powered tea maker may need a different method. The photographs show tea equipment in use, not a tested cleaning result.
Start when the infuser is safe to handle
Lift the infuser out when you finish steeping, but do not grab a hot metal basket or ball. Let it cool in its dish or on a heat-safe surface. FORLIFE warns against touching its metal capsule infuser with bare hands just after hot-water use. The same caution is sensible when another metal part still feels hot.
Once cool, open a tea ball or remove a basket lid. Tip the wet leaves into an appropriate food-waste container. Do not push a packed mass of leaves down a narrow sink drain. If the leaves cling to the mesh, loosen them with a gentle tap over the waste container or a little water. Remove the loose bulk before washing so you can see what remains in the holes and around the hinge.
The first inspection takes only a moment. Look at the inner surface, the outer surface, the lip that rests on the cup and any hinge, chain or handle joint. If you still see a piece of leaf, the job is not finished. A tea ball may hide leaves in the overlapping edge where its halves meet. A basket may hold them beneath its rim.
Wash the mesh without grinding leaves into it
OXO’s cleaning guidance says to sponge an infuser basket with soapy water until the used leaves are removed. FORLIFE’s care directions for one stainless-steel capsule call for mild dish detergent with a sponge or plastic or nylon wash pad, while warning against abrasive or metal tools. Use those instructions as examples, then defer to your own product’s label.
Put a little mild dish detergent on a soft sponge, add water, and wipe both sides of the cooled infuser. Support a fine-mesh basket in your hand rather than pressing its walls against the sink. Work around the rim, lid and seams. If leaves remain in a small hole, rinse from the opposite side and wipe gently again. Do not force a sharp pick through the mesh. Enlarging one opening will not improve the infuser.
Rinse until no visible suds remain. Turn a ball or basket over as you rinse so water reaches its inside, outside and lip. Open and close a hinged ball only while it is cool, and check the hinge gap once more. This is an ordinary washing routine, not a claim that a photographed item or every infuser is dishwasher-safe.
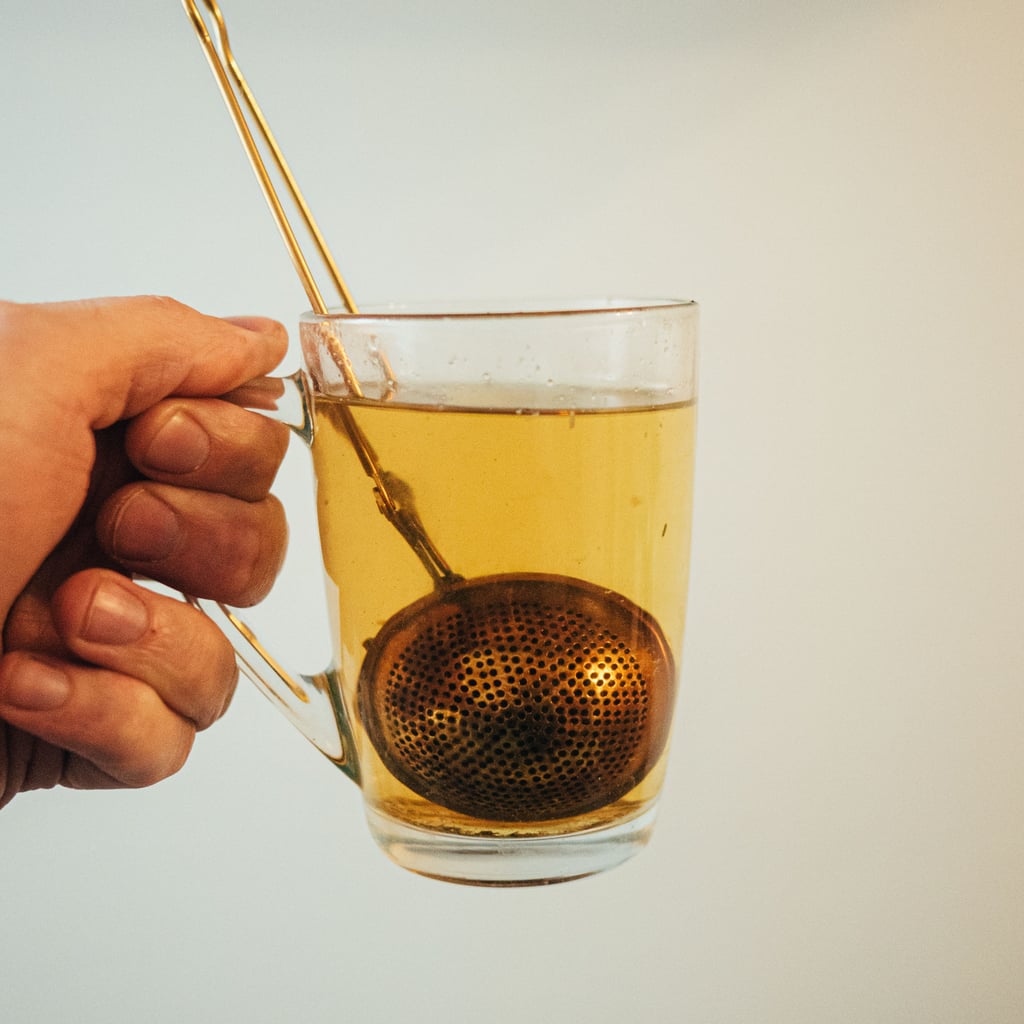
Photo: Jacek Jan Skorupski on Pexels. The image shows an infuser in a drink. Remove it carefully, let it cool and follow its maker’s cleaning directions.
Treat a stain separately from trapped leaves
A darker patch on metal is not the same as a piece of leaf lodged in the mesh. Empty and wash the equipment first so you can tell which issue remains. FORLIFE suggests baking soda dissolved in warm water for stains on its capsule infuser. It does not give one universal formula for every material or finish.
If your maker permits a stain treatment, follow its amount, contact time and rinsing directions. Do not assume the FORLIFE method applies to colored coatings, plated metal, silicone parts or a product with a different finish. Avoid mixing household cleaners. If the stain does not lift with the approved method, do not scrape the surface with steel wool or a metal pick. FORLIFE explicitly warns against abrasive pads, brushes, cleaners and metal products on its capsule parts.
A stain may be mostly cosmetic while a blocked hole changes how the basket drains. Focus first on removing leaves and soap from the parts which contact your tea. If the mesh is bent, a closure no longer holds or a sharp edge appears, stop using the damaged item and consult the maker. FORLIFE tells owners to stop using its capsule infuser when a part is damaged.
Dry the places which stay damp
Shake excess rinse water out over the sink. Set the open ball or basket on a clean drying surface where air reaches the mesh. A dish or towel can catch drips without sealing moisture inside a closed container. Check the rim and hinge before putting the infuser away. FORLIFE recommends wiping all parts of its capsule with a clean dry cloth before storage.
Do not tuck a wet ball back into a closed tin with dry tea. That combines a damp used tool with the ingredients you want to keep dry. Let the infuser dry separately, then return it to its usual place. If the lid is a separate part, dry it separately too, and make sure both pieces are present before the next brew.
This small separation helps a shared coffee or tea corner stay orderly. Our small loose-leaf tea kit guide covers where to keep dry tea and brewing tools together. The cleaning step belongs between brewing and putting those tools back, not inside the dry-tea container.
Adjust for the infuser you own
The basic sequence stays the same, but the spots to inspect differ. Use this table as a prompt, not a replacement for product instructions.
| Infuser | Likely place to inspect | Gentle action |
|---|---|---|
| Hinged tea ball | Hinge and overlapping edge | Open it when cool, empty both halves and rinse the joint |
| Rigid mesh basket | Rim, handle and fine holes | Support the basket while wiping both sides |
| Capsule with a chain | Closure and chain connection | Check for trapped leaves without pulling the joint apart |
| Basket with a separate lid | Underside of the lid and basket lip | Wash and dry each part as its maker permits |
A product marked dishwasher-safe by its maker may offer another option. FORLIFE marks its capsule dishwasher-safe, but that statement belongs to that product. It is not permission to put an unknown infuser, wooden handle or mixed-material lid in the dishwasher. A careful hand wash remains the useful default when the label is missing, and a maker’s directions settle any uncertainty.
The photos in this article show two different infuser forms. They are not a step-by-step demonstration and do not identify the products’ exact care labels. Do not infer dishwasher safety or material composition from their appearance.
Make the next cup easier
Before you start a brew, give the dry infuser a quick look. Check that its hinge or lid closes securely and that the mesh is clear. If you find yesterday’s leaf fragments, wash them out before adding fresh tea. If you find a damaged edge, use a sound infuser instead of trying to hide the defect in the cup.
After the cup, repeat the short order: cool, empty, wash, rinse and dry. There is no need to buy a special cleaning kit for a sound metal basket when its maker permits mild detergent and a soft sponge. A dedicated tool only makes sense if the maker recommends one for a design you own.
The useful outcome is not a spotless display piece. It is an infuser ready for tea without old leaves in the holes, soap on the rim or a damp closure put away too soon. Keep the routine short enough to finish after the drink, and follow the maker when its directions differ from this general guide.
Frequently asked questions
How do I remove leaves stuck in a mesh tea infuser?
Let the infuser cool, empty loose leaves, rinse from the opposite side and wipe the mesh gently with a soft sponge. Avoid a sharp pick or abrasive pad.
Should a metal tea infuser go in the dishwasher?
Only if its maker says the exact product is dishwasher-safe. FORLIFE marks one capsule model dishwasher-safe; that does not cover every infuser or mixed-material lid.
When should I put my tea infuser away?
After washing and rinsing, let the mesh, rim and closure dry. Keep the damp infuser separate from dry tea and follow the maker’s storage directions.
Photo credits
Photo (pin 1): Lucas Oliveira on Pexels, Pexels License
Photo (pin 2): Lucas Oliveira on Pexels, Pexels License
Photo (inline 1): Jacek Jan Skorupski on Pexels, Pexels License