A hand grinder gives you a simple way to prepare one pour-over cup, but its adjustment dial can be confusing on the first morning. A number on one grinder does not translate neatly to another. Start with your own model’s instructions, a medium grind for pour-over, and one short note about where you set the dial. Then change one thing at a time after tasting the cup.
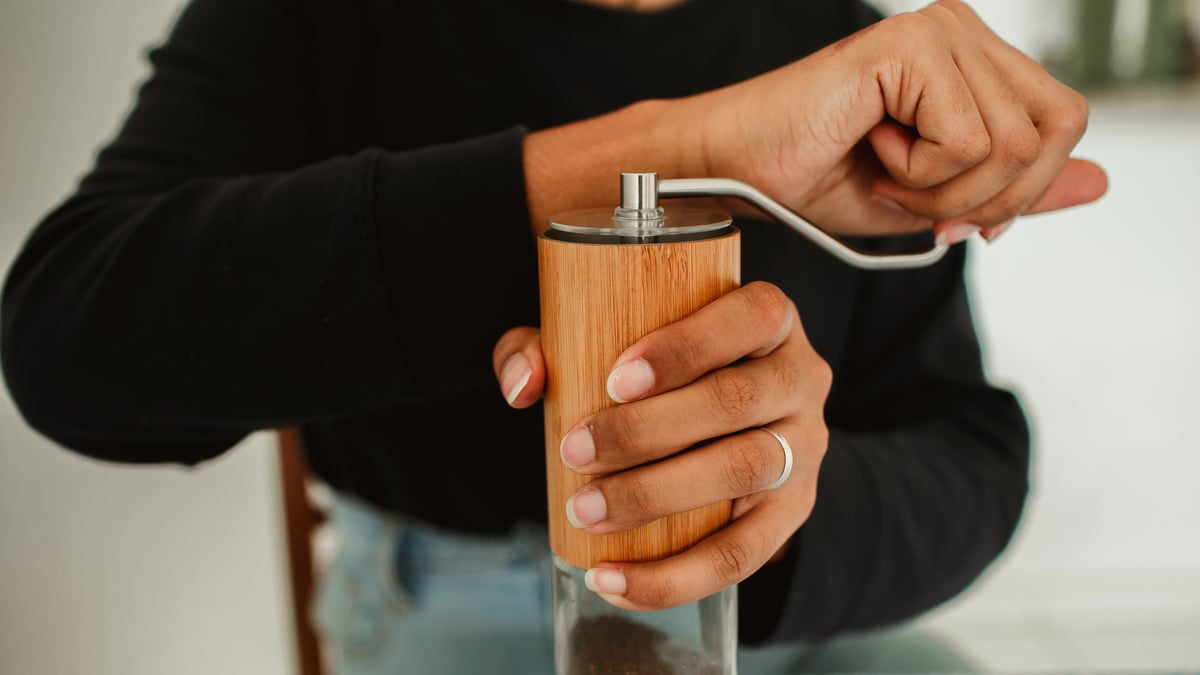
This guide is for a manual burr grinder and a familiar pour-over brewer. It is a setup routine, not a review of a particular grinder or a claim that one click count works for every model. If your grinder’s manual disagrees with a generic instruction, follow its manual. The photographs illustrate two different hand grinders and coffee preparation, not a tested recipe or a recommendation for either pictured product.
Find your model’s starting point
Read the adjustment section of your grinder’s manual before loading beans. Some dials sit under the burr; others sit near the top. Markings and directions vary. The 1Zpresso Q-Series manual describes its own procedure: hold the crank, turn the adjustment dial to its tightest starting point, then turn it back toward a coarser setting. The marked number at that starting point need not be zero. These are Q-Series instructions, not a universal click count.
Do not force a dial beyond the position your maker describes. Coffee grounds left inside can affect where a grinder appears to stop, as 1Zpresso notes for the Q-Series. If you bought a used grinder or forgot the setting, consult its model guide rather than guessing how many clicks separate the burrs. A simple note such as “two turns from the model’s starting point” only helps when you have identified the same starting point each time.
You do not need a precise target number from someone else’s grinder to make a useful first cup. The aim is a reasonable grind to test with your own brewer. Keep the model name and your first setting in a notebook or a phone note. This makes your next change a comparison instead of another fresh guess.
Choose one brew method and a sensible grind
The National Coffee Association’s pour-over guide suggests starting with a medium grind for pour-over and adjusting after brewing. Its general comparison places French press at coarse, pour-over and drip near medium, and espresso at fine. Those labels describe a starting texture, not identical dial positions across machines.
If you normally use a French press, do not carry its coarse setting straight into a pour-over and expect the same result. Move toward the medium range recommended for your brewer, following your grinder’s direction of adjustment. A grinder with clear manufacturer ranges gives you a starting reference. A grinder without them needs a small test batch and an honest note about the result.
| Before the cup | What to record | Why it helps |
|---|---|---|
| Grinder | Model and dial position | You can return to the same starting point |
| Brewer | The pour-over dripper and filter | A change of brewer changes the comparison |
| Coffee | Bean name and amount used | A different coffee or dose changes the cup |
| Water | Amount poured | You can repeat the same coffee-to-water relationship |
| Result | One short taste note | You have a reason for the next adjustment |
Keep the note short enough to use again. If you already maintain a simple coffee brew log, add the grinder setting to the same entry. You do not need a separate tracking system.
Grind only what this cup needs
Set out the brewer, filter, mug, beans and grinder before you begin. Decide how much coffee your usual recipe calls for. The Q-Series manual lists a hopper capacity around 20 grams for that model. Other hand grinders have different capacities, so check yours rather than filling it to an assumed limit.
For an example, suppose your familiar recipe uses 18 grams of coffee and 270 grams of water. The arithmetic is 270 ÷ 18 = 15, or one part coffee to fifteen parts water by mass. This is an illustrative recipe, not a required ratio for all coffees. The NCA’s pour-over page gives a broader one-to-thirteen through one-to-sixteen starting range, so the example sits within it. If you want to resize an established recipe, the brew-ratio tool helps with the arithmetic.
Weigh the beans if you have a scale, or use the measurement method you normally use. Put the intended amount in the hopper, attach the handle as your maker directs and grind over a stable surface. The Q-Series instructions specify turning its handle clockwise. Do not assume the same direction for an unfamiliar model. Keep fingers and loose items clear of moving parts, and follow the maker’s safety advice.
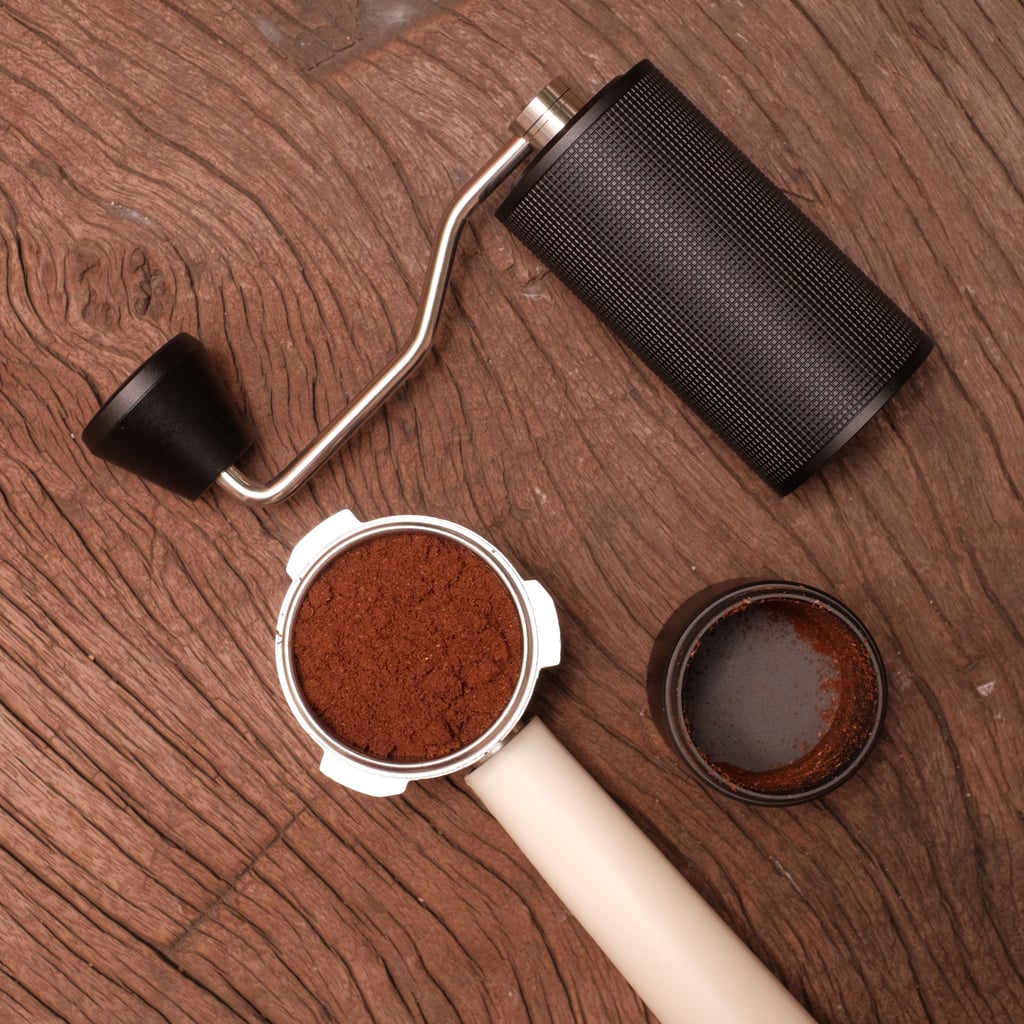
Photo: Pew Nguyen on Pexels. The portafilter in this photograph belongs to an espresso setup. It illustrates the grinder and grounds, not the pour-over steps in this article.
Brew once before changing the dial
Place the grounds in your prepared pour-over filter. Use your usual pouring routine and the same coffee and water amounts you wrote down. The NCA recommends grinding as close as practical to brewing and gives general pour-over steps, including filter preparation. Follow your brewer and filter instructions for their details.
Taste after the cup has cooled enough to drink comfortably. Do not make a setting change based only on how the dry grounds look in a photograph. Note the taste, the flow through your brewer, and whether you would make this cup again. If the result is pleasant, keep the setting for another cup before changing anything.
If you want to adjust, move only a small amount in the direction your model’s manual identifies. The NCA gives a general starting point: a flat or watery cup can suggest a grind that is too coarse, while an overly bitter or sour cup can have more than one cause. Taste is not a diagnostic instrument on its own. Water temperature, coffee, dose and pouring also affect the result. Change the grind modestly, repeat the same recipe, and compare instead of making several changes at once.
For example, keep the 18 grams and 270 grams in the next cup, use the same coffee and brewer, and move the dial a small increment toward finer if the first cup seemed thin. Record the new setting and your preference. If the second cup is less enjoyable, the earlier note gives you a place to return. No invented “perfect” click number is needed.
Leave the grinder ready for next time
Empty the catch cup and clear loose grounds according to the maker’s directions. Check the threads and mating surfaces if your model has a screw-on catch cup. The Q-Series manual says to remove grounds from its threads before reassembly, and describes a brush and air blower for deeper cleaning. Its warning says not to wash or soak that grinder. Do not apply that water rule to every model without checking its own manual.
This article does not replace a full cleaning guide. Do not disassemble burrs or bearings to make a daily cup. If the handle binds, a part will not seat, or the dial no longer moves as the manual describes, stop and follow the maker’s troubleshooting instructions. For a broader coffee-station routine, keep grounds off the work area and return your tools to their usual place.
Write the setting in words you will recognize: the model name, the reference point and the direction of the adjustment. A bare number such as “12” is easy to misread a week later. Put the note beside the recipe, not on a loose scrap you will throw away. The next cup starts with a known setup and a cup you have already tasted.
Common first-cup mistakes
Copying another grinder’s clicks
A click count is model-specific. Even the Q-Series manual warns its marked starting number need not be zero. Use your own maker’s instructions and treat another person’s setting as context, not a calibration.
Adjusting several things at once
A new coffee, a different dose, a changed pour and a new grind setting leave you with no clear comparison. Hold the recipe steady for one more cup when you are testing the dial. Change another variable later if you still want to experiment.
Treating a photograph as a product test
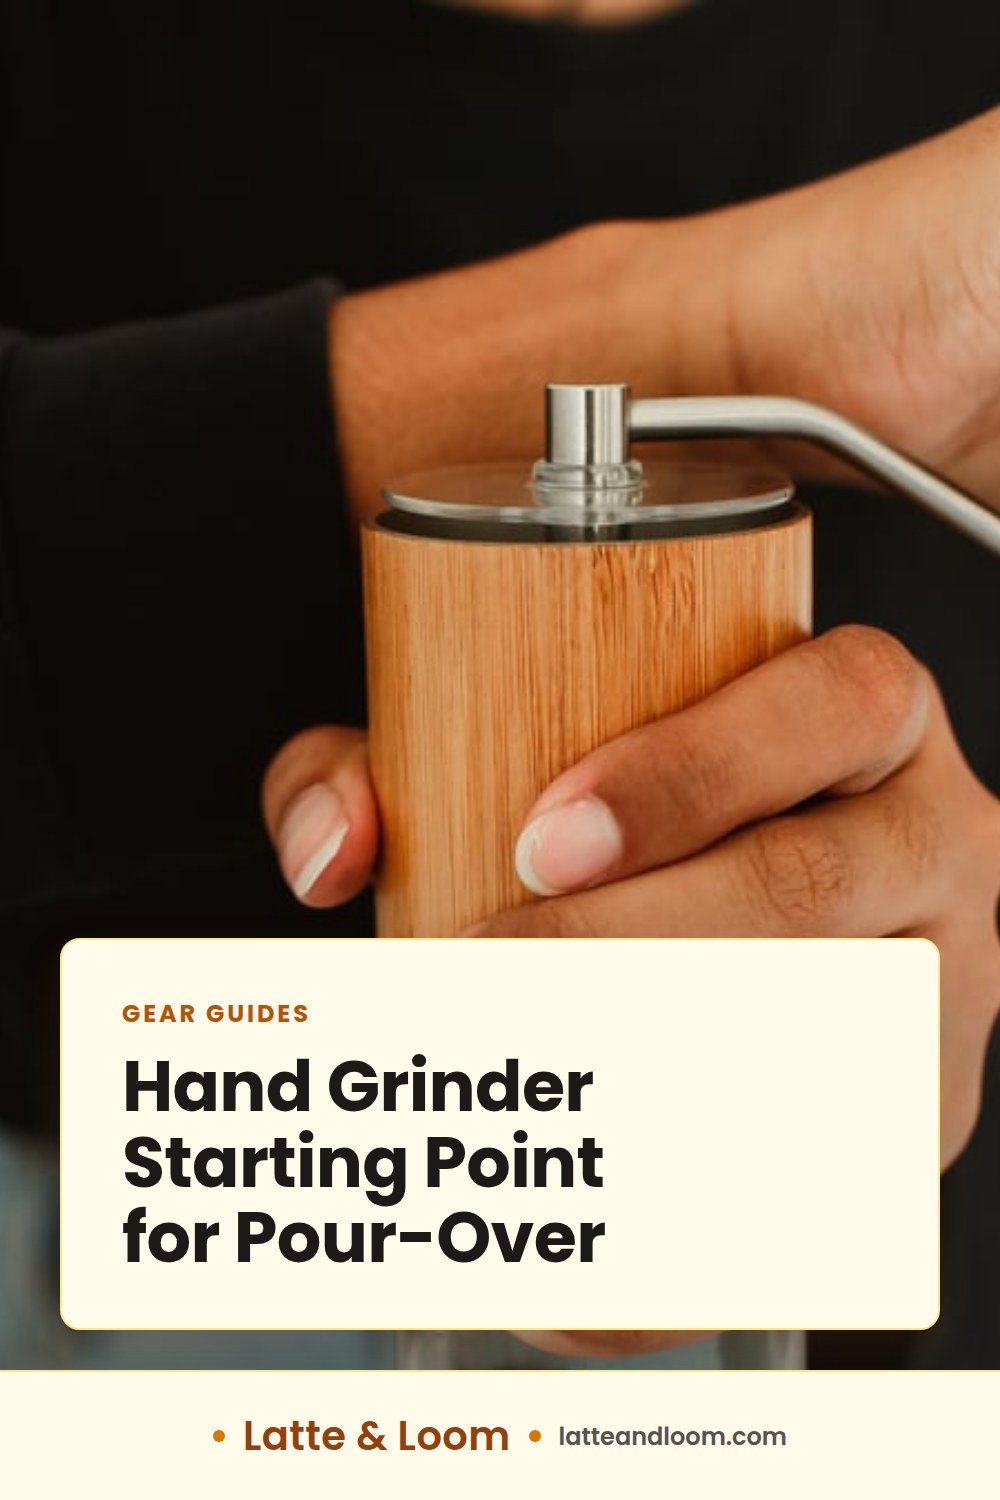
The hero photo shows a person using a wooden hand grinder. The inline photo shows a different grinder beside espresso equipment. Neither proves a specific setting, capacity, burr type or cleaning method. Your own model guide supplies those details.
Washing parts without checking the manual
Some parts on some grinders are not meant to be soaked. The Q-Series warning is explicit for its product. Read your model’s cleaning section before water, soap, tablets or disassembly. A dry daily tidy and a model-specific deep clean are different jobs.
A compact repeatable routine
Read the model guide, identify its adjustment reference, choose a medium pour-over starting range, and record the position. Grind your normal dose, brew with the same water amount, taste, then decide whether a small change would help. Empty and tend the grinder according to its manual. The next morning, your note makes the first step easy to repeat.
A hand grinder does not require a perfect number on day one. One sensible setting and one clear comparison give you more useful information than a long list of borrowed click counts.
Frequently asked questions
Is a borrowed click count a useful starting setting?
Use your own model guide first. A click count from a different grinder does not identify the same burr position.
Should I begin with a coarse grind for pour-over?
The National Coffee Association suggests starting near medium for pour-over, then adjusting after a cup.
Should I wash the grinder after each cup?
Follow the cleaning instructions for your exact model. The 1Zpresso Q-Series manual warns against washing or soaking that product.
Tools and gear mentioned
Coffee Brew Ratio Calculator
Coffee-to-water for pour-over, French press, AeroPress and espresso.
Photo credits
Photo (pin 1): Helena Lopes on Pexels, Pexels License
Photo (pin 2): Helena Lopes on Pexels, Pexels License
Photo (inline 1): Pew Nguyen on Pexels, Pexels License