French press cleanup is easiest when the grounds leave the brewer before the washing starts. Instead of tipping a thick coffee slurry into the sink, give the spent grounds a destination, remove the bulk, then wash the vessel and filter according to the instructions for your particular press.
You do not need a special cleaning gadget to start. A suitable non-scratching utensil, a small collection container and the cleaning supplies permitted by the maker can be enough. The aim is a cleaner handoff from brewing to washing, not a spotless counter at the expense of unfinished equipment care.
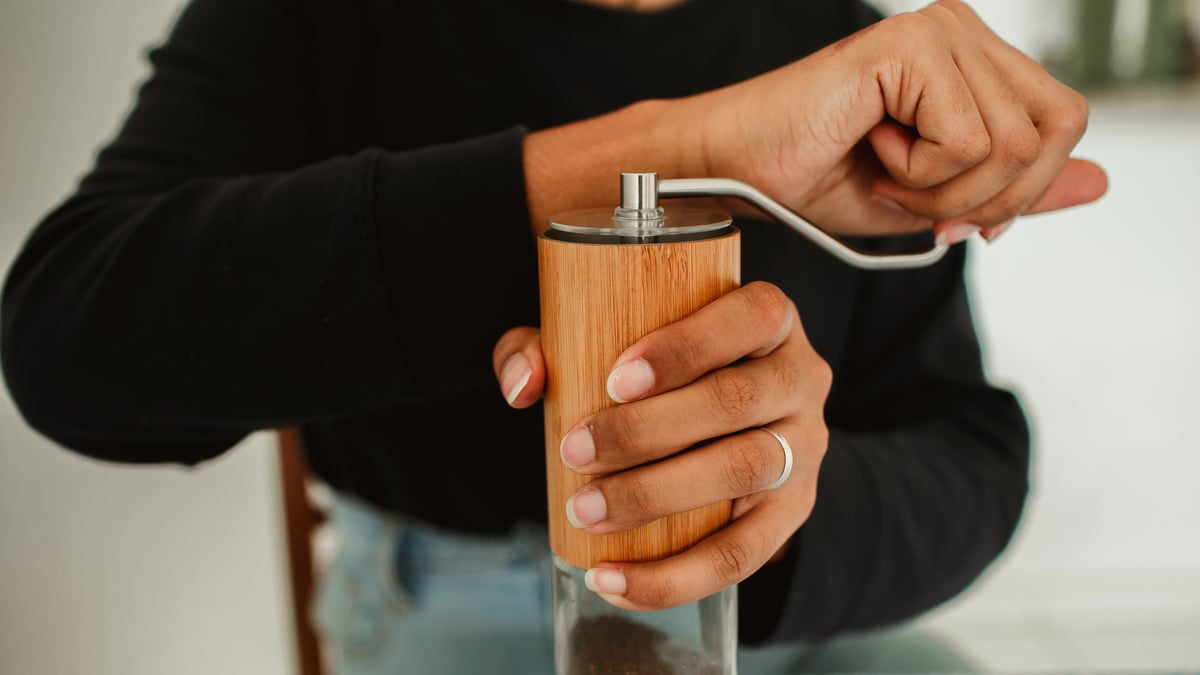
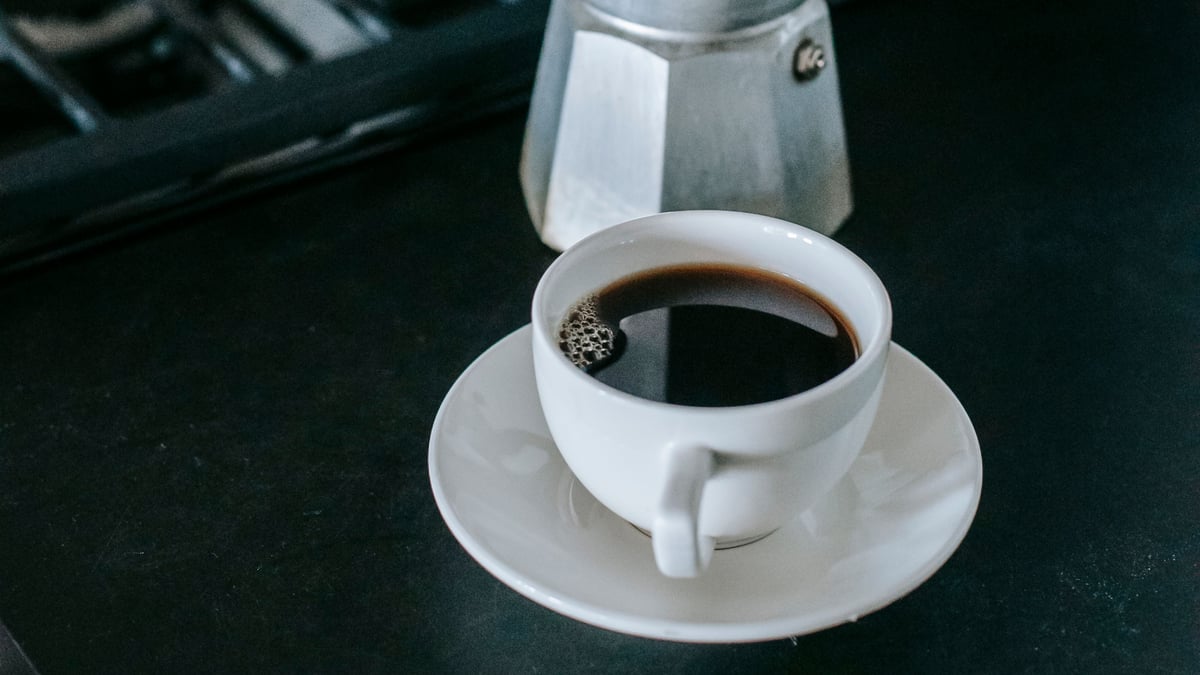
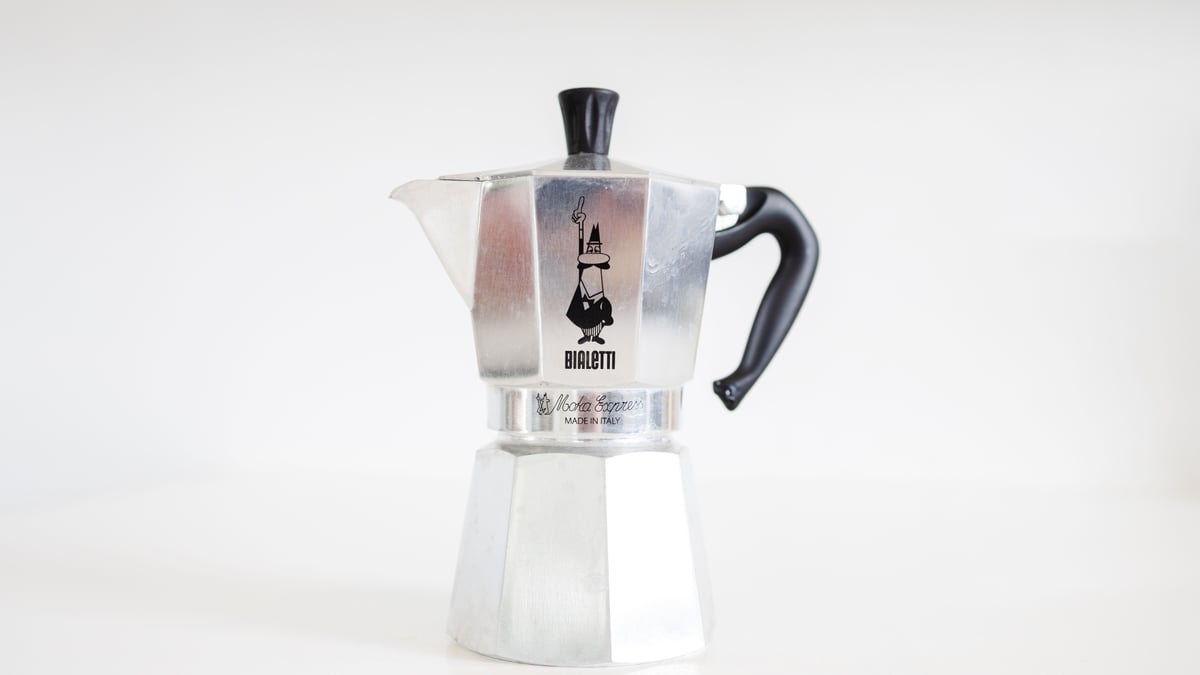
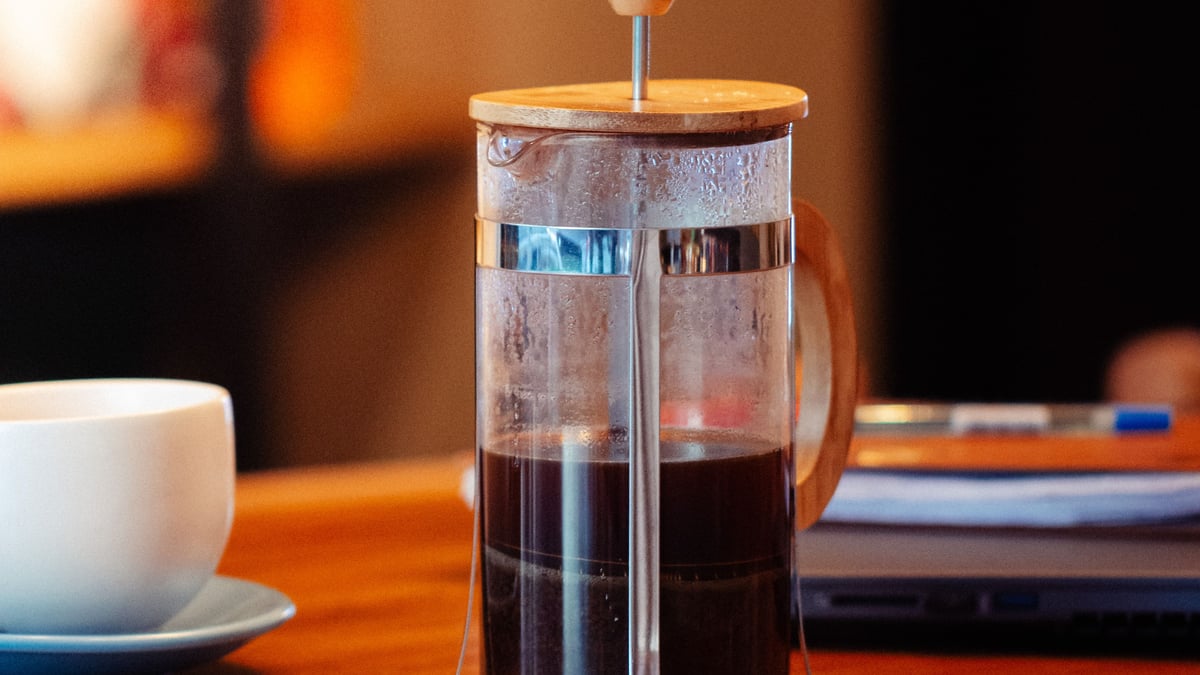
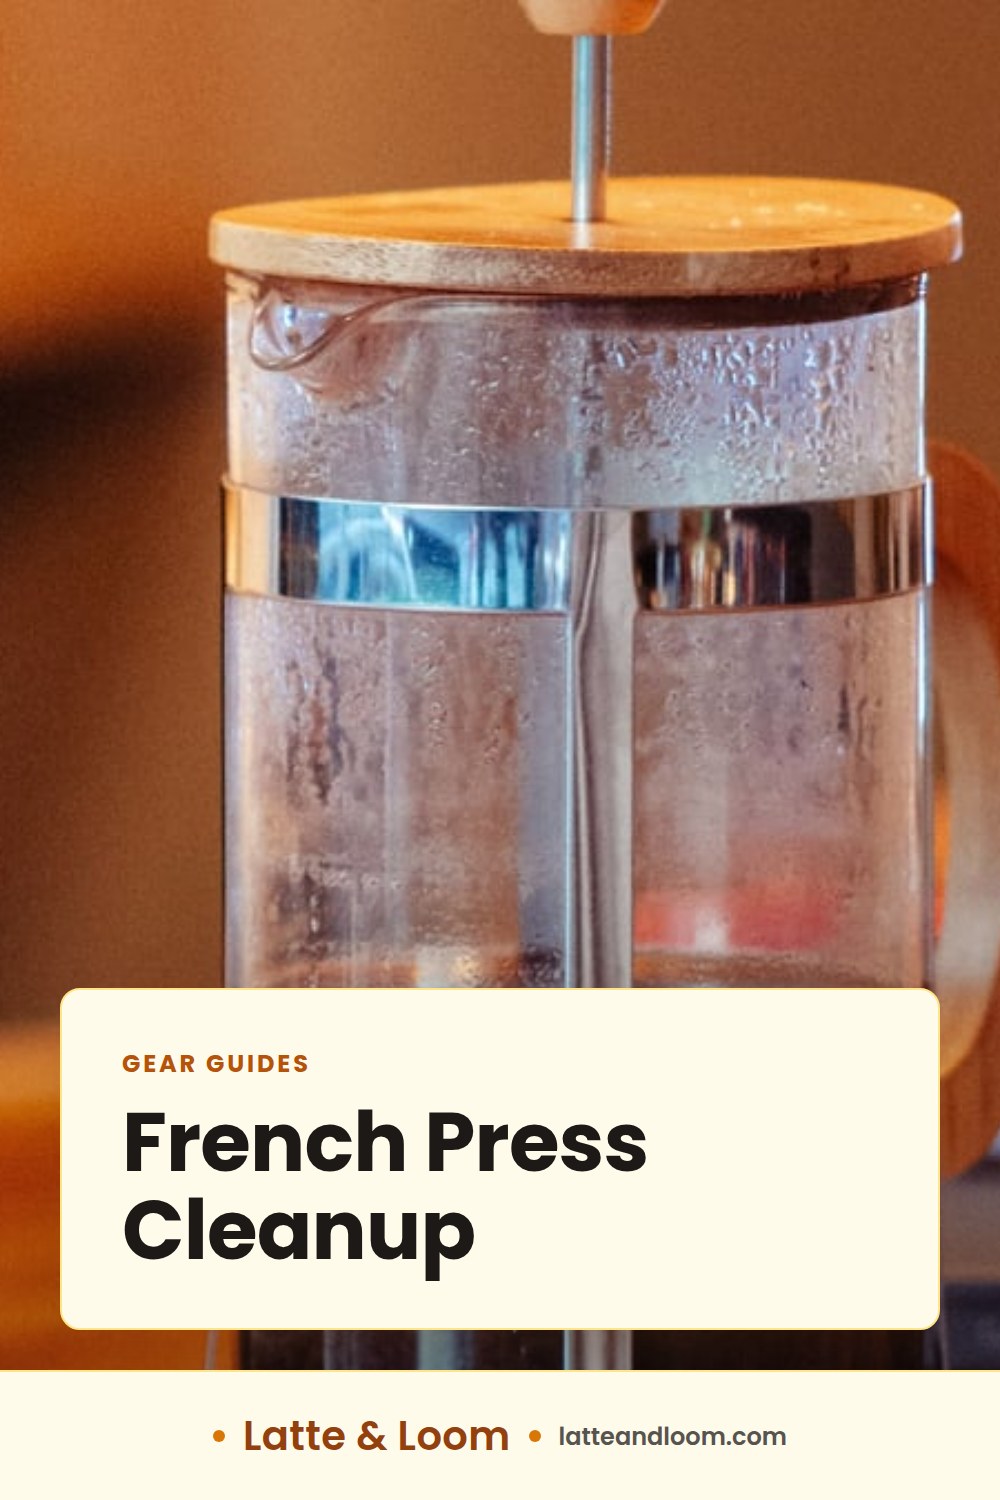
The photographs show French presses in a coffee setting. They do not document the cleaning steps, identify an ESPRO model or represent a hands-on product test.
Decide where the grounds will go
Put the receiving container within reach before opening the press. That might be your household’s food-scrap container or another container suited to the disposal route available locally. It should be stable and easy to empty, rather than another decorative jar you have to wash around.
Check what your collection service accepts. For a concrete U.S. example, New York City’s food-scrap drop-off guidance includes coffee grounds among accepted materials and asks users to confirm that a site is open and accepting material. That does not establish the rules for a different town or a particular liner.
Do not assume compostable bags, paper towels and every coffee filter are accepted together. Follow your own service’s instructions for those materials. Keep packaging and other unwanted items out of the collected grounds.
If collection is not available, use the disposal route your local waste service specifies. This guide does not require starting a compost pile or saving a week’s worth of damp grounds for an imagined future project.
Make a collect-first washing area
Clear a small landing place beside the sink for the lid and plunger. Give loose components a tray or bowl so they cannot disappear underneath dishes. If the press has several filter layers, keep its instructions available before separating anything.
Water Corporation’s wastewater guidance, from Western Australia, explicitly names coffee grounds among food scraps it advises keeping out of drains. It also recommends a sink strainer when washing dishes. Those are the collection principles used here, not a statement of U.S. plumbing law.
A strainer is a backup, not the main destination for the whole batch. Set up the grounds container first. If washing normally happens in a crowded shared sink, move fragile parts and utensils out of the immediate area before bringing the press over.
This routine collects the bulk outside the drain whether or not the kitchen has a garbage disposal. It is not a repair procedure for a blocked sink.
Let the press become safe to handle
Finish serving the coffee, then allow the contents and components to cool enough for safe handling. Put the brewer on a stable surface away from the edge while you wait. Do not rush to scoop grounds from a hot vessel just to finish before your cup cools.
Follow the maker’s handling and disassembly instructions. Do not knock a glass beaker against the receiving container or use force to release a part. If you see damaged glass, a loose component or another defect, stop using the press and consult the manufacturer rather than continuing the routine around it.
Lift the plunger as instructed and let loose residue fall back into the vessel or receiving container. Keep the lid and filter assembly on their landing place while you deal with the grounds below.
Remove the bulk before adding more water
Start with the grounds that are easy to reach. Use a utensil compatible with the vessel and its finish; avoid scraping or prying. You are moving wet grounds, not trying to polish the bottom with the spoon.
Work through this sequence at a comfortable pace:
- Place the grounds container beside the cooled press.
- Remove accessible grounds in small scoops.
- Transfer them directly into the container instead of across the sink.
- Check the vessel’s lower edge and the underside of the filter for remaining clumps.
- Remove those clumps gently using a method permitted by the maker.
- Take the collected grounds to their appropriate disposal place.
- Begin washing only after the bulk has been removed.
There is no need to chase every fleck with the utensil. Deal with the remaining residue during the washing stage, with the sink strainer in place. If a damp paper wipe is appropriate for your equipment and useful for the last loose grounds, dispose of it according to the local rules for that material.
If the first attempt leaves a slurry everywhere, reduce the distance between the press and receiving container. A wider opening may be more useful than a bigger collection capacity. Try the container you already own before buying an accessory.
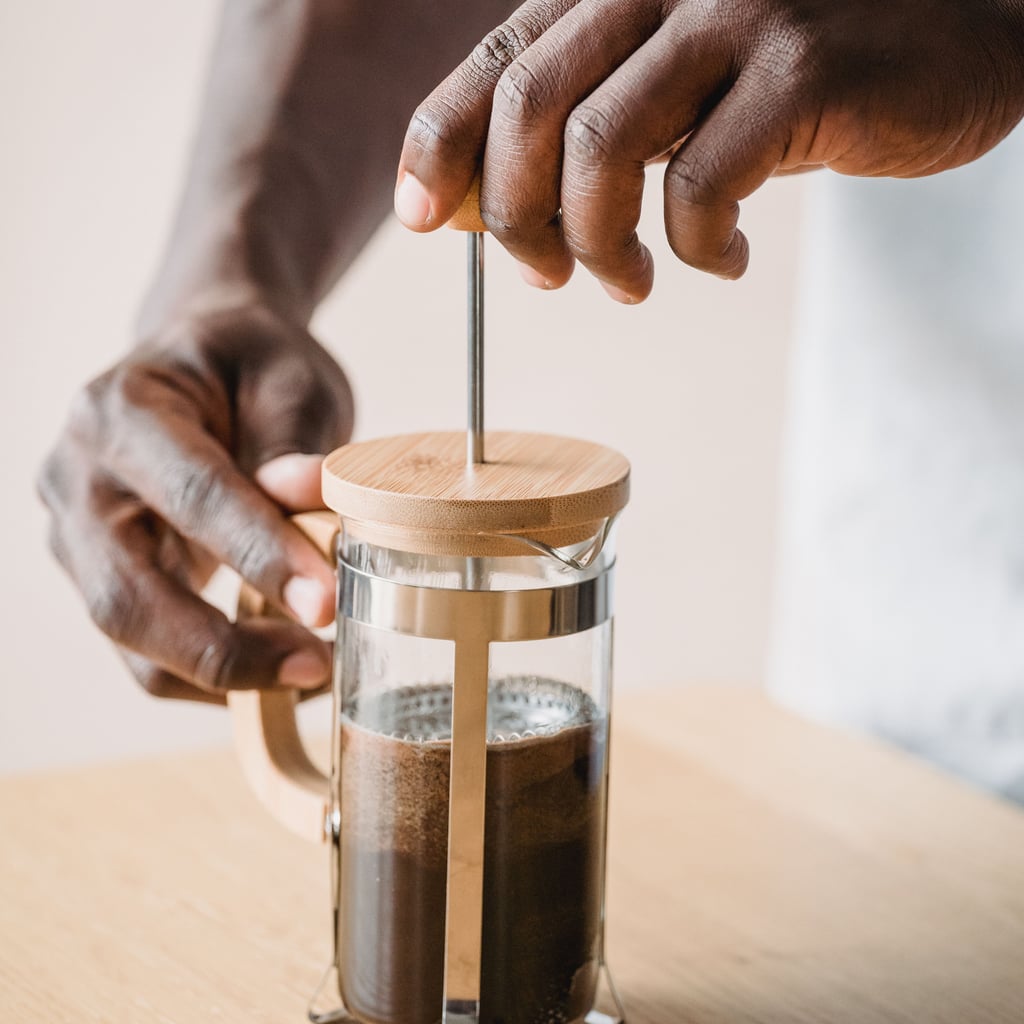
Photo: Mizuno K on Pexels. This is a brewing illustration, not a demonstration of filter disassembly or washing.
Give the filter its own cleaning step
A vessel that looks empty does not mean the filter is finished. Read how your model comes apart and clean only the parts intended to separate. Keep their order clear, especially if another person will reassemble the press.
For ESPRO owners, the manufacturer’s FAQ says its nested micro-filters separate with a twist and need individual washing after each use. It specifies soap and water, gentle cleaning of the mesh, and a cloth or sponge for removing visible grit. That is an ESPRO example, not an instruction to twist apart a different filter design.
Lay out removable parts as you take them off, or keep a reference photo of your own assembly. Do not infer the order from a stock photograph. Check both sides and any accessible edges instead of looking only at the surface visible when the press is assembled.
If a part will not separate as described, pause and check the instructions. Forcing a stuck component is not a cleaning shortcut.
Wash, rinse and check before reassembly
Use the cleaning method and detergent permitted for your press. A quick rinse after removing grounds is not automatically the complete care routine. Work through the vessel, lid and filter components, then rinse and dry them as directed.
| Part of the job | What to check | What not to assume |
|---|---|---|
| Vessel | No remaining clumps or visible residue | An empty-looking base means washing is finished |
| Filter | Accessible surfaces have been cleaned | The outside is the only place grounds collect |
| Lid and removable parts | Their separate care instructions | Every material takes the same treatment |
| Drying and reassembly | Parts are ready to store and correctly fitted | A photograph proves the assembly order |
Check dishwasher permission by model and part. Do not transfer a dishwasher-safe statement from one brand to another, or assume the handle, lid and vessel share identical requirements.
Empty the sink strainer into the appropriate waste container when you finish. Do not solve a tidy-brewer problem by leaving the collected grounds for the next person to rinse away.
Keep deeper cleaning separate from daily emptying
ESPRO’s product-care page distinguishes cleaning both filters after every use from its monthly deeper-cleaning guidance. Use your own manufacturer’s specified product, concentration, contact time and rinsing directions if deeper cleaning is required.
Do not improvise a chemical mixture, stronger concentration or overnight soak from a general cleaning tip. If residue or an odor remains after the approved routine, ask the maker what to check next.
Likewise, a difficult plunger deserves investigation rather than extra force. ESPRO’s FAQ identifies fine particles and residue as possible causes of clogged filters, but that does not diagnose every press. Stop and follow the relevant troubleshooting guidance.
Leave the press ready for its next use
Return the dry, correctly assembled press to its normal place and put the collection utensil away clean. If several people share the brewer, agree where the grounds container lives and who empties it.
For the wider workspace, our home coffee station checklist covers the surrounding tools and counter. This cleanup routine has a narrower job: separate the grounds from the washing, give the filter proper attention, and finish the equipment care before calling the station reset complete.
A repeatable cleanup does not need to be elaborate. The useful change is the order: collect first, wash properly, then put the press away.
Frequently asked questions
Does a sink strainer replace removing the grounds first?
No. This routine removes the bulk into a suitable container before washing, with a strainer as a backup for remaining residue. Follow your local utility and waste-service guidance.
Are all French press filters cleaned the same way?
No. Follow the instructions for your exact press and its parts. ESPRO's nested micro-filter care is a model-specific example, not a direction to dismantle a different design in the same way.
Does this guide say every garbage disposal bans coffee grounds?
No. Appliance guidance varies. This is a collect-first routine, not a determination of what your disposal or local wastewater service permits. Check both sets of instructions.
Photo credits
Photo (pin 1): Rodrigo Pereira on Pexels, Pexels License
Photo (pin 2): Rodrigo Pereira on Pexels, Pexels License
Photo (inline 1): Mizuno K on Pexels, Pexels License