A shirt button that swings from one last loop of thread is easy to notice and easy to postpone. Before it disappears into the laundry, put the shirt on a clear table and decide whether this is a simple resewing job. The useful goal is not an invisible repair. It is a button in the right place, securely attached, with enough room beneath it for the buttonhole fabric.
This guide is for an ordinary flat, sew-through button with two or four holes on sound woven shirt fabric. It is not a method for installing jeans rivets, replacing snaps or repairing a torn buttonhole. A button with a loop on its back needs a different attachment method.
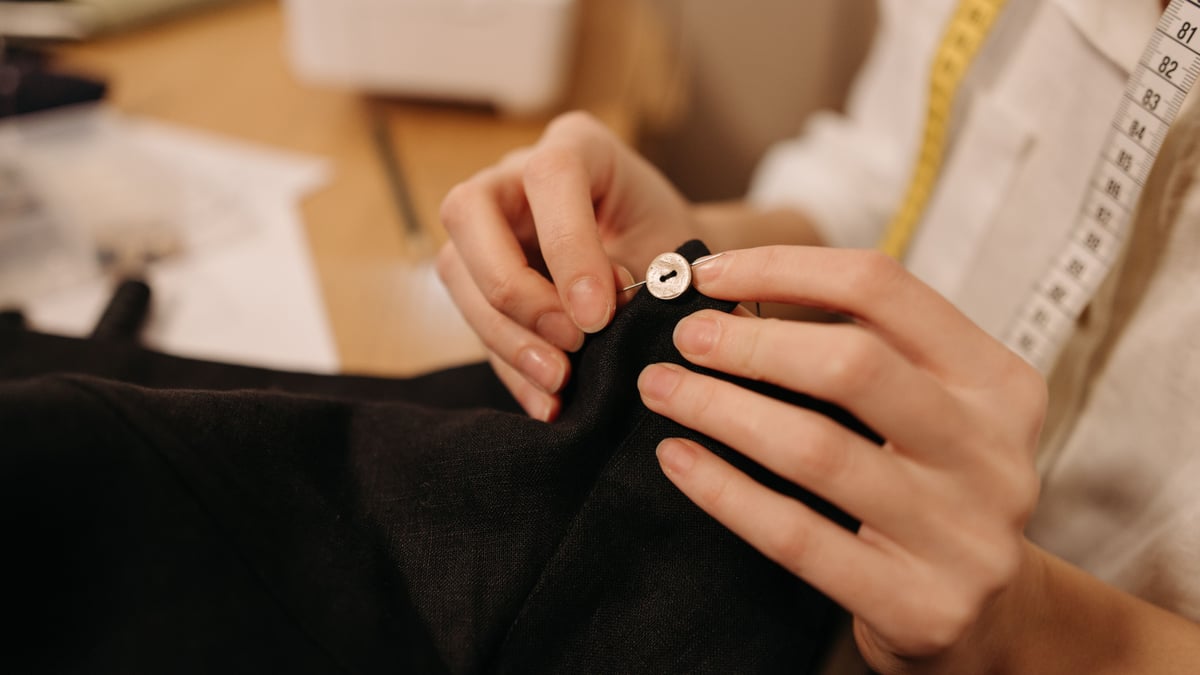
The photographs illustrate button sewing and supplies, not a documented repair of the shirt in your hands. The instructions are based on the primary references linked below; they are not a report of hands-on testing.
Check the fabric before cutting anything
Spread the shirt flat with the loose button facing up. Look at the attachment point, then turn the fabric over. Is the cloth intact, or has the button pulled a hole through it? Does the surrounding weave look comparable to the neighboring button positions?
A loose thread and damaged fabric are different problems. This walkthrough assumes the cloth can support new stitches. If it is torn, unusually delicate or difficult to handle, stop before making more holes and ask a clothing repairer about the fabric repair first.
Inspect the button too. Keep an intact original rather than replacing it just for the sake of the project. If it is missing or broken, look for a spare attached inside the garment. Compare a possible replacement with its neighbors and the actual buttonhole before sewing. A similar color alone does not establish that it will fasten comfortably.
Make a small working tray
Gather the shirt, button and a few tools on a light, uncluttered surface. A shallow dish keeps the button from rolling away when you remove the old stitches. Put a container for snipped thread within reach so the pieces do not disappear into the shirt.
The Utah State University Extension guide to sewing supplies describes hand needles in different sizes, small scissors for close work and a thimble for protecting the pushing finger. Choose a needle you can handle comfortably and keep sharp tools contained.
| Item | What to check before starting |
|---|---|
| Hand-sewing needle | It passes through the button holes and suits the fabric |
| Sewing thread | The color works with the existing shirt buttons |
| Small scissors | You can reach the old thread without cutting cloth |
| Button | It is intact and fits the buttonhole |
| Smooth toothpick or larger needle | It can serve as a temporary spacer |
| Small dish and tool holder | Loose pieces and sharp tools have a definite home |
This is a repair tray, not a shopping list for a complete sewing room. Leave decorative supplies aside. Work where you can see the needle clearly, keep it away from children and pets, and put it back in its holder whenever you leave the table.
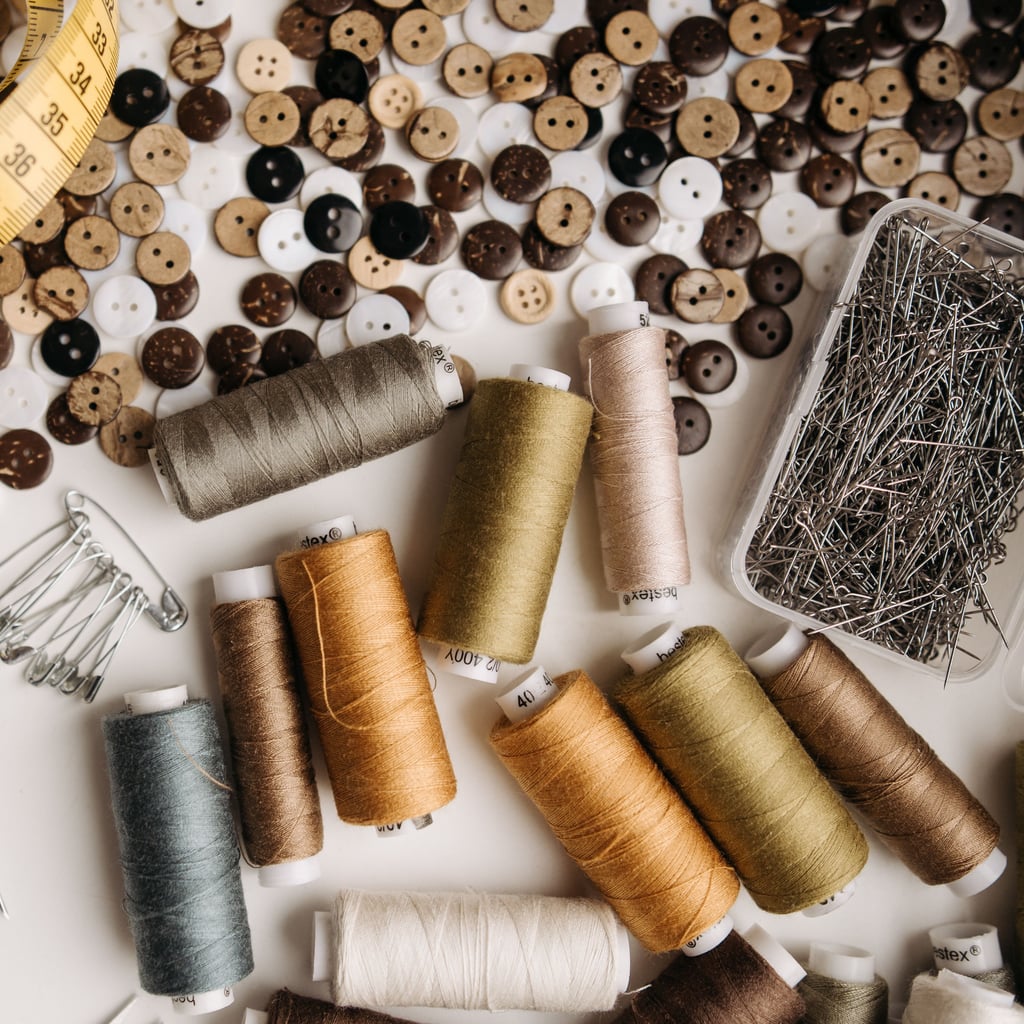
Photo: Pavel Danilyuk on Pexels. The photograph shows a larger assortment than this repair requires.
Save the position before removing old thread
Take a close photograph of the button and the neighboring fasteners. Note how the visible stitches run: a four-hole button may have parallel bars or crossed stitches. Matching the existing arrangement is a tidy visual choice.
Next, align the shirt fronts as they sit when fastened. Confirm which buttonhole belongs to this button. Do not stretch the two fronts until an uncertain position appears to line up.
The Sewing & Craft Alliance’s button placement guidance starts with the garment overlapped as it will be worn and uses the buttonhole to establish the location. For this repair, retain the original attachment position if it is clear and the shirt previously fastened correctly. Do not move a button to disguise a fit problem.
Carefully snip the old attachment threads, lift off the button and remove loose remnants. Keep the scissor tips away from the cloth. If you cannot distinguish thread from fabric, improve the light or get help rather than cutting by feel.
Sew through the holes without clamping the button down
Patagonia’s button repair guide distinguishes sew-through buttons from buttons with a back loop. It also explains that a temporary spacer prevents the stitching from fastening a flat button too tightly to the cloth.
Thread the needle with sewing thread, double it and knot the ends. Arrange the shirt so you can reach both sides of the attachment area without sewing another garment layer into the repair.
Use the following sequence for the flat button:
- Bring the needle from the underside of the fabric up at the attachment point and through a button hole.
- Rest a smooth toothpick or larger needle across the button face, between the holes you are joining.
- Pass the thread over that spacer, down through the other hole and through the fabric.
- Repeat the route with even stitches, without gathering the cloth.
- For four holes, stitch the second pair in the existing parallel or crossed arrangement.
The Sewing & Craft Alliance’s attaching buttons instructions specifies at least two passes through each pair of holes. Keep the spacer in place while making the attachment stitches.
Pause if the thread twists or catches. Resolve the loop before adding another stitch rather than pulling harder on the shirt.
Finish the thread stem beneath the button
After the attachment stitches, remove the temporary spacer. Bring the needle into the gap between button and fabric without taking it through a button hole.
Following the Alliance’s attaching instructions, wrap the working thread several times around the bundle of attachment threads beneath the button, then knot securely. This creates a small thread stem. You are wrapping that bundle, not circling the outside edge of the button.
Trim the remaining thread without cutting into the new stitches. Check both sides of the cloth before considering the sewing finished. If you accidentally caught another layer, or the fabric has puckered noticeably, correct the repair rather than hiding it under the closed shirt front.
Do not confuse this thread stem with a manufactured shank button. The latter already has a back loop and is outside this walkthrough.
Test the fastening, not just the stitches
Put the shirt flat again and fasten the repaired button through its own buttonhole. Unfasten it, then repeat gently. Look at what the repair does rather than declaring success because the thread feels tight.
Ask three questions:
- Does the button sit at the intended position without pulling the fronts out of alignment?
- Can the buttonhole fabric sit beneath it without being clamped flat?
- Are the new stitches secure without visibly gathering the shirt fabric?
If the button is too tight against the shirt, more pulling is not the solution. Remove the repair stitches carefully and resew with appropriate space. If the button itself will not pass through the hole, reconsider the replacement rather than forcing it.
Check the neighboring buttons while the shirt is still on the table. Finding another loose one does not require repairing the whole garment now. Make a note and keep the shirt separate from items ready to wear if it still needs attention.
Put the repair away completely
Return the needle and any spacer needle to a proper holder. Count the sharp tools back into their storage, collect the thread clippings and put the button dish away. Keep any spare button with a note identifying the garment.
A little repair kit is most useful when it is easy to retrieve and complete when returned. A small box can hold the tools without becoming another drawer of unrelated craft supplies.
If you would like a decorative stitching project after the practical repair, our beginner embroidery hoop ideas offer a different purpose for needlework. Keep that project separate from this one: a secure everyday fastening is already a worthwhile finish.
There is no need to promise a permanent fix or race a timer. Confirm that the fabric is sound, keep the original placement clear, leave room for fastening and check the result before returning the shirt to its usual place.
Frequently asked questions
Can I use this method for a shank button?
No. This guide covers flat two-hole and four-hole sew-through buttons. A button with a loop on its back needs a different attachment method.
What if the button pulled a hole in the shirt?
Repairing damaged cloth is a separate job. Stop and ask a clothing repairer about the fabric before attaching the button again.
Why leave space beneath the button?
The buttonhole fabric needs room to sit beneath the button. A temporary spacer helps avoid sewing the button tightly against the shirt.
Photo credits
Photo (pin 1): Pavel Danilyuk on Pexels, Pexels License
Photo (pin 2): Pavel Danilyuk on Pexels, Pexels License
Photo (inline 1): Pavel Danilyuk on Pexels, Pexels License