Before casting on a knitting project, make a sample in the yarn, needles and stitch pattern you intend to use, finish it as directed, and compare its stitch and row counts with the pattern. The useful result is a measurement of your own fabric, rather than a guess based on the needle size printed in the instructions.
This guide is for a knitter who can already work the required stitch and wants a practical way to check gauge. It is not a pattern-resizing lesson or a promise of a particular garment fit. Follow the designer’s swatching directions when they give a method for that project.
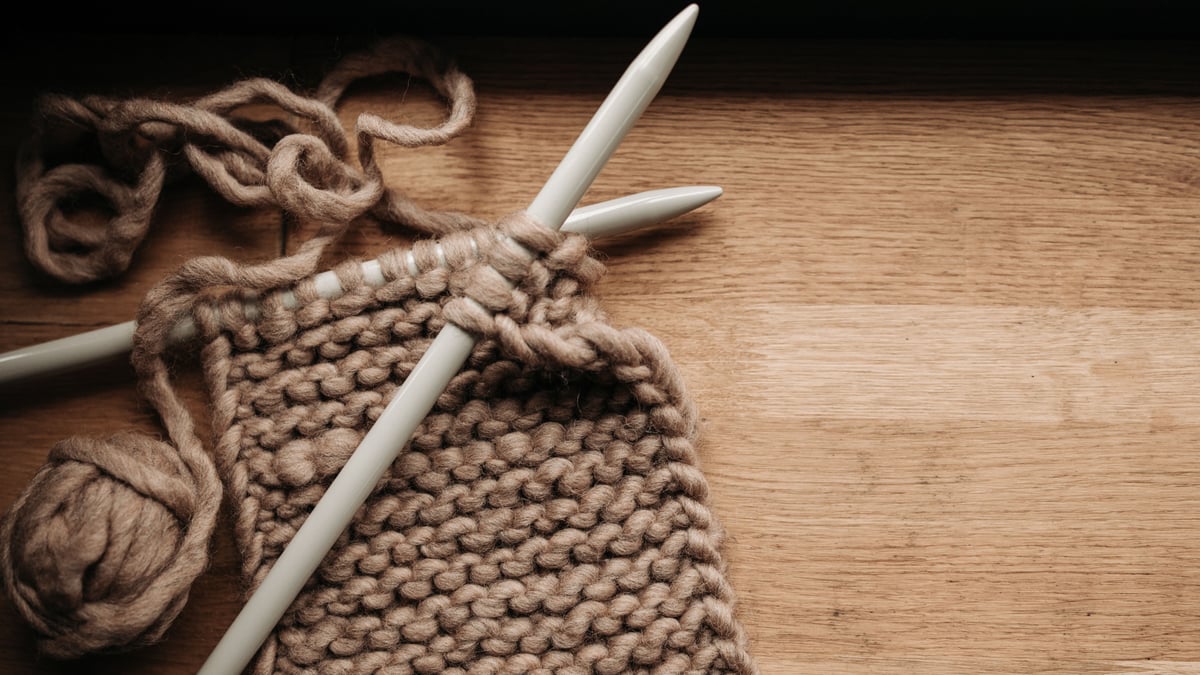
The photographs illustrate knitted fabrics, not the measured sample in the arithmetic example.
Start with the pattern’s gauge statement
Find the gauge section before gathering the needles. Copy the stitch count, row count, measurement span and stitch pattern into a short note. Check whether it describes fabric after finishing and whether the project is worked flat or in the round.
For example, a statement about stockinette does not automatically describe the ribbing beside it. Keep the actual words with your numbers so you know which fabric you are comparing.
Brooklyn Tweed’s swatching tutorial recommends reproducing the project’s knitting conditions, including needle size and material. It also explains that flat and circular knitting can produce different gauges. Use the pattern’s appropriate swatching method instead of assuming a flat sample represents a project worked in the round.
If the pattern’s gauge statement is unclear, ask its designer before treating a convenient measurement as the intended one. You can prepare the yarn and your note while waiting for an answer; there is no need to invent missing instructions.
Our guide to reading a yarn label covers the band information you may want beside the pattern. Here the next task is different: measuring fabric you have actually knitted.
Give the measuring area room away from the edges
Set out your pattern, project yarn, chosen needles, a ruler and somewhere to record results. Decide how to identify this sample before making another one. A small tag or a clearly labeled notebook entry can connect the fabric to its needle size and yarn.
The Knitting & Crochet Guild’s tension-square guide explains why a square only as wide as the measuring span is insufficient: its edge stitches may differ from the center. Its guidance favors a larger sample and enough of a texture repeat to represent the fabric.
Follow the sample size and construction specified by the designer. Make room for the required central measurement rather than casting on exactly the number you hope to count. A cable or lace repeat can require a different arrangement from plain fabric.
Do not turn a border into a universal rule. Tutorials differ on borders, and the design may give its own instructions. What matters for this check is having an appropriate area of the specified stitch that you can measure without using distorted edge stitches.
Keep the record simple:
| Record | What to write |
|---|---|
| Pattern | Name, version or page, size being considered |
| Fabric | Stitch pattern and flat or circular method |
| Materials | Actual yarn and needle size and material |
| Target | Stitches and rows over the stated span |
| Result | Counts, finishing state and date measured |
Finish the sample before calling the result final
Work the swatch using the intended method, rather than changing how tightly you knit to force a number. Complete it as the instructions require. Label the sample if you are about to compare several.
Lion Brand’s gauge-swatch lesson includes an initial measurement, washing and drying in the manner intended for the finished piece, blocking if planned, and then measuring again. It warns against stretching the fabric to obtain a preferred count.
Read the actual yarn’s care instructions alongside the pattern before choosing a treatment. This article does not prescribe hot water, steam, a dryer or one blocking method for every fiber. If the proposed finishing method conflicts with the yarn directions, resolve that question before treating the sample.
Write down the state of the fabric with each result. “Before finishing” and “after the specified wash and dry” are more useful than two unlabeled numbers. A change between them is something you observed in your sample, not a universal percentage to apply to another yarn.
Allow the finishing process to be complete before the final comparison. Keep an unfinished or still-damp sample separate from one ready to measure. A deadline for starting the project is not evidence that the sample is ready.
Count stitches across and rows upward
Lay the finished sample on a suitable flat surface. Arrange it without pulling it wider or longer to make the ruler fit. Use the measurement span and units from the pattern; keep inches and centimeters separate rather than treating their printed numbers as interchangeable.
Brooklyn Tweed describes using a rigid ruler across the center for stitch gauge, then turning it to measure row gauge. That gives you two observations, not one interchangeable result. Count in the direction appropriate to each.
Choose a clear starting position in the central fabric and look at the stitches between that point and the end of the stated span. Lion Brand’s guidance specifically cautions against stretching the sample and against using its edge stitches for the measurement.
Record what you see before deciding whether it is close enough. If a stitch is hard to identify, use the stitch instructions or ask an experienced knitter to show you on your sample. Recounting uncertain fabric is more useful than rounding to the pattern’s target.
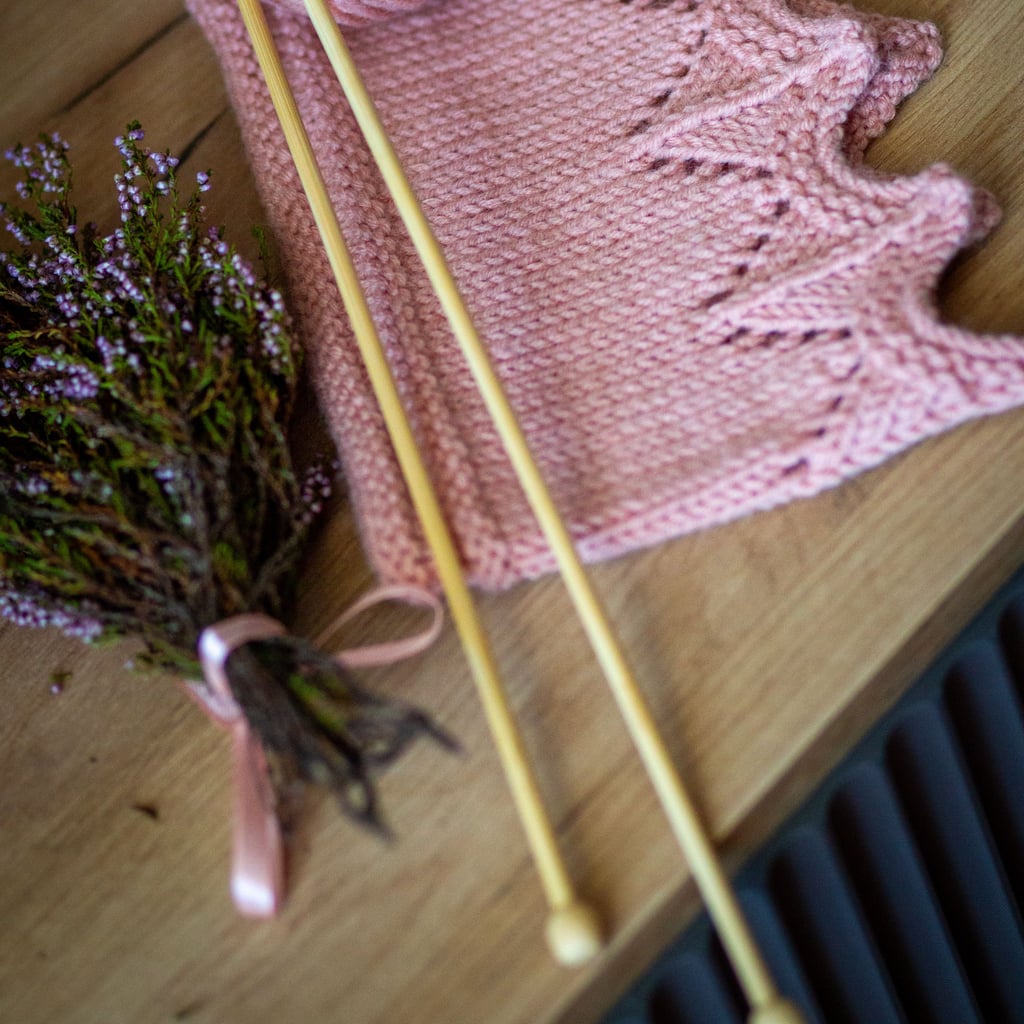
Photo: olga Volkovitskaia on Pexels. The photograph illustrates plain and patterned areas of knitting; no ruler or verified gauge is shown.
Understand what a different count means
Compare like with like: the same stitch, span, units and finishing state. Write the target beside your result rather than trying to remember both while moving the ruler.
Here is a hypothetical arithmetic example for a plain rectangular panel, not a tested pattern or a finished-garment prediction:
- The target is 20 stitches across 4 inches: 20 divided by 4 is 5 stitches per inch.
- Your sample has 22 stitches across 4 inches: 22 divided by 4 is 5.5 stitches per inch.
- A 100-stitch span would be 100 divided by 5, or 20 inches, at the target gauge.
- At the sample gauge it would be 100 divided by 5.5, approximately 18.18 inches.
The example shows why more stitches within the same measured width means smaller stitches. It excludes borders, shaping and every other construction detail. Do not use it to redesign a garment or choose a different size without the designer’s guidance.
For a stitch-gauge mismatch, Lion Brand describes trying a larger needle when there are too many stitches in the span, or a smaller needle when there are too few, then making another sample. Record the change and measure the new fabric; a needle change is a trial, not a guaranteed correction.
Check the row result too. If one count matches and the other does not, consult the pattern’s guidance about that situation. Avoid assuming that matching width settles every instruction that depends on length, rows or shaping.
Keep the result with the project
Before setting the sample aside, mark which version you intend to use. Keep its measured counts, needles, yarn and finishing notes with the pattern. Preserve any unsuccessful results too if they will explain why you changed something.
A useful final check is short:
- The sample represents the project’s specified stitch and method.
- Its finishing matches the relevant instructions.
- The central measuring span avoids the edges.
- Both stitch and row counts are recorded.
- Any mismatch has an explicit next step.
If your available making time ends here, the sample and a clear note are a worthwhile stopping point. Our weekend craft ideas can help you plan a separate project, but this check does not need to become a shopping or organizing exercise.
Return to the pattern with evidence from your own knitting. You can then start its next step, make another swatch or ask a specific question, without pretending an unmeasured sample has already answered it.
Frequently asked questions
Is the needle size in the pattern a guarantee of my gauge?
No. Check a sample made with your own yarn, needles and intended method against the pattern's stitch and row requirements.
Should I stretch the sample until it matches?
Do not stretch it simply to obtain a desired number. Follow the pattern's finishing and measurement instructions and record the result you actually obtain.
Can the arithmetic example resize my sweater?
No. It illustrates stitch density in a hypothetical rectangular panel and excludes shaping, borders and other construction details. Ask the designer about changes to a garment pattern.
Photo credits
Photo (pin 1): Pavel Danilyuk on Pexels, Pexels License
Photo (pin 2): Pavel Danilyuk on Pexels, Pexels License
Photo (inline 1): olga Volkovitskaia on Pexels, Pexels License