To start a pothos cutting in water, use a healthy piece of stem containing a node, keep its leaves above the water and watch for developing roots before moving it into suitable potting mix. The node matters more than a long trailing stem or a large leaf.
This is a small propagation project for an identified pothos, Epipremnum aureum. It does not cover every plant sold under a similar common name, and it is not a plan for keeping a plant in plain water indefinitely. Begin with one cutting you have permission to take and a place where you will remember to check it.
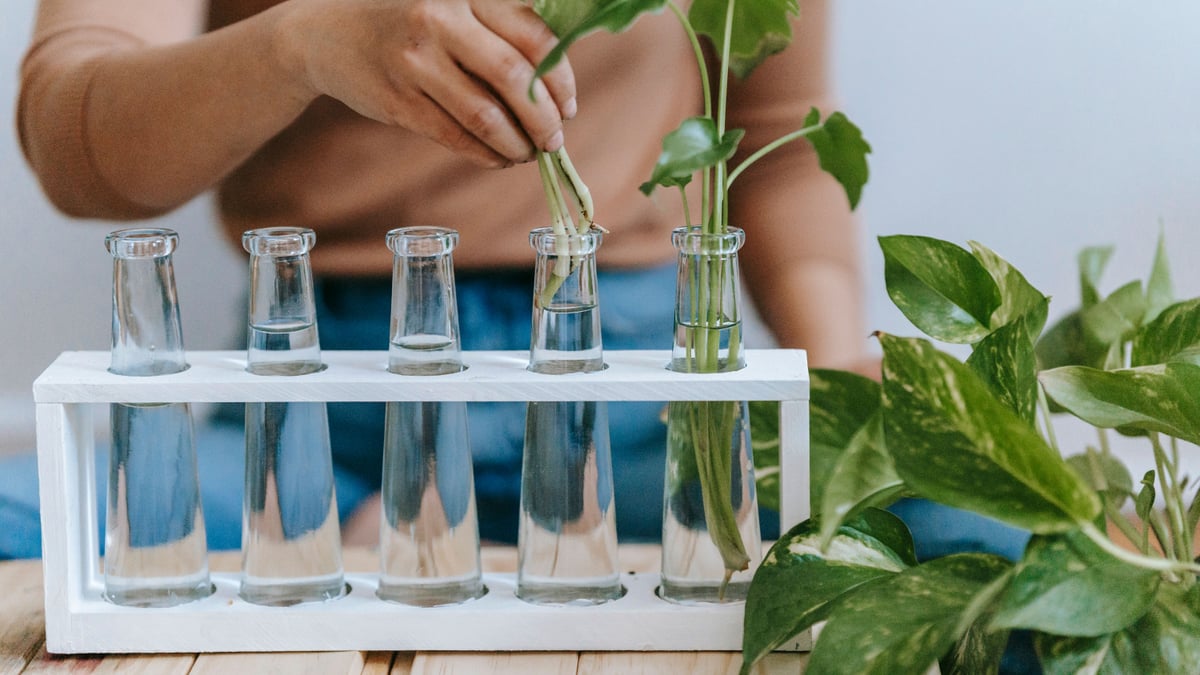
The photographs illustrate cuttings arranged in glass containers. They are not a documented rooting trial or proof of a particular plant’s identity, root age or growing conditions.
Identify the plant and choose a safe working place
Keep the plant’s label or care record beside you. If you are unsure whether the vine is pothos, resolve the identification before cutting. A photograph of a heart-shaped leaf is not enough to settle every look-alike.
NC State Extension’s pothos profile identifies Epipremnum aureum as a plant suited to stem-cutting propagation and notes that its vines root in water. The profile also records skin irritation and contact dermatitis among its hazards. Avoid contact with sap, use suitable gloves and wash your hands after handling cut stems.
Choose a work surface away from food preparation, and clear away the cup you are drinking from. Keep the cutting container clearly separate from drinking glasses in use. A label saying “pothos cutting” is more useful here than a decorative jar that someone might mistake for a drink.
Pothos also needs a secure household location. The ASPCA lists golden pothos as toxic to cats and dogs. Keep plants, trimmings and containers beyond their access. If you suspect a pet has eaten it, contact a veterinarian promptly. Choose a different project if you cannot provide a suitable place.
Set out a small kit before making the cut
Gather a clean container, room-temperature water, an appropriate cutting tool, a label and something to protect the working surface. Have a place ready for discarded leaves and stems. You do not need to buy a display stand or a set of matching bottles to begin.
Pick a container you can handle comfortably while supporting the cutting. Consider its opening as well as its shape. You will need to remove the stem for water changes and eventually lift out the roots, so avoid choosing a bottle only because it looks attractive on a shelf.
Brooklyn Botanic Garden’s propagation guide recommends a sharp, sterile cutting tool and explains that cleaning it between plants helps reduce disease transmission. Use a suitable tool-cleaning method and follow the product’s directions. This guide does not supply an improvised disinfectant recipe.
Keep a small nursery pot with drainage and suitable potting mix in mind for later. There is no need to prepare a large decorative planter while the cutting is still unrooted.
Find the node before choosing the cutting length
Trace the vine with your eyes before positioning the tool. Find where a leaf joins the main stem. Look along the stem for another such point, rather than treating the leaf stalk itself as the vine.
Brooklyn Botanic Garden explains that nodes are the leaf-attachment points where new roots develop. For its pothos stem-segment method, it places cuts in the stem between nodes and cautions against cutting too close to a node.
The aim is to preserve a useful node on the piece you will root. Do not snip off a leaf and assume its long stalk contains the same structure. If the nodes are difficult to distinguish, stop and compare the stem with a reliable botanical illustration or ask your local extension service before making more cuts.
Lay the selected piece beside the container before filling it. Check which end is the lower end and which leaves would sit below the intended waterline. This pause makes the next step easier than trying to rearrange an unidentified bundle of stems inside a narrow bottle.
Put the lower nodes in water and leave the leaves out
The University of Vermont Extension’s water-rooting instructions include pothos among suitable vining houseplants. Its method removes leaves from the lower one or two nodes, places the cutting in room-temperature water and keeps all remaining leaves above the surface.
Arrange your cutting accordingly. Inspect it from the side, not only from above. The node you intend to root should reach the water, while a leaf should not be folded down inside the container. Adjust the container or the arrangement if you cannot maintain both conditions.
Before walking away, make these checks:
- The cutting includes an identified stem node.
- Its lower end is oriented correctly.
- The intended rooting node reaches the water.
- No leaf sits below the waterline.
- The container stands securely in its chosen position.
A single clearly arranged cutting is easier to follow than several unlabelled stems crowded together. If you prepare more than one, give yourself a way to tell them apart.
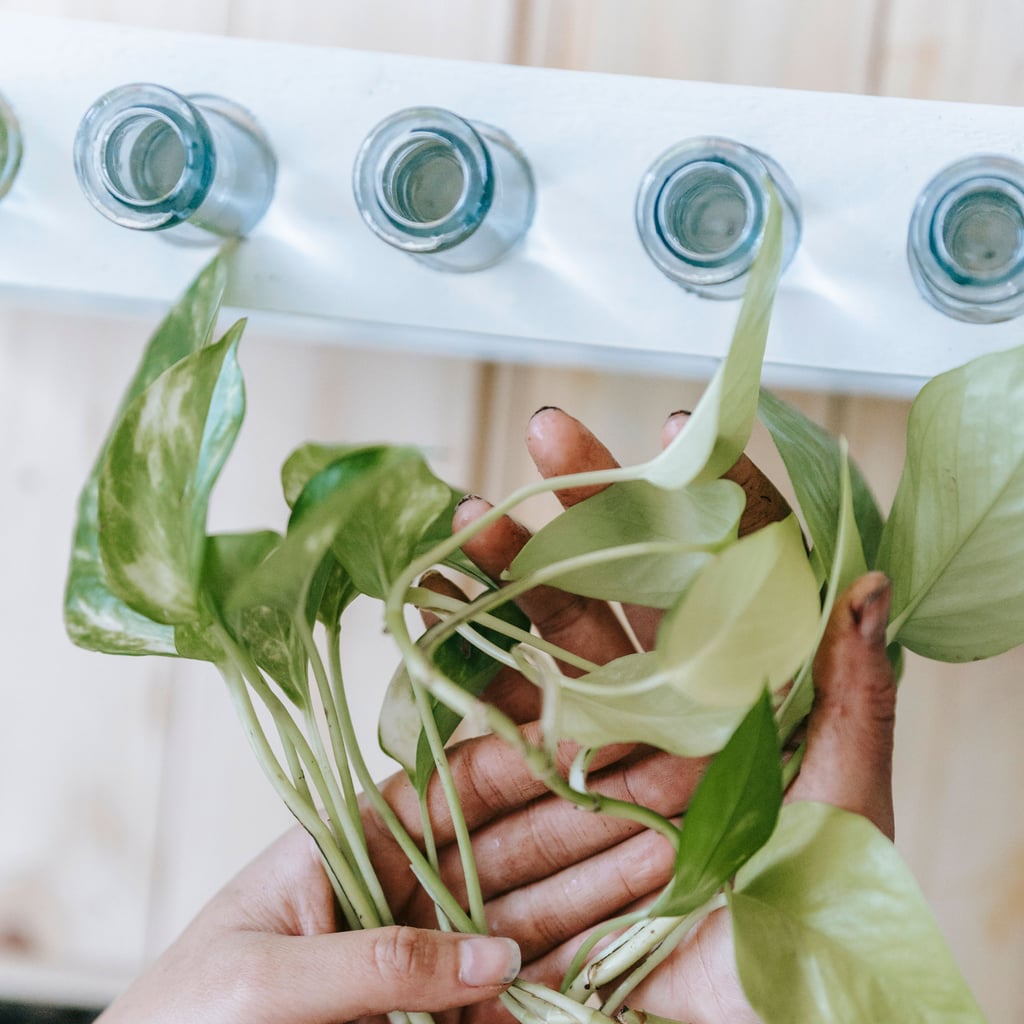
Photo: Teona Swift on Pexels. The photograph illustrates prepared stem cuttings, not a measured rooting result.
Choose a growing position before a display position
Vermont recommends indirect light for the water-rooting setup. Choose for the cutting’s needs before deciding where it would look best beside your books or coffee things.
Our houseplant window-light guide offers a way to observe the light at a proposed plant position. Use it to assess the actual spot, rather than assuming every window ledge receives the same conditions.
Check the arrangement during your normal room routine. Is the container in the way when you open a curtain? Will a trailing leaf catch as someone moves a chair? Is it easy to pick up for a water change? Keep it away from electrical equipment and protect the surface beneath it.
If the safest suitable location is less photogenic than the original idea, use the suitable location. The container is serving a growing cutting, not completing a room photograph.
Check the water and keep a short record
Iowa State Extension’s stem-cutting guide recommends changing rooting water once or twice a week and maintaining enough water to keep developing roots submerged. Vermont additionally advises replacing water if it becomes cloudy.
Use those checks together. A reminder helps you revisit the container, but look at its condition whenever you check it. Support the cutting while changing the water, then confirm the leaves remain above the surface and the rooting area is covered again.
Record observations instead of assigning a promised finish date:
| Note | Example of a useful entry |
|---|---|
| Start | Date and the plant’s saved identification |
| Water check | Water replaced; leaves remain above it |
| Root observation | First visible roots, with a dated photograph |
| Next step | Continue checking, or prepare a pot |
Describe what you see without claiming a diagnosis. Unexpected deterioration is a reason to review conditions and seek plant-specific advice, rather than adding an unverified household treatment.
Move into potting mix when the cutting is ready
Water lets you see root development, but this project includes a later potting step. Vermont’s general houseplant guide suggests potting after roots extend beyond two to three inches. Treat that as its stated guideline, not a guaranteed result on a particular day.
Have the container, suitable mix and a place for drainage ready before removing the cutting. Lift it carefully without forcing the roots through a small opening. Set it in suitable potting mix in the drainage pot, gently settle the mix around the roots and water after planting. Keep its identity label with the new plant.
Iowa State notes that water-grown roots face an adjustment after transfer to potting soil. Its guide recommends consistent care during that transition. Do not assume a newly potted cutting follows the same routine as a large established plant elsewhere in the room.
Wisconsin Extension’s pothos guidance favors a well-aerated growing medium and filtered light. Consult the plant’s care guidance as it establishes, and check the mix rather than repeatedly adding water to satisfy a fixed calendar.
Once the cutting has a pot and a clear care note, the useful work is underway. Keep observing the living plant, preserve the label and let its progress determine your next step.
Frequently asked questions
Is a loose pothos leaf enough for this method?
Use a piece of stem containing a node, rather than a leaf blade or leaf stalk alone. Identify the node before cutting.
Does rooting in water mean keeping the plant there permanently?
No. This guide uses water to begin a stem cutting and includes a later move into suitable potting mix. It is not a long-term hydroponic feeding plan.
Will every pothos cutting root on the same schedule?
No. Observe your cutting instead of setting a guaranteed rooting date. Its condition and growing environment matter.
Photo credits
Photo (pin 1): Teona Swift on Pexels, Pexels License
Photo (pin 2): Teona Swift on Pexels, Pexels License
Photo (inline 1): Teona Swift on Pexels, Pexels License
Sources
- https://www.uvm.edu/extension/news/more-please-propagating-houseplants
- https://www.bbg.org/article/how_to_propagate_houseplants
- https://hort.extension.wisc.edu/articles/pothos-epipremmum-aureum/
- https://plants.ces.ncsu.edu/plants/epipremnum-aureum/
- https://yardandgarden.extension.iastate.edu/how-to/how-propagate-houseplants-stem-tip-cuttings
- https://www.aspca.org/pet-care/aspca-poison-control/toxic-and-non-toxic-plants/golden-pothos