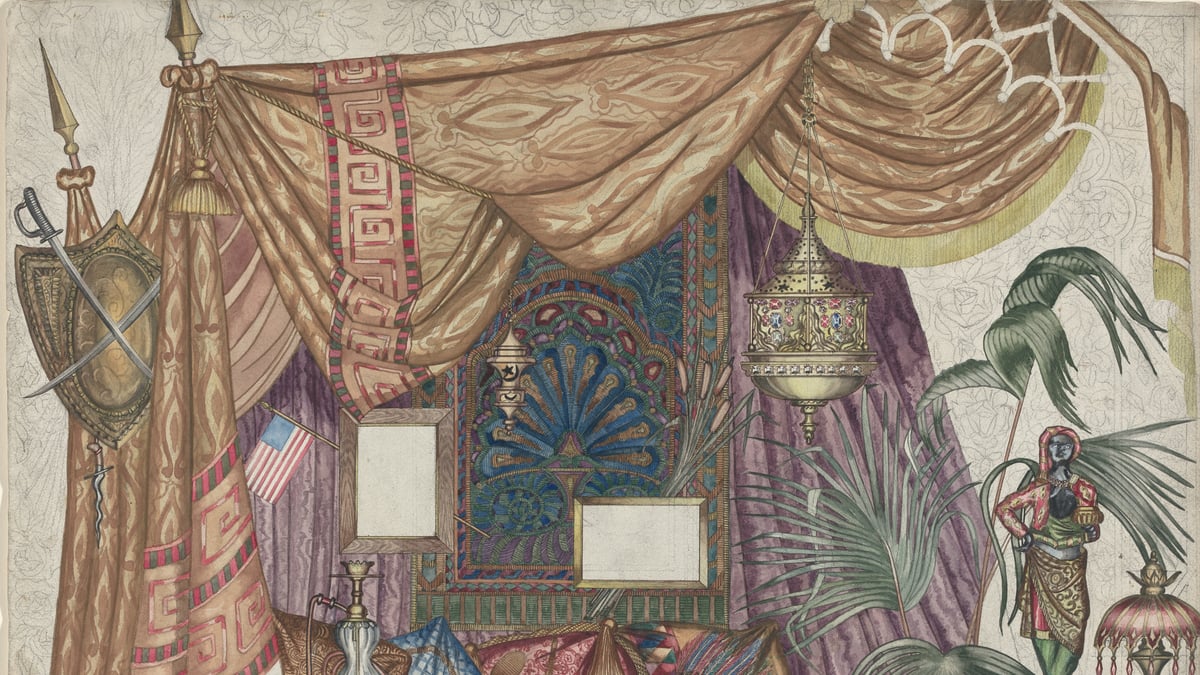
Shelf wallpaper ideas work best when the paper acts as a small backdrop, not the main event. Add it to a bookcase back, one shelf, or a removable panel, then keep the objects simple enough for the pattern to show.
The Best Shelf Wallpaper Ideas for Cozy Displays
Use wallpaper on the back panel of a bookcase
Covering the back panel can give a bookcase a finished look while leaving the shelves unchanged. A small floral, faded check, or linen-look design can make plain white or wood shelving feel warmer.
Measure the height and width of each back section. If the shelves are fixed, apply one panel at a time, starting at the top.
Use the backdrop to support a small display rather than filling every shelf. A few books, a ceramic vase, and a framed photo will show the paper better than a tightly packed arrangement. For more ideas, see how to style a trinket shelf without clutter.
Line only one shelf for a quiet accent
A single wallpapered shelf adds color without covering a large area. Try the lowest shelf of a bookcase, the shelf above a coffee station, or one cubby in a wall unit.
Choose a pattern that relates to the room but does not match every object. A muted blue check behind cream mugs can connect a kitchen shelf to nearby curtains or painted cabinets.
For a narrow shelf, cut the paper to the back wall only. Leave the shelf surface plain so the wallpaper reads as a slim stripe of pattern. If the shelf holds mugs, these mug display ideas can help you keep the arrangement useful.
Frame wallpaper inside open shelving
Wallpaper can sit inside a shallow frame or a simple wooden trim piece behind open shelves. This creates the look of a small art panel and lets you remove the whole piece later.
Cut wallpaper slightly larger than a piece of foam board or thin hardboard. Wrap the edges around the back, secure them, and place the panel inside the shelving unit. A snug fit or removable adhesive can help hold it in place.
A separate backing panel works well when you want a removable installation. It also lets you change the design without touching the shelving.
Pair a small print with warm wood and ceramic pieces
Small patterns pair well with natural wood, ceramics, baskets, and matte metal. Try a honey-colored wood shelf with faded green botanical paper and white stoneware.
Keep the display grounded with a few useful objects. A stack of books, a mug, a candle, or a handmade bowl will make the shelf feel lived in instead of staged. For a smaller coffee-area display, see trinket shelf ideas for a cozy coffee corner.

Choose a Wallpaper Pattern That Supports the Display
Small prints for narrow shelves
Large motifs can disappear on a narrow shelf or look awkward when only part of a flower or figure is visible. Small florals, dots, fine checks, and subtle textures are easier to use in shallow openings.
Look at the wallpaper from the same distance where you will see the shelf. A pattern that looks delicate on a full roll may appear busy behind several small objects.
Stripes and checks for a simple backdrop
Stripes and checks provide structure without adding much visual noise. Vertical stripes can make an opening feel taller, while horizontal lines emphasize shelf length.
Use a soft contrast for a cozy display. Cream and tan, dusty blue and ivory, or sage and warm white sit quietly behind books and ceramics. Strong black-and-white checks need more open space around them.
Botanical patterns for cottage-style corners
Leaves, vines, and small flowers work well in reading corners, bedrooms, kitchens, and entryways. Choose a design with some variation in the leaves so it feels natural behind handmade objects.
Let the botanical paper guide your color choices. Pull one green, one neutral, and one warm accent from the print, then repeat those colors in the shelf objects.
Textured or grasscloth-look designs for neutral rooms
A textured design adds interest when the room has plain furniture. Grasscloth-look paper, soft woven stripes, and plaster-style prints can warm up white shelves without making the display colorful.
These papers pair well with cream pottery, pale wood, black accents, and dried stems. Use texture as the background and let the shape of each object provide contrast.
How to keep bold wallpaper from competing with objects
If the wallpaper is bold, reduce the number of objects and use pieces with simple silhouettes. Leave some of the paper visible, especially around the center of the shelf.
Choose two or three colors from the wallpaper for the display. Objects outside that color group can still work, but too many unrelated colors will make the shelf feel scattered.
Measure and Plan the Wallpaper Before You Cut
Measure each shelf opening separately
Measure each opening separately, since bookcases and cubbies may vary slightly. Write each measurement down and label it by position, such as “top left” or “bottom center.” Leave a small trimming allowance when cutting.
Check whether the back panel is removable
A back panel may be removable, depending on the bookcase construction. If it comes out, wallpapering it on a table is easier and usually gives a cleaner result.
Do not force the panel. If it feels fixed, work in place or use a separate foam-board backing.
Plan pattern direction and repeat
Decide if the paper should run vertically or horizontally before cutting. Keep stripes running in the same direction across adjoining sections.
For a repeating pattern, line up the design at the most visible seams. You may need extra paper to match the repeat. A small amount left over is better than a panel cut too short.
Allow for trimming around edges and outlets
Shelves may have brackets, cord holes, outlets, or uneven trim. Mark these areas on the back of the wallpaper before making a cut.
For a clean edge, press the paper into the corner with a blunt edge, lift it gently, and trim along the crease. Use a sharp craft knife carefully, and protect the shelf surface underneath.
Make a paper template before applying wallpaper
Make a template from kraft paper, newspaper, or scrap wrapping paper. Cut it to the opening and test-fit it.
Mark shelf pins, corners, and obstructions on the template. Place the template over the wallpaper and trace the shape. This is especially useful for irregular cubbies.
Removable Ways to Add Wallpaper to Shelves
Peel-and-stick wallpaper
Peel-and-stick wallpaper works on a smooth, clean back panel. Apply it slowly from one edge, pressing down a few inches at a time to reduce bubbles.
Test a small area first, especially if the shelving has a painted or delicate finish. Work slowly around corners so the paper does not crease.
Wallpaper attached to foam board
Foam board can serve as a separate backing panel if it fits the shelf opening. Cut it to size, cover the front with wallpaper, and place it behind the objects.
A separate backing panel keeps the shelf surface uncovered and lets you store several designs flat in a closet. It is also a practical choice for a rental. More removable decorating ideas are in cozy corner ideas for a rental apartment.
Decorative paper secured with removable adhesive
Wrapping paper, scrapbook paper, and large art paper can work for a temporary display. Secure the corners with removable adhesive squares or narrow strips rather than permanent glue.
Choose paper with enough weight to lie flat. Thin paper may wrinkle around adhesive or show every bump behind it.
Magnetic or tension-fit back panels
A magnetic or tension-fit panel can be removed without attaching paper to the shelf. Make sure the panel fits securely and cannot tip forward onto fragile objects.
A small strip of removable adhesive at the bottom can help steady a loose panel. Keep the fit snug without forcing it into place.
When permanent paste makes sense
Permanent paste makes sense when the shelf is yours to change and you plan to keep the design for a long time. Use it on a clean, sound surface and let the paper dry fully before placing objects against it.
Style the Shelves Around the Wallpaper
Build each shelf with one tall, one medium, and one low object
Combine tall, medium, and low objects. A tall vase or book stack can sit beside a medium bowl, with a low candle or small dish in front.
Change the order from shelf to shelf so the unit does not look too arranged. Keep taller pieces toward the sides when you want the center of the wallpaper to remain visible.
Repeat two or three colors from the wallpaper
Pull colors from the paper instead of choosing every object separately. If the wallpaper has sage, cream, and rust, use a sage vase, cream books, and one rust-colored bowl.
Repeating a few colors creates a coordinated look without making the display feel matched.
Mix books, mugs, candles, plants, and small handmade pieces
A cozy shelf benefits from useful and decorative things. Stack books horizontally, place mugs in pairs, and add a small plant or handmade ceramic piece for texture.
Keep candles away from loose paper edges and use a candle holder with a stable base. A small framed photograph can add a personal detail without adding much color.
Leave open space so the pattern can be seen
Wallpaper needs breathing room. Leave a strip of the design visible around each object, especially if the pattern is detailed.
Start with fewer objects than you think you need. Step back, then add one piece only if the shelf still looks bare.
Use warm lighting to soften high-contrast prints
Try warm lighting in the evening and assess the result. Aim the light at the objects or the upper part of the backing rather than directly at a glossy surface.
Check the shelf in daylight first. Wallpaper colors can look different under warm bulbs.
Common Shelf Wallpaper Mistakes to Avoid
Using a pattern that is too large for the opening
A large design may show only fragments in a small cubby. It can also compete with the objects if the shelf is already full.
Skipping a test panel
Test a small section before covering the full back panel. This shows how the color looks beside the shelving and how easily the paper can be removed.
Covering the entire shelf with clutter
Too many objects hide the wallpaper and make the display hard to use. Remove a few pieces before adding more.
Ignoring peeling edges and uneven surfaces
Peeling edges usually point to dust, an uneven surface, or adhesive that has not bonded well. Smooth the surface before applying paper, and press down the edges as you work.
Choosing wallpaper that is difficult to clean
Open shelving collects dust. For areas exposed to splashes, choose a paper with a surface that can be wiped without rubbing hard or soaking the edges.
A Simple Weekend Shelf Wallpaper Project
Allow enough time for the shelf to remain empty while you work. Gather wallpaper, a tape measure, pencil, ruler, scissors, a clean cloth, and removable adhesive or wallpaper adhesive.
- Measure the opening. Measure the opening in more than one place if it appears uneven. Record the measurements, account for unevenness, and make a paper template to check the fit.
- Cut the panel. Transfer the template to the wallpaper and leave a small trimming allowance. Mark the top of the panel and the pattern direction.
- Clean and dry the shelf. Remove dust and grease with a lightly damp cloth, then let the surface dry completely.
- Test-fit the panel. Place the wallpaper or covered backing in the opening without adhesive. Check the corners, shelf pins, cord holes, and pattern alignment.
- Apply the wallpaper or fit the removable backing. For peel-and-stick paper, attach one edge first and smooth outward in small sections. For foam board, secure the wallpaper to the board and set the finished panel in place.
- Trim the edges. Use a sharp blade and a straightedge for clean lines. Press down the corners and check for bubbles.
- Restyle the shelf. Start with one arrangement of tall, medium, and low objects. Add books, ceramics, plants, or mugs while leaving enough wallpaper visible.
- Check the result in daylight. Step back several feet and look for crowded areas, crooked lines, or colors that need balancing. Move one or two objects rather than filling every gap.
Frequently asked questions
Can I use peel-and-stick wallpaper on the back of a bookcase?
Yes. It works best on a smooth, clean back panel. Test a small area first, then apply the paper slowly from one edge to reduce bubbles.
How do I wallpaper the back of a shelf without removing the shelves?
Make a paper template for each opening, then cut the wallpaper to fit. Start at the top edge and work the paper into the back corners around the fixed shelves.
What wallpaper pattern looks best on small shelves?
Small florals, fine checks, narrow stripes, dots, and subtle textures work well. Large motifs can look cut off or compete with objects in a tight opening.
How can I make shelf wallpaper removable in a rental?
Use a separate foam-board backing panel or attach decorative paper with removable adhesive squares. Lift out the panel when you move.
Should the wallpaper match the room or the objects on the shelves?
Start with the room's larger colors, then repeat two or three shades from the wallpaper in the objects. The paper does not need to match exactly.
Photo credits
Photo (inline 1): Derby Museums Trust, Alastair Willis, 2017-12-18 19:09:55 on wikimedia via Openverse, CC BY 2.0