
AI disclosure: This article was drafted with AI assistance and reviewed by our editor before publishing. Learn more.
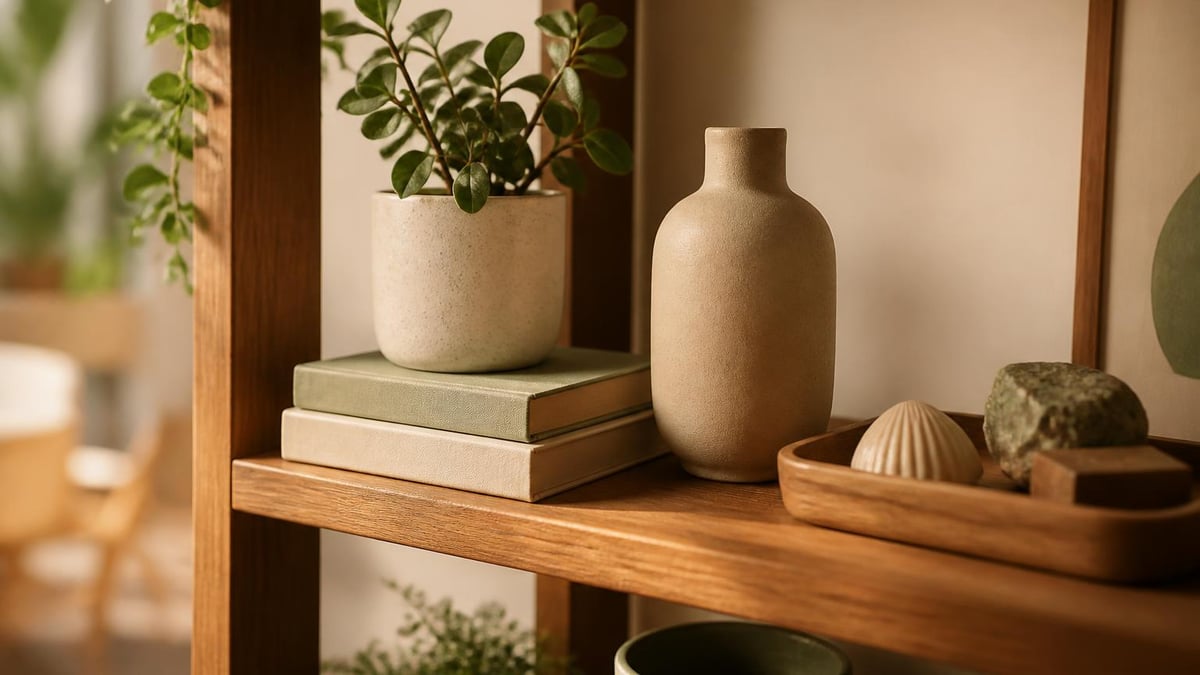
Keep it intentional: arrange items in small groups, stick to a 2–3 color palette, and leave visible gaps so each object can breathe. Measure the shelf (8–12 inch depth is ideal), limit groups to 3–5 items, and build each group with at least two different heights and 3–6 inches of space above the tallest piece.
Direct answer: keep it intentional with small groups, a clear palette, and spacing you can actually see
If you want a shelf that looks calm, make three clear choices: size, color, and spacing. Match items to the shelf dimensions, use 2–3 repeating colors, and leave real gaps between groups so each cluster reads as one thing.
Why most trinket shelves feel cluttered
Shelves get crowded when things are added one by one until every inch is filled. The eye has nowhere to rest.
Clutter also comes from too many colors, similar heights, or objects that compete for attention. When everything shares the same visual weight, the shelf reads as noise instead of a collection.
The three core decisions that determine success
- Size: match items to shelf depth and height. If a shelf is 8–12 inches deep, avoid items that stick past the front or crowd the back.
- Color: pick 2–3 colors for the whole shelf and repeat them across groups.
- Spacing and rhythm: leave 1–2 inches between clusters and 3–6 inches above the tallest piece so groups don’t pinch each other.
A simple three-step method to start
- Empty the shelf and photograph it—this gives you baseline spacing and scale.
- Choose your palette (2–3 colors) and your stars (1–2 larger pieces).
- Arrange in small clusters of 3–5, check spacing, then step back for 3–5 minutes and adjust.
Before you place a single item: measure, plan, and pick a palette
Measure the shelf: width, depth, height
Use a tape measure. Note the shelf depth (ideal: 8–12 inches) and the total height to the next shelf or ceiling. Measure height in at least two places in case the shelf is not level.
Write width, depth, and height on a sticky note and keep it while you shop or pull pieces from storage. If a vase is 10 inches tall and your shelf allows only 12 inches, plan for 3–6 inches of headroom to avoid a pinched look.
Choose a palette: keep to 2–3 colors
Pick two dominant colors and one accent. Example: warm white, soft green, and a brass accent. Repeat those colors across different materials—ceramic, textiles, wood—to knit the shelf together.
Limit the overall number of hues to 2–3 so the eye finds repetition instead of chaos.
Decide on a few “stars” and support them with smaller pieces
Choose 1–2 stars per shelf—visually heavy pieces like a vase, framed photo, or small plant. Support each star with smaller objects: a stack of books, a cup, or a low bowl.
A tray or small platter under loose items gives them a home and makes weekly resets faster.
Group, don’t scatter: the power of small, intentional clusters
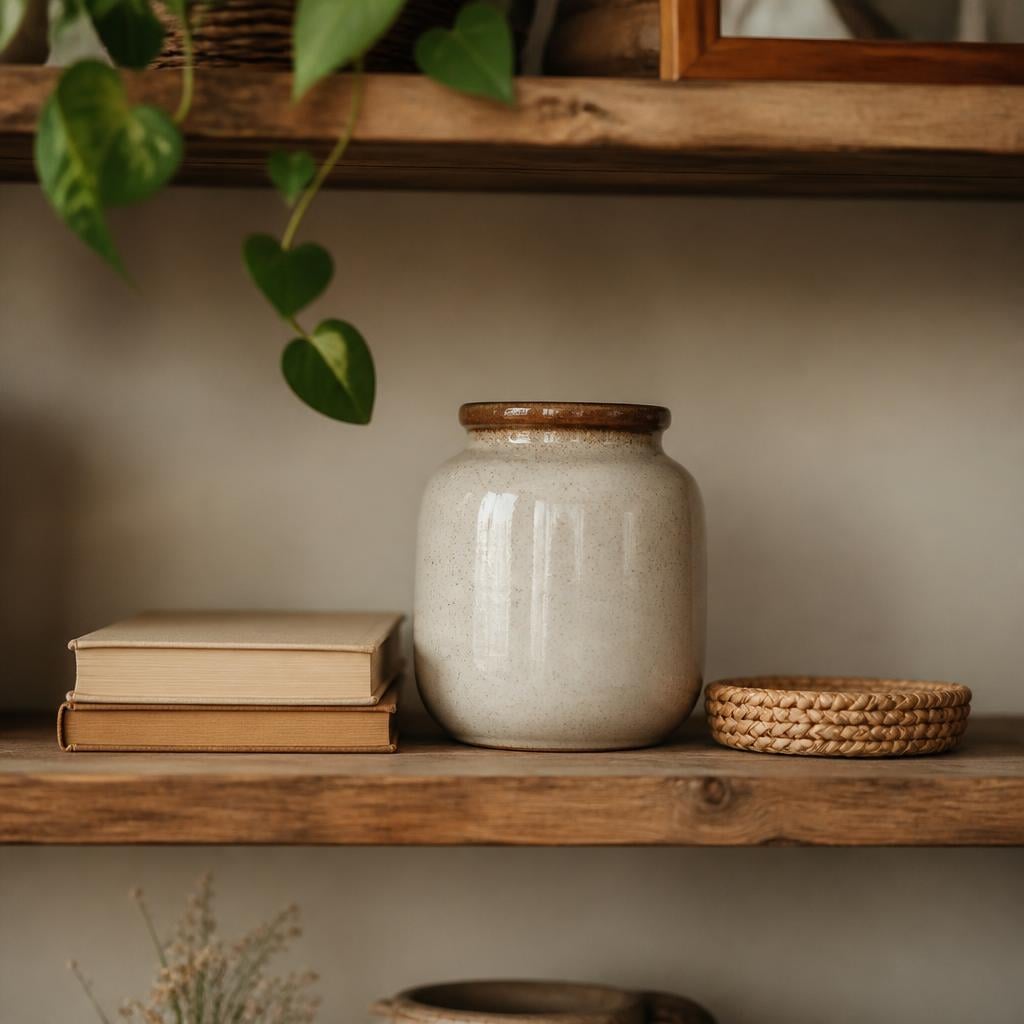
Group items in clusters of 3–5 instead of a single line across the shelf. A cluster reads as one unit and gives the eye a place to rest.
- Place your star item slightly off-center in the cluster.
- Anchor with a flat object (book or small tray).
- Add a taller, a medium, and a small object to create vertical interest.
Table-like guidance (use this as a checklist when styling):
- Shelf depth and item group sizing: Ideal shelf depth is 8–12 inches; groupings of 3–5 items per shelf create a balanced look without crowding.
- Color strategy: Limit to 2–3 colors across the whole shelf and reuse colors in different items to reinforce cohesion.
- Height variation: Use at least two different heights within each group (for example, a small book, a ceramic jar, and a taller vase).
- Spacing: Allow 1–2 inches of negative space between clusters and 3–6 inches above the tallest item in a cluster.
- Foundation items: Use a tray or a small platter to corral loose objects; this helps keep the surface legible and easy to reset.
- Maintenance cadence: Do a 5-minute weekly tidy where you remove one item that doesn’t feel essential and re-check spacing and color balance.
How many items per shelf
Aim for 3–5 items per cluster and 1–3 clusters per shelf depending on width. If your shelf is shallow (8 inches), stick to smaller objects; if it’s deeper (12 inches), you can layer slightly more without crowding.
Using varying heights within a group
Include at least two heights. Example: one small book (1-inch spine), one ceramic jar (4–5 inches), and one vase (8–10 inches). The eye moves across those differences and the shelf reads calm.
The visual rhythm of repetition
Echo shapes, colors, or textures every 2–3 clusters. If you have a small white ceramic bowl on the top shelf, repeat a white candle or coaster on the lower shelf. That repetition makes the whole display feel considered.
If you keep a coffee corner nearby, these rules work well there too—see ideas in our post about a cozy coffee corner: Trinket Shelf Ideas for a Cozy Coffee Corner.
Layer textures, materials, and finishes without losing calm
Vary textures in a single color family
Keep color constant and vary finish: matte ceramic, linen-wrapped book, satin wood. This adds depth without introducing new color.
Introduce natural materials for warmth
Wood, stone, and woven fibers warm a small shelf more effectively than adding more objects. A small wooden bookend or a 3–4 inch woven coaster will anchor a cluster.
If you make small clay pieces, the tutorial for air-dry coasters is useful: Air-Dry Clay Coasters for Your Coffee Corner. For sealing them against spills, see our how-to: How to Seal Air-Dry Clay to Survive Spills.
Limit shiny finishes that reflect clutter
Too much metal or glass creates reflections that highlight minor mess. Use one shiny element as an accent rather than several.
Use practical tools: trays, risers, and negative space
When to use a tray
Use a tray when you have loose, small items (keys, shells, coins, jewelry). A tray 8–10 inches wide works well on an 8–12 inch deep shelf. Trays create a base and reduce visual noise.
Choosing and placing risers
Risers add a second plane and help when two objects are similar in height. A riser that raises an item 2–4 inches gives separation without looking tacked-on.
Leave intentional gaps for breathability
Always leave 1–2 inches between clusters so each grouping reads separately. Treat negative space as a design choice—it keeps a shelf from feeling crowded.
Lighting, maintenance, and quick fixes
Soft, warm light levels that flatter objects
Choose 2700–3000K bulbs for warm light. Aim for 300–600 lumens per shelf if using a small directional light or LED strip. Lower levels keep the feel cozy and prevent harsh shadows on small objects.
Weekly 5-minute shelf reset routine
Do this every week:
- Remove dust and wipe surfaces (1–2 minutes).
- Remove one non-essential item (30 seconds).
- Re-check spacing and color balance, moving items 1–2 inches if needed (1–2 minutes).
- Replace any unsteady objects (30 seconds to 1 minute).
Total time: about 5 minutes.
When to edit: signs a shelf is off balance
If you can’t describe the shelf in three words (for example, “calm green display”), or if one section draws all the attention, the balance is off. If you move items daily, there are too many contenders.
A quick, repeatable routine to keep shelves tidy
10-step 10-minute refresh checklist
- Stand back and take a photo (30 seconds).
- Remove any dust (1 minute).
- Take everything off one shelf (1 minute).
- Reposition foundation items (tray, riser) (1 minute).
- Place your star item (30 seconds).
- Add supporting items to make a 3–5 piece cluster (2 minutes).
- Check spacing: leave 1–2 inches between clusters and 3–6 inches above tallest pieces (30 seconds).
- Repeat on the next shelf if needed (1 minute).
- Swap one item for a seasonal or new piece if you want a tweak (30 seconds).
- Take a final photo and compare to the first (30 seconds).
Seasonal tweaks you can plan in an afternoon
Pick two shelves to update each season. Swap one color accent and one small texture (for example, linen for cotton) and add a small seasonal object. Most swaps take 20–30 minutes.
What not to overdo: avoiding over-editing
Avoid moving every item at once. Make one or two changes and live with them for a week before editing again.
Reader-friendly wrap-up: a concise checklist you can print
Core rules in one page
- Measure: depth 8–12 inches preferred.
- Limit colors: 2–3 across the whole shelf.
- Build groups: 3–5 items each, 1–3 clusters per shelf.
- Heights: at least two heights per cluster; leave 3–6 inches above tallest item.
- Spacing: 1–2 inches between clusters.
- Maintain: 5-minute weekly reset, remove one non-essential item each week.
A sample 2-shelf setup you can imitate
| Shelf | Items (left to right) | Colors | Notes |
|---|---|---|---|
| Top | Small plant (8”), stack of 2 books (1” + 1”), ceramic vase (6”) | Green, cream, clay | Cluster of 3, 3–6” above tallest, 1–2” gap to next cluster |
| Bottom | Small tray with keys & shell, framed 4x6 photo, low wooden bowl | Cream, warm wood, brass | Tray anchors loose items; repeat cream color from top shelf |
Common mistakes and how to fix them
- Too many colors: remove any color that appears only once.
- Uniform height: add a book or riser to create vertical variety.
- Objects touching edge: move objects 1–2 inches away from the front to avoid a precarious look.
If you want shelf ideas for a small coffee corner or a tight apartment nook, see our posts on a cozy coffee corner and a smart apartment coffee station: Trinket Shelf Ideas for a Cozy Coffee Corner and Apartment Coffee Station Ideas: A 60 cm Corner That Works.
Watch the short version
Frequently asked questions
How do I know how many items to place on a shelf without it feeling crowded?
Aim for clusters of 3–5 items and 1–3 clusters per shelf depending on width. Leave 1–2 inches between clusters and give the tallest item 3–6 inches of headroom.
What color palette works best for small trinket shelves in cozy corners?
Use 2–3 colors total and repeat them across objects and materials. A neutral base with one or two muted accents—warm white + sage + brass, for example—keeps things calm and easy to swap seasonally.
How can I mix meaningful keepsakes with new finds without creating clutter?
Choose 1–2 keepsakes as the stars and support them with smaller, less sentimental items. Corral tiny bits on a tray and repeat a color or texture to link old and new.
What are quick fixes if a shelf suddenly looks crowded after rearranging?
Remove one item and step back for a minute. If it still feels busy, reduce the color palette or rebuild clusters of 3–5.
How often should I refresh a shelf to keep it feeling intentional?
Do a short weekly 5-minute tidy and a more deliberate seasonal refresh every 2–3 months. Small, regular edits are easier to live with than big, frequent overhauls.
Tools and gear mentioned
Free tool
Coffee Brew Ratio Calculator
Coffee-to-water for pour-over, French press, AeroPress and espresso.
Open calculatorFree tool
Cost Per Cup Calculator
What your home coffee really costs versus the café.
Open calculatorFree tool
Coffee Station Budget Planner
Pick a space and a budget tier and get an itemised shopping list.
Open calculatorFree tool
Caffeine Calculator
Caffeine per drink and your daily total against the 400 mg guideline.
Open calculator