Yes - you can start junk journaling right now with things already in your house. You don’t need specialty supplies: pick a notebook or a stack of paper, gather scraps and a few basic tools, and plan for short, focused sessions in a small, tidy space.
Start junk journaling with what you already own
Why this approach helps
Starting with found materials keeps costs low, reduces waste, and removes the barrier of “needing to buy everything first.” You’ll learn what you like by using what you have: that makes finishing pages easier and keeps the process realistic. I find a small, repeatable setup prevents overwhelm and makes it possible to finish things in short blocks of time.
Inventory your supplies
Make a quick list now. Set a 10-minute timer and pull everything craft-related into one pile. Use common paper sizes as available (no fixed dimensions).
| Item | Typical size/amount to gather | Notes |
|---|---|---|
| Paper scraps & magazine pages | use common paper sizes as available (no fixed dimensions) | Save corners and interesting images |
| Envelopes & receipts | assorted sizes | Ticket stubs, receipts with dates |
| Greeting card fronts | assorted sizes | Cut to create sturdy tags |
| Fabric scraps | assorted pieces | Use for texture or tabs |
| Adhesives | have a glue stick, a small bottle of PVA, and some double-sided tape on hand as needed | One glue stick and a small bottle of PVA cover most needs |
| Tools | scissors, ruler, pencil, stapler (optional) | Keep within reach in your kit |
| Container | use a shallow bin or tote large enough to hold ephemera and a few tools | Keeps items tidy and portable |
If you don’t want to sort everything at once, pick one drawer or basket and call that “today’s stash.” The goal is usable piles, not perfection.
Set a container for found items
Use a shallow bin or tote large enough to hold a few magazines, envelopes, and basic tools without getting bulky. When it fills, choose the best pieces and recycle the rest. I keep one tote for “current” and another smaller box for overflow.
Common items to repurpose
- Cardboard from packaging: cut to make stiff pages or tabs.
- Calendar pages and map pages: good for backgrounds, often printed on heavier paper.
- Greeting-card fronts: sturdy, already decorated.
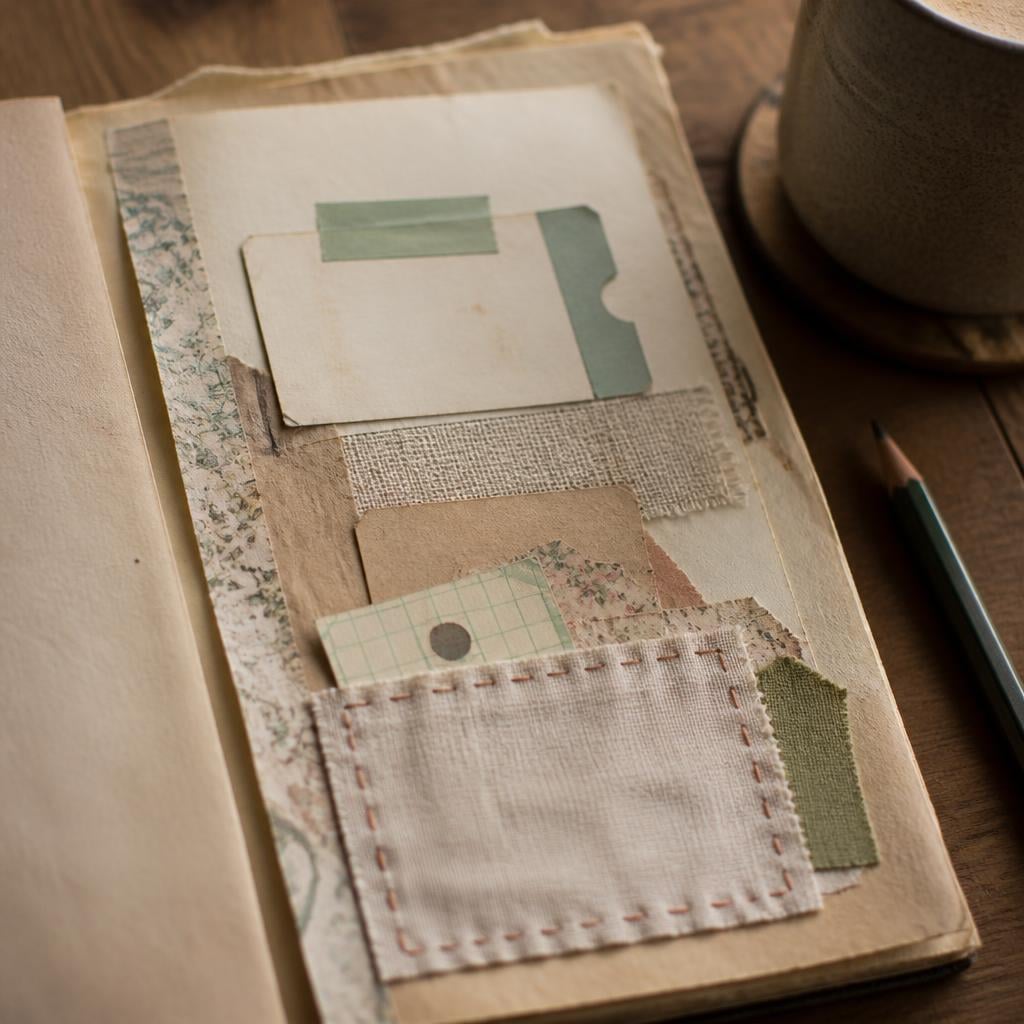
- Fabric scraps and ribbon: small rectangles make pockets and texture.
Create a basic setup
Choose a journal or notebook
Any bound notebook, spiral pad, or loose-leaf folder will do. If you have nothing dedicated, repurpose a manila folder and glue or staple a handful of pages inside to start. I often use an old composition book or a cheap spiral for trial runs - if I ruin a page, it’s not a panic.
Gather a basic toolkit
Put these in a tray or zip pouch so they’re always ready:
- Scissors (household pair)
- A glue stick, a small bottle of PVA glue, and some double-sided tape
- Pencil and ruler
- Stapler (optional)
- A scrap of wax paper or a small plastic placemat to protect your table
If you work with wet bits (paint, glue) keep a small jar of water and a cloth nearby for quick cleanups.
Designate a small workspace
A tray, cutting mat, or a placemat gives you room to lay out papers and tools. Keep the space near a small bin for trash and a flat surface for drying glued areas. I work on the kitchen table and place a folded towel under heavier collages to press while they dry.
Choosing pages and ephemera
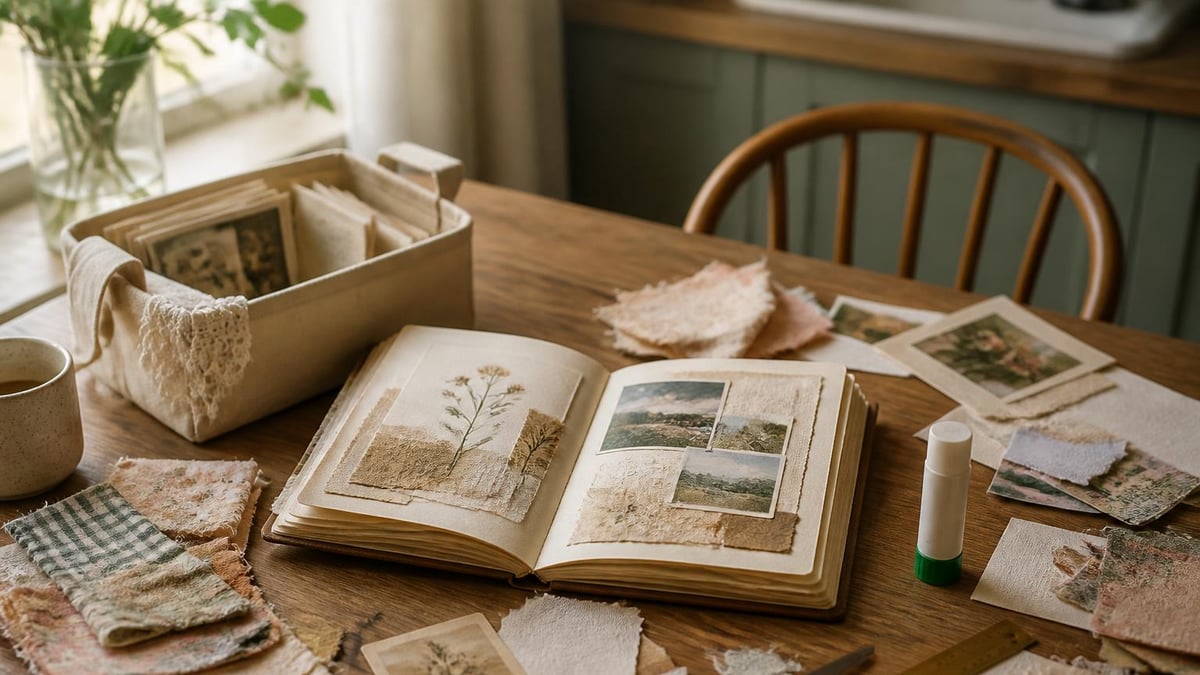
Prioritize things that mean something to you or that you simply like the color of - a photo corner, a magazine ad, or a bus ticket. Group similar finishes so you can see how they layer: matte papers together, glossy magazine pages together, and fabric/textured pieces together. Don’t spend forever deciding; choose a few items per page and try them in different orders until something looks right.
Starting steps
- Pick a starting page. Start with a reasonable scrap size; cut from larger pieces as needed.
- Set your base. Place the starting page in the journal or on a loose sheet, and decide on a plain background or a simple collage. If you want a sturdier page, glue the scrap to a cardboard backing (cut from a box) trimmed to the same size.
- Gather adhesives. Use what you have: a glue stick, a small bottle of PVA, and double-sided tape. Double-sided tape works well for photos and instant bonding.
- Attach your first ephemera piece. Apply glue or tape to the back edges, press firmly, and hold down until it sets. For heavier pieces like fabric or cardboard, apply glue to both surfaces and weigh with a book while they dry. A good rule is to press for at least 10–15 minutes, then leave under a thin book for 24 hours.
- Add a second layer or text. Write a short caption, a date, or a phrase with a pencil or pen. Layer a smaller scrap on top for depth. Keep the text short and readable.
- Seal or finish lightly. If the top piece curls, place clear tape along the edges or add small bits of double-sided tape under the corners. Otherwise leave pages to develop texture; you can flatten them later under weight.
(That numbered list is the core sequence I use whenever I start a new page.)
Keeping it simple: a sustainable rhythm
Work in short sessions at a regular, sustainable pace that fits your schedule. Find an amount of time you can repeat without feeling pressured, and treat it like a small habit. Aim for 20–30 minute sessions or even two 10-minute bursts if that fits better.
Limit new material intake: aim to use at least one item from your own stash each session. That keeps the practice sustainable and helps you cull unused items. End each session with a small finish - a line of handwriting, a stamped date, or a tiny sticker - so you’ll feel satisfied and ready to come back.
Maintenance and storage
Store your journal flat or standing upright in a filing bin to prevent warping. If pages are bulky, lay the journal flat under a light weight (a thin book) for 24 hours after gluing. Keep a small tab or index on the inside cover listing date ranges or themes (e.g., “June–Aug 2026: trips & receipts”).
Review and prune every few months. If a page no longer fits or an item feels irrelevant, remove it by carefully cutting the spine edge and taking the single page out to reuse or recycle. I also keep a small folder for fragile or wet items until they dry and can be safely glued.
If you use craft materials that need sealing or extra protection, see practical notes on sealing in my post about sealing air-dry clay: How to Seal Air-Dry Clay to Survive Spills. For small displays or trinket arrangements using finished pages, you might like tips from How to Style a Trinket Shelf Without Clutter. If you pair your journal with small handmade items - coasters or clay pieces - there are simple projects like Air-Dry Clay Coasters for Your Coffee Corner that work alongside a journaling habit.
Practical notes about the plan
- No sources were fetched for this topic.
- Unable to extract concrete, sourced facts for some specifics; this plan relies on common craft practices and practical, low-cost methods.
- The instructions use practical measures and steps drawn from hands-on experience rather than cited research.
Quick tips and pitfalls to avoid
- Don’t use too much glue. A thin layer works better than puddles; excess glue causes warping.
- Keep heavier items toward the center of the spread so the journal closes more evenly.
- Label small items with the date or short note before attaching them, especially receipts or tickets that might fade.
- If a page feels unfinished, add one small element only - a strip of washi, a caption, or a sticker. That preserves momentum.
Watch the short version
Frequently asked questions
What exactly is junk journaling?
Junk journaling is a hands-on practice of making journals and collages from found and repurposed materials: scraps, ephemera, fabric, packaging, and printed paper. It emphasizes memory, texture, and reuse over perfection.
Do I need special supplies or can I start with what I own?
You can start with what you own: any notebook or loose sheets, scissors, a glue stick or small bottle of PVA, and scraps of paper or fabric. Special supplies are optional and can be added later as you discover preferences.
How do I decide what to add to a page without overthinking it?
Use a simple rule: pick a base, one focal piece, one texture, a short caption, and a tiny finish. If you’re unsure, pick three items, arrange them, and remove one. If you like at least one piece, glue it down.
How long should I spend on each page or session?
Aim for short, repeatable sessions: 10, 20, or 30 minutes. Consistency matters more than length. Two 10-minute bursts often work better than one long session.
What if my pages won’t stay put or keep bending?
Press glued pieces for 10–15 minutes, then leave the journal under a thin book for about 24 hours. Use double-sided tape for photos and clear tape along edges for persistent curl. Store finished journals flat or upright in a filing bin.
Tools and gear mentioned
Coffee Brew Ratio Calculator
Coffee-to-water for pour-over, French press, AeroPress and espresso.
Cost Per Cup Calculator
What your home coffee really costs versus the café.
Coffee Station Budget Planner
Pick a space and a budget tier and get an itemised shopping list.
Caffeine Calculator
Caffeine per drink and your daily total against the 400 mg guideline.