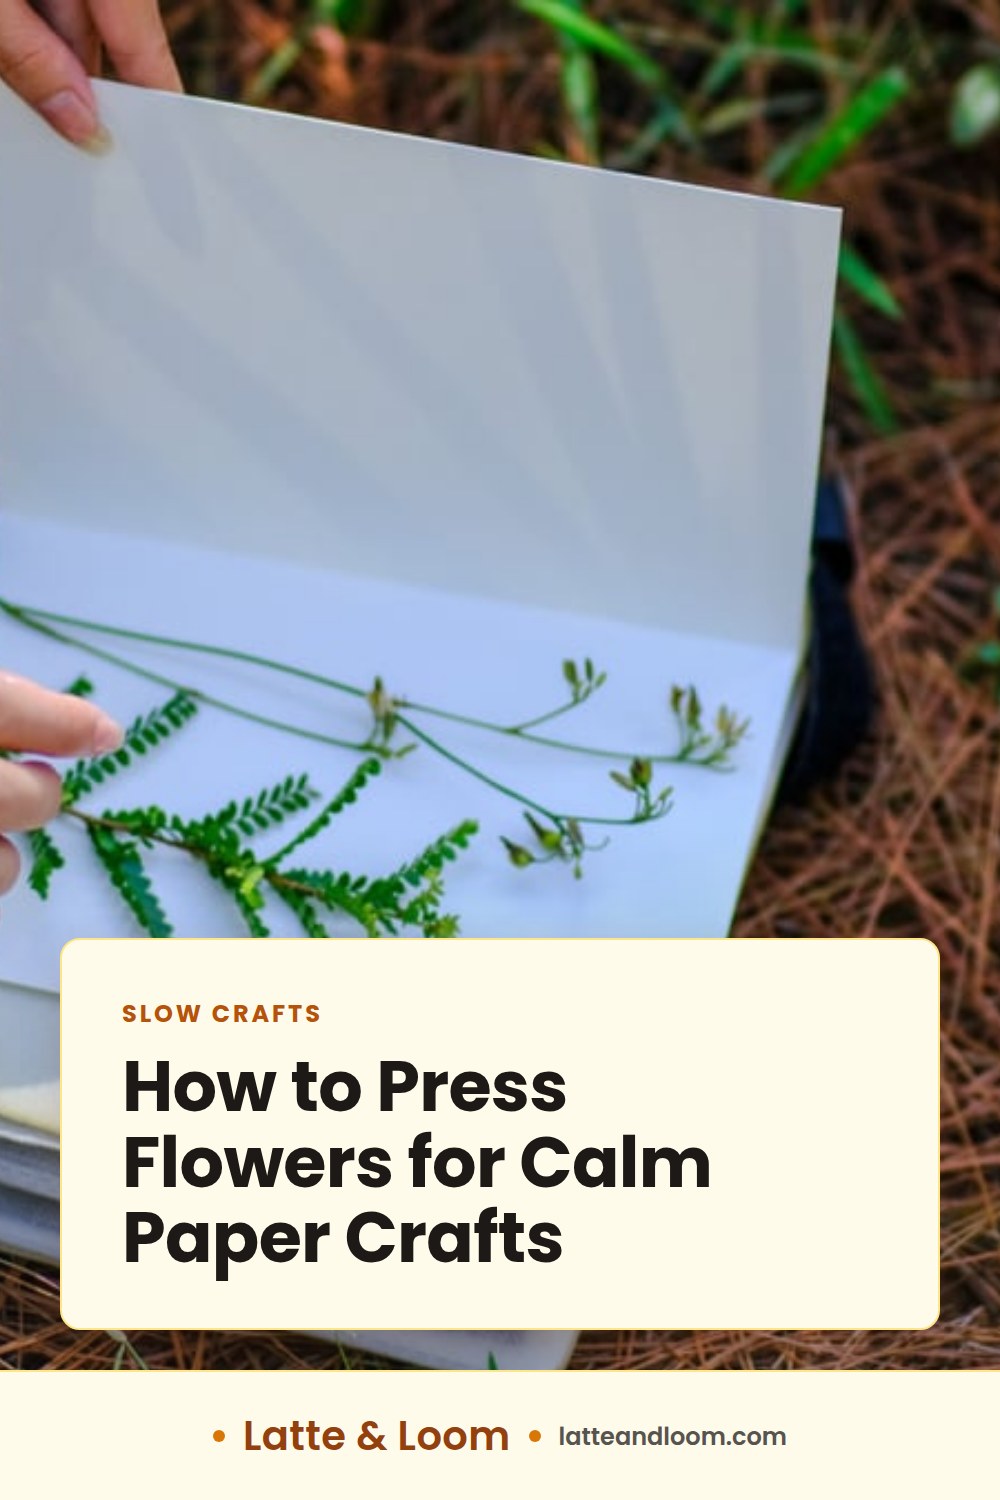
Pressing flowers is a slow craft with a small setup: dry plant material, absorbent paper, flat cardboard and steady weight. The goal is not to squeeze a fresh flower as hard as possible. It is to hold the flower flat while moisture moves into the surrounding paper.
For a first attempt, choose a few thin flowers or leaves that are already dry on the surface. Arrange them between layers of uncoated paper, sandwich those layers between cardboard, add even pressure and leave the press in a warm, dry place. When a flower feels papery rather than cool or damp, it can move into a card, journal page or simple framed arrangement.
Start with flowers that press well
Thin, fairly flat material is the easiest place to begin. Small daisies, pansy-shaped flowers, individual petals, fine ferns and thin leaves are more cooperative than thick centers or fleshy stems. The Natural History Museum notes that bulky plants take longer to lose moisture and are more likely to go mouldy. University of New Hampshire Extension likewise recommends thin leaves and flowers for a basic cardboard press.
Collect only where you have permission, take a modest amount and leave healthy plants behind. Avoid protected plants and any flower you cannot collect legally. Garden cuttings, a gift bouquet that is starting to fade or petals that have fallen cleanly can be simpler choices than picking wild plants.
The material should be free of rain, dew and visible dirt. If a flower is damp, let the surface dry before it enters the press. Skip wilted, bruised or spotted pieces because pressing will preserve those marks rather than repair them.
| Good first choices | More difficult choices |
|---|---|
| Individual petals | Succulent leaves |
| Flat, open flowers | Thick flower heads |
| Fine ferns | Fleshy stems |
| Thin leaves | Wet or wilted material |
Gather a simple press
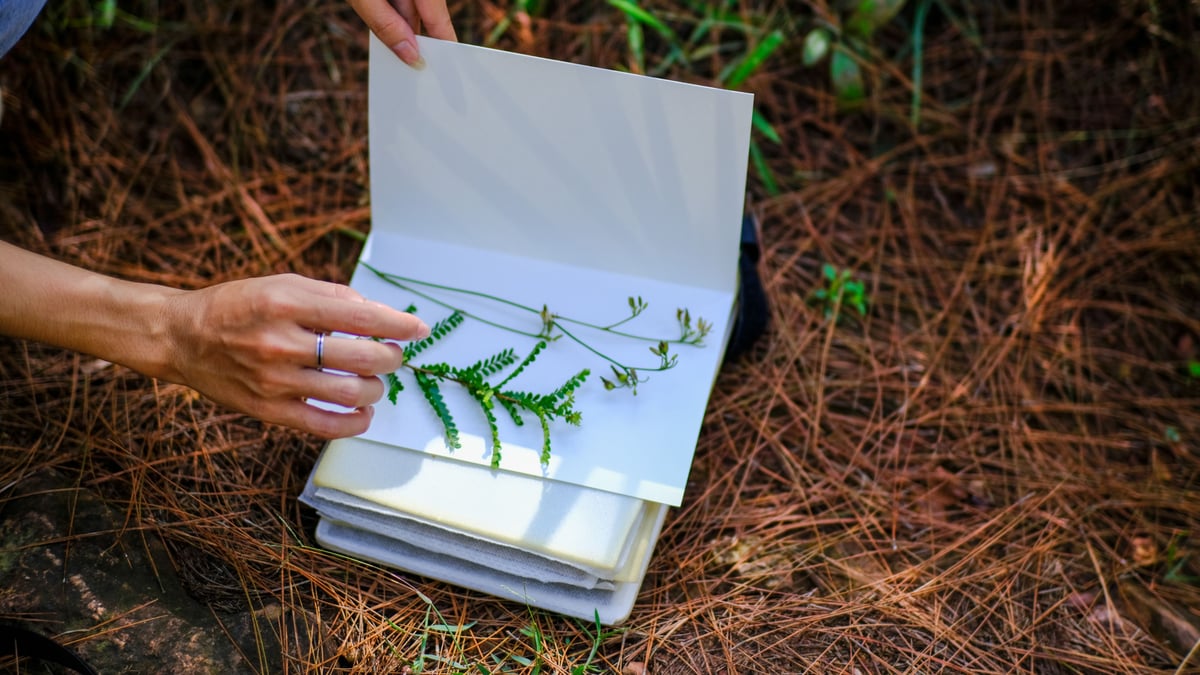
You do not need a purchased flower press for a small batch. Gather two pieces of flat corrugated cardboard, several sheets of clean uncoated paper, two sturdy books or boards, extra books for weight, and a small paper label.
Newspaper or newsprint is useful because it is absorbent and uncoated. Avoid glossy magazine pages around the flowers; their coated surface slows moisture transfer. If the paper has heavy ink, put a clean sheet of plain absorbent paper directly beside the plant material.
Keep the press wider than the arrangement so every edge stays supported. If you use a valuable book as the outer weight, protect it with cardboard and keep the plant material inside its own paper layers. The plant should never touch a page you want to preserve.
Arrange the first layer carefully
Work with one flower or leaf at a time.
- Place a sheet of cardboard on the table.
- Add two or more sheets of absorbent paper.
- Set the flower face down or sideways, depending on the shape you want.
- Ease petals apart with clean fingertips or the blunt end of a pencil.
- Add a label with the plant name, collection date and location if you know them.
- Cover the arrangement with several more paper sheets.
- Add the second cardboard sheet.
Leave space between specimens. Overlapping petals can trap moisture, and overlapping flowers may stick together. Turn one leaf over if you want both sides represented in a small collection.
For a flower with a thick center, remove some bulk only if doing so will not destroy the shape you want. Otherwise choose another specimen for the first press. A thin flower that dries successfully is more useful than a dramatic flower that stays damp in the middle.
Add even pressure and wait
Place the closed cardboard sandwich on a flat surface in a warm, dry, ventilated room. Put a sturdy book or board on top, then add enough weight to keep the whole arrangement flat. Pressure should reach every corner; a lopsided stack can leave one side curled.
UNH Extension’s simple plant-press activity recommends leaving the press alone for at least two weeks before checking. The Natural History Museum explains that total drying time can range from a few days to several weeks, depending on the plant and conditions. Treat two weeks as an initial checkpoint, not a guaranteed finish date.
Write the start date on the outer cardboard. That small note prevents daily opening, which can disturb petals before they have set. If you are pressing several layers, alternate paper and cardboard so air can move through the stack and pressure remains even.
Know when the flowers are dry
Open the press slowly after the initial waiting period. Lift the top paper rather than pulling at the plant.
A finished specimen should feel dry rather than cool or damp, hold its flattened shape, have papery petals or leaves, and show no soft center, condensation or musty smell.
If any part still feels damp, close the press with fresh dry paper and wait several more days. Discard material that shows mould. Do not place a questionable specimen into a journal or frame, where remaining moisture can affect the surrounding paper.
Color will change. Some flowers keep a strong hue, while others fade or deepen as they dry. Faster, controlled drying can preserve color better, but a pressed flower will not look exactly like a fresh one. That change is part of the material, not a failed result.
Move fragile flowers without tearing them
Dried flowers can be brittle. Slide a clean sheet of paper beneath the specimen instead of lifting it by one petal. A small soft brush can help release a thin leaf that clings to the pressing paper.
Before gluing anything, arrange the full design without adhesive and take a quick photo. Then move one piece at a time. Apply tiny dots of PVA glue to sturdier parts such as the center and stem. Set the specimen down with tweezers or the tip of a dry brush. Cover it with clean paper and add a light book while the glue sets. Use only enough adhesive to hold it; a wet puddle can stain the plant and buckle the background.
Do not use transparent sticky tape across the flower. The Natural History Museum warns that tape can discolor and later detach from the paper while remaining stuck to the specimen.
Three calm ways to use the finished pieces
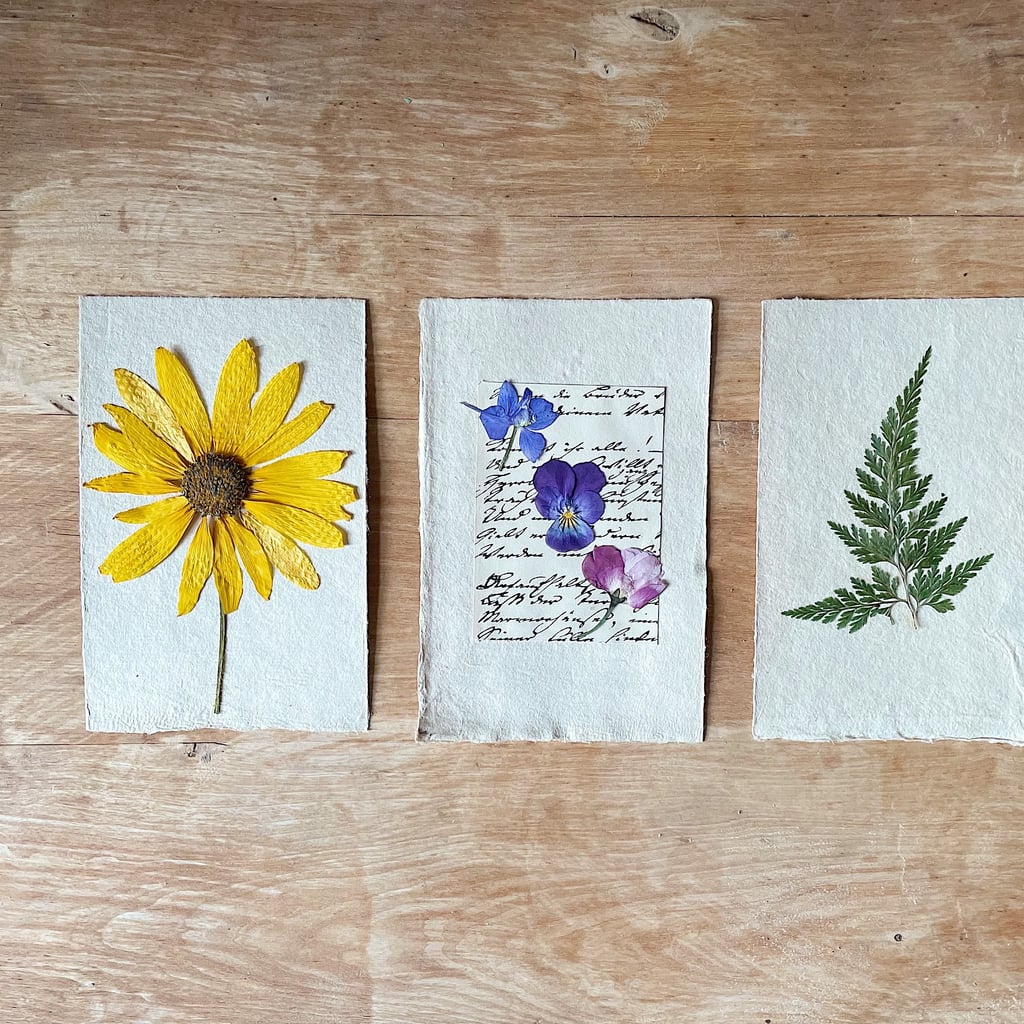
Make one small card panel
Mount one flower or short stem on a separate piece of cardstock, then attach that panel to a folded card. A separate panel lets you practise placement without risking the whole card. The site’s handmade birthday card guide includes flat paper designs that can sit beside a pressed botanical.
Add a labelled journal page
Use one specimen, the date and a short note about where it came from. Keep the page simple so fragile edges are not rubbed by bulky decorations. For a low-cost setup, start a junk journal with what you own and reserve one spread for dry botanical material.
Build a tiny framed composition
Arrange two or three pieces on acid-free backing paper and place them behind clean glass without crushing the flower against the pane. Display the frame away from strong direct sun and damp rooms. Pressed flowers naturally fade over time, so photograph the finished arrangement if the original color matters to you.
A worked first batch
Suppose you have six small garden flowers and two fern tips. Choose the three flattest flowers and one fern for the first press. Keep the rest out rather than crowding the layer.
Arrange the pieces on two sheets of newsprint, leaving at least a finger-width between them. Add a label with the date. Cover them with two more sheets, close the cardboard sandwich and place it beneath a flat board and two heavy books.
After two weeks, inspect the fern and one flower. If they are fully dry, remove them with a paper support. If the other pieces feel cool at the center, replace the paper and close the press for another week. This small batch gives you room to learn how different shapes behave without losing a whole bouquet.
Common pressing mistakes
Using wet flowers: Surface moisture increases the chance of staining and mould. Wait until dew or rinse water is gone.
Choosing only thick flowers: Large centers dry slowly. Begin with thin pieces and learn the timing of your room.
Opening the press every day: Repeated handling can shift petals. Date the press and wait for the planned checkpoint.
Using too little paper: Moisture needs somewhere to go. Use multiple clean absorbent sheets around each layer.
Stacking weight on one side: Uneven pressure creates curled edges. Use a board or large book to spread the load.
Gluing before the flower is dry: A damp specimen can affect the background paper. Return it to the press instead.
A modest first press is enough. Choose thin material, record the date, give moisture a clear route into absorbent paper and let time do the quiet part of the work.
Frequently asked questions
How long should flowers stay in a press?
Use two weeks as a first checkpoint for a basic press, then continue with fresh dry paper if any center still feels cool or damp.
Which flowers are easiest to press?
Thin, fairly flat flowers, individual petals, fine ferns and thin leaves are easier than fleshy stems or bulky flower heads.
Can I glue pressed flowers into a card?
Yes, once they are completely dry. Arrange first, then use tiny dots of PVA glue on sturdier parts rather than covering the flower with tape.
Photo credits
Photo (pin 1): nhavantuonglai on Pexels, Pexels License
Photo (pin 2): nhavantuonglai on Pexels, Pexels License
Photo (inline 1): Merve Bayar on Pexels, Pexels License