
Finish a watercolor session by cleaning the brushes, gently returning the wet heads to their intended shape and giving them a suitable place to dry. Leave packing the kit until the brushes are dry. A rinse jar is part of painting, not a place to leave your brushes until tomorrow.
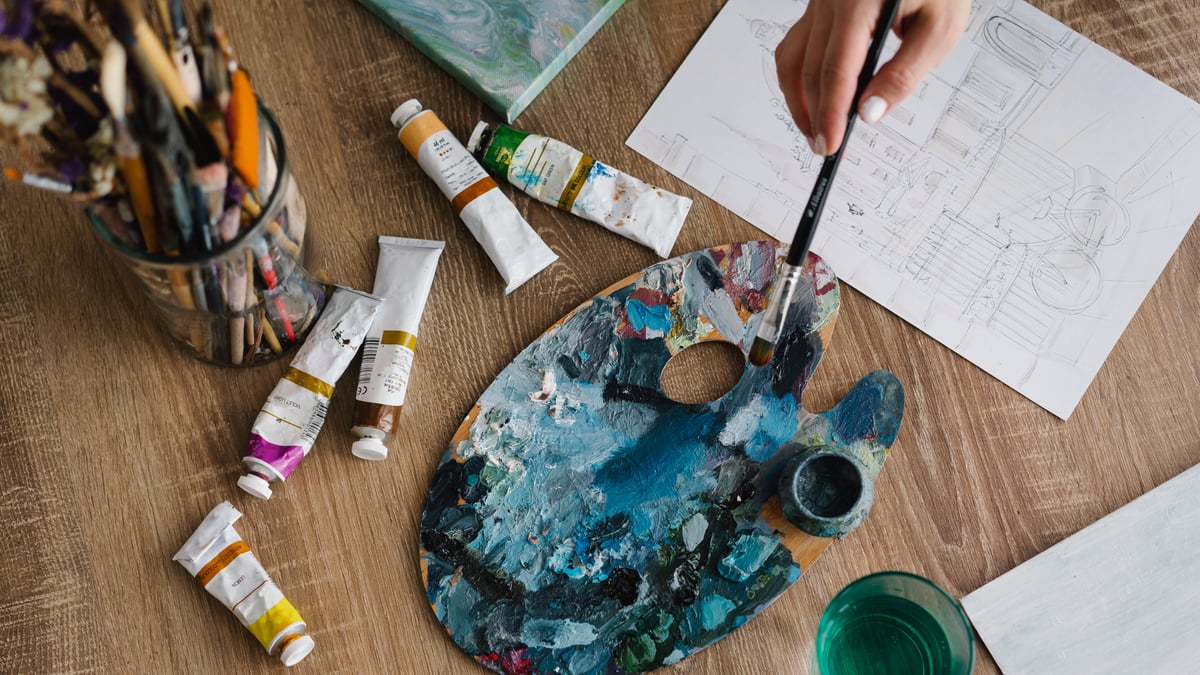
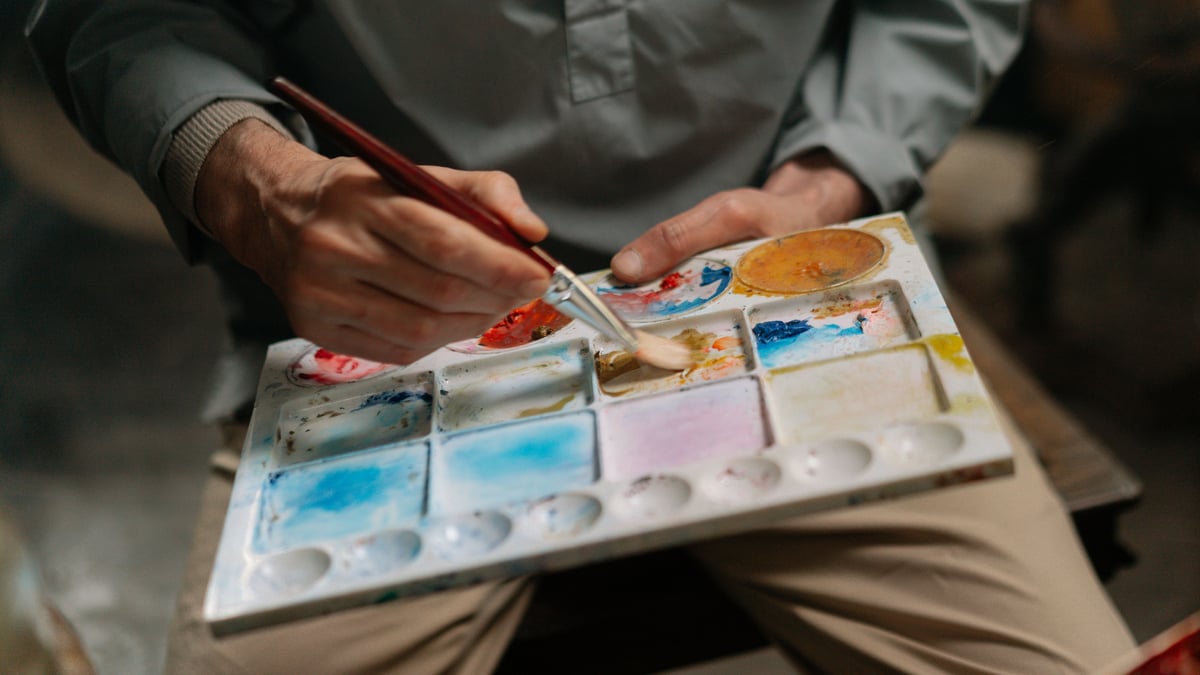
Start with your own brush maker’s care directions and the paint you used. This guide covers routine care after ordinary water-based watercolor painting. It does not cover oil paint, dried acrylic, solvent cleaning or restoring a damaged brush. The photographs illustrate painting tools rather than a tested cleaning or drying method.
The flat-drying approach below follows Silver Brush and Royal & Langnickel. Follow the directions for your particular brush if they specify a different method.
Check the brush before choosing a cleaning method
Look at the brush and its packaging before treating every tool on the table alike. Keep the maker’s name and series information available if you still have them. A saved care-page link is easier to use than a general rule remembered from a different painting medium.
Silver Brush’s care instructions distinguish watercolor and gouache from acrylic and oil cleaning. For watercolor, the maker describes rinsing the brush head with warm water until the water runs clear. It also advises cleaning after each painting session and avoiding leaving a brush standing in water.
That gives you a sensible starting point for checking your kit. Identify the brush, identify the paint, then find the matching care instructions. Do not choose a stronger cleaner because it happens to be beside the sink.
Set aside any brush with an unknown coating, hardened paint, a loose metal fitting or other damage. Finding the maker’s advice is a separate task from ordinary end-of-session cleaning. This routine does not diagnose those problems or promise to recover a lost point.
Make room for cleaning and drying
Clear two small areas before moving the brushes. One is for the cleaning supplies permitted by their instructions. The other is the drying place. Keep sketchbooks and finished work outside the wet area so putting down a brush does not become a search for an empty surface.
Use a stable water container you recognize as painting equipment. Keep it separate from drinking cups and snacks. Put a clean cloth nearby if your method calls for wiping or removing excess water, and protect the work surface appropriately for the materials you use.
Choose the drying position before rinsing. For a flat-drying routine, use a clean, stable place where the brush heads will not be pressed against other objects. Keep it away from the edge of a shared table and explain the arrangement to anyone clearing up after you.
Our rental-apartment cozy corner guide helps with the larger room layout. A short painting session needs only a usable surface and a dependable place for the tools afterward, rather than a dedicated studio or another organizer.
Follow the rinse or soap directions for your brushes
Clean the brushes before moving on to the rest of the table. Work with a small group you will handle carefully instead of gathering every brush into a crowded fistful. Check which ones were used so an overlooked brush does not remain beside the palette.
Royal & Langnickel’s cleaning guide gives a watercolor-and-acrylic sequence: wipe away excess paint, rinse, use mild soap and water for remaining paint, and repeat until clean. It then calls for reshaping while wet and drying flat or suspended with the hairs downward.
These are examples of maker instructions, rather than a reason to add soap to every brush automatically. Use the method specified for your tools. Keep any cleaner in its labeled packaging and follow its directions instead of mixing a cleaning recipe.
Silver Brush’s clear-rinse instruction gives an observable checkpoint for its method. Watch the water leaving the brush head rather than deciding the job is finished after an arbitrary number of swirls. If the result is unclear or paint remains hardened, stop and consult the maker instead of escalating to scraping or an unfamiliar chemical.
Follow the paint and cleaner labels for handling rinse water and waste. This article does not provide a paint-disposal method. Keep those instructions with the kit if they affect where your household should clean up.
Reshape gently while the head is wet
Winsor & Newton describes gently removing excess water with a lint-free cloth or paper towel, then reforming the tip with your fingers. Follow those handling directions where they apply to your brushes. A round brush and a flat brush should retain their respective shapes. The goal is an orderly head, not forcing every brush into the same pointed tip.
Give each brush enough room to set down without its hairs catching under another handle. Keep the clean group separate from tools still waiting for attention. This small distinction is useful when two people share a painting table or someone pauses halfway through cleanup.
Do not treat trimming stray hairs, applying heat or rebuilding a damaged head as part of this routine. Those are different interventions. If a brush will not return to its normal form, record its maker and series and ask about that specific problem before attempting a repair.
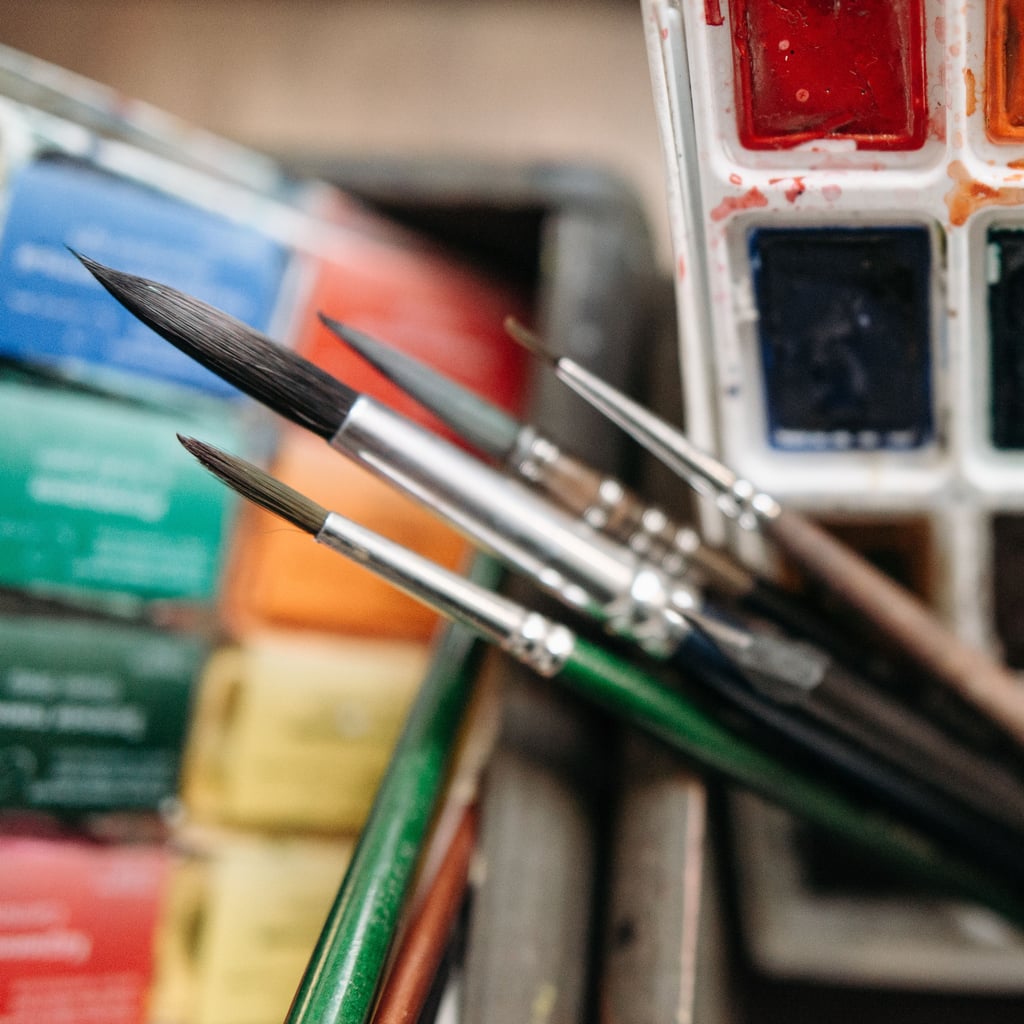
Photo: Pavel Danilyuk on Pexels. These tools illustrate brush shapes and painting materials, not a verified washed or dry condition.
Leave drying and storage as separate steps
Silver Brush advises laying brushes flat to dry and warns about leaving them upright while wet. Royal & Langnickel also allows flat drying and says brushes should dry completely before storage. The latter warns against cramped storage which bends the hairs.
Drying advice is not identical across makers. Winsor & Newton’s watercolor guide instead describes upright drying with the bristles upward. That difference is a reason to identify your own brushes and use their instructions, rather than combine incompatible directions into one universal rule.
For your flat-drying arrangement, keep the brush heads uncrushed and the group easy to recognize. Do not put the wet brushes into a packed pouch simply to make the table look finished. If you need the working table again soon, choose another stable drying place before the session starts.
Avoid assigning a fixed drying time from this guide. Check the brushes before closing their case and follow any specific storage directions from the maker. A convenient clock time is not evidence the tools are ready to pack.
Once dry, give the brushes room in their usual container without trapping the heads under other equipment. Keep the care information with that container. If a holder repeatedly squeezes the hairs, solve that fit problem before buying additional brushes to put in the same space.
Use a short end-of-session check
Keep a small note beside the stored kit if the sequence helps:
- Identify all used brushes and check the relevant care directions.
- Set out the permitted cleaning supplies and clear the drying place.
- Clean each brush using its maker’s method and checkpoint.
- Gently reshape the clean head while wet as directed.
- Arrange the brushes for drying with their heads protected from pressure.
- Check they are dry before returning them to suitable storage.
After the brushes are attended to, deal with the palette, containers and work surface according to their own instructions. Keep those jobs separate from brush care so a larger tidy-up does not postpone the step you meant to finish first.
If you alternate painting with collage, our guide to starting a junk journal with existing supplies offers another small table project. Keep its adhesive tools apart from the watercolor brushes so the next session begins with the right equipment.
The useful check tomorrow is simple: are the brushes clean, in their intended shape and easy to retrieve without crushing the heads? Adjust the place where you dry or store them if that is the part which keeps getting in the way.
Frequently asked questions
Should every watercolor brush be cleaned with soap?
Follow the brush maker. Silver Brush describes a warm-water rinse for watercolor, while Royal & Langnickel includes mild soap in its cleaning sequence. Neither example replaces the instructions for your particular tools.
Should I put wet brushes straight into their case?
Royal & Langnickel advises allowing brushes to dry completely before storage. Choose a suitable drying place and check the brushes before closing their case.
Will this routine repair a brush with dried paint or a damaged head?
No. It covers ordinary care after a watercolor session. Consult the maker about hardened paint, loose fittings or damage before attempting a repair.
Photo credits
Photo (pin 1): cottonbro studio on Pexels, Pexels License
Photo (pin 2): cottonbro studio on Pexels, Pexels License
Photo (inline 1): Pavel Danilyuk on Pexels, Pexels License