12 DIY Birthday Card Ideas You Can Make at Home
Layered paper cake card
Cut cake layers from colored paper and stack them on the front of a folded card. Use foam tape or small folded paper tabs between the layers. Add a candle strip, tiny paper sprinkles, and a triangle of yellow paper for a flame. Write “Hope your day has extra layers of fun” on the front.
Candle pop-up card
Cut several narrow strips of colored paper to fit the card. Fold each strip in half, then glue the ends inside the card so the folded centers stick forward when the card opens. Add narrow paper flames above the candles. Write “Make a wish” above them and place the longer message on the lower inside panel. Keep the pop-up pieces narrow so the card can close.
Pressed-flower birthday card
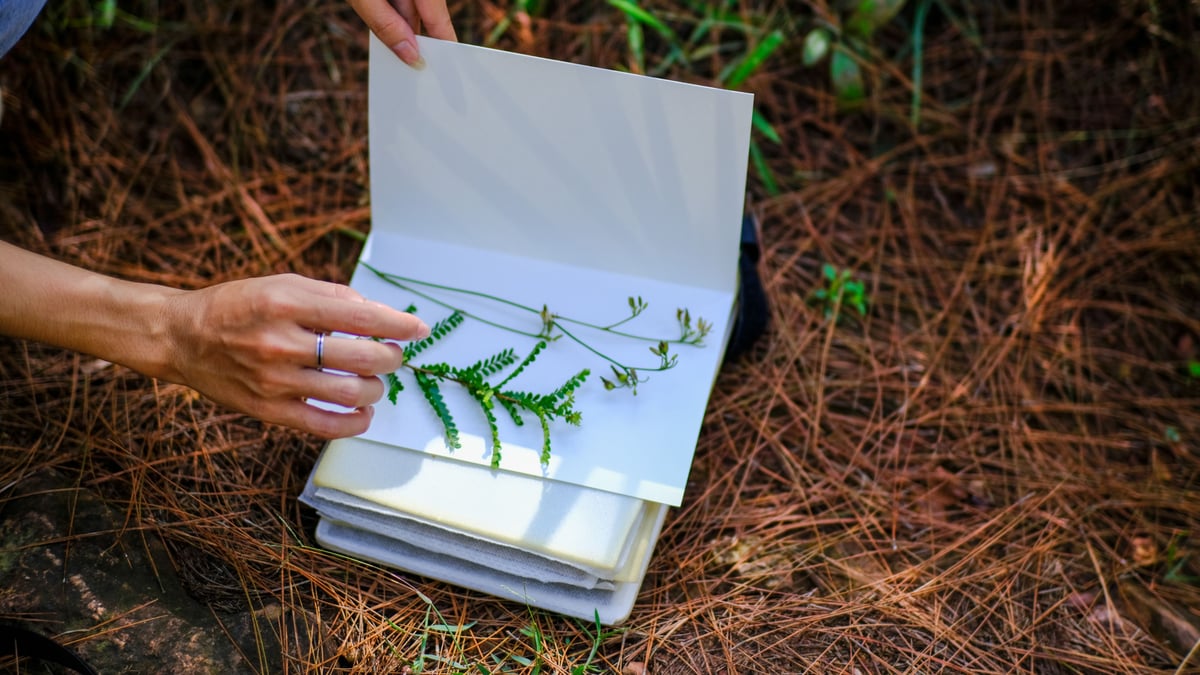
Use a white or cream card base and arrange a few dried flowers in one corner. Attach them with tiny dots of clear-drying glue, then cover the arrangement with a small paper frame or a strip of washi tape. Keep the flowers in one color family for a tidy look. “Wishing you a beautiful birthday” suits this design.
Watercolor balloon card
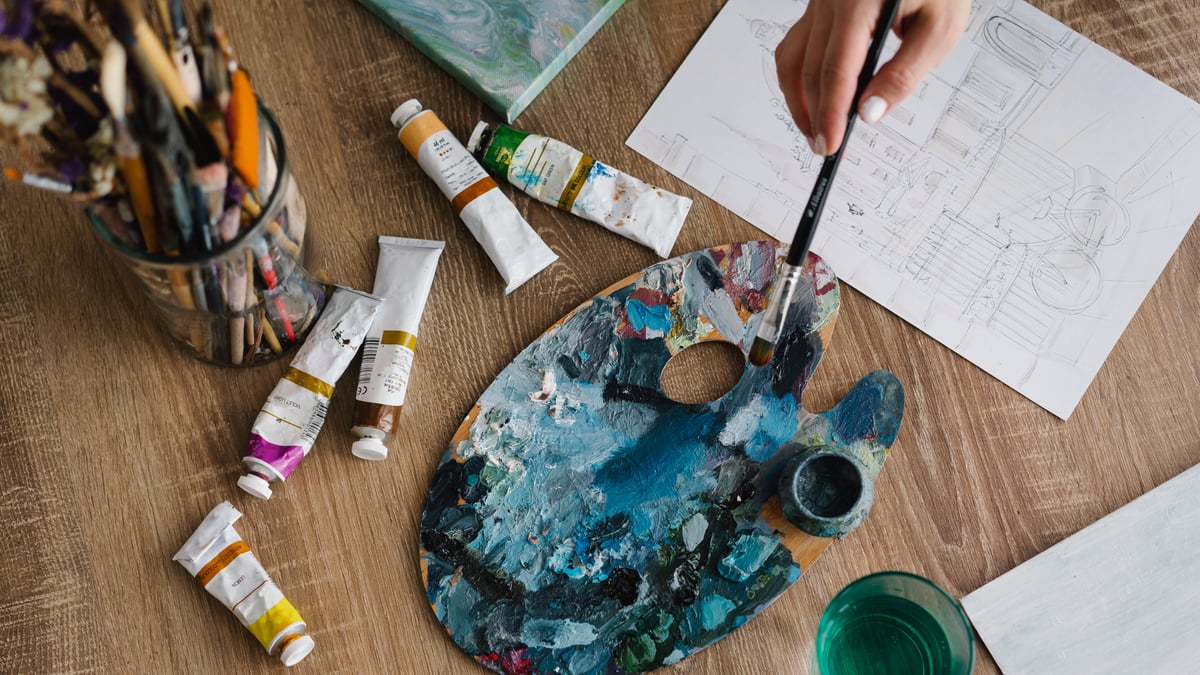
Paint loose balloon shapes with watercolor, leaving a small white highlight on each one. Let the paint dry, then draw thin black or gray strings with a fine marker. Use a round object as a guide if you want matching balloons. Add “Hope your birthday is full of bright spots” inside.
Confetti shaker card
Cut an opening from the front of the card. Tape a piece of clear acetate behind it, then add paper confetti. Cover the back with a second piece of cardstock, leaving room for the confetti to move. Use double-sided foam tape around all four edges so the pieces stay inside. Write “Shake up your birthday” on the front.
Lettering card with a handmade border
Write “Happy Birthday” in large letters across the center of the card. Practice on scrap paper first, then use a pencil, marker, or paint pen on the card. Make a border from short lines, dots, leaves, stars, or tiny loops. Leave space around the edge so the design does not look crowded.
Accordion photo card
Cut panels from cardstock or matte photo paper to fit the card. Fold a strip into equal sections and attach one photo or drawing to each front-facing panel. Use small captions such as “Then,” “Now,” “Always,” and “Today.” You can make the panels from family photos, children’s drawings, or small paper collages.
Paper-punch balloon card
Punch or cut circles from patterned paper. Add tiny folded paper tabs behind each circle to give the balloons some dimension. Draw the strings so they gather at one point near the bottom, then tie them together with a small paper bow.
Number collage card
Cut the recipient’s age from different papers. Layer the numbers from largest to smallest and place them in the center of the card. Try bright colors and stickers, or use kraft paper, cream cardstock, and one metallic accent.
Birthday cake window card
Cut an opening from the front of the card. Glue a cake shape to the inside panel so it appears through the opening when the card is closed. Add a paper plate, candles, and a narrow strip of patterned paper as a tablecloth. This keeps the design neat without adding many layers.
Ribbon rainbow card
Cut ribbon pieces long enough to span the card. Glue them in curved rows across the front, trimming the ends after the glue dries. Use solid colors for a cheerful card or one ribbon color in several shades for a quieter look. Add a small cloud cut from white paper at each end.
Map or book-page card
Cut recycled paper to fit the card and mount it on a plain card base. Add a paper heart, star, or initial. Choose a page connected to the recipient, such as a favorite city or a book they enjoy. Make sure the paper is clean and flat before gluing it down.
Gather Your Materials Before You Start
Basic supplies for most card designs
Materials vary by design. Gather paper for the card base, decorative paper, markers or paint, adhesive, and any decorations you want to use.
| Supply | Options |
|---|---|
| Card-base paper | Cardstock, recycled file folder, or clean cardboard covered with paper |
| Decorative paper | Paper scraps, magazine pages, wrapping paper, or calendar pages |
| Markers or paint | Colored pencils, crayons, or a black pen |
| Adhesive | Glue, glue stick, folded tabs, or washi tape |
| Optional decorations | Ribbon, stickers, thread, buttons, dried flowers, or paper scraps |
You will also need scissors, a pencil, a ruler, and a clean work surface. A paper towel helps with glue and paint.
Optional tools for cleaner details
A craft knife, cutting mat, bone folder, spoon, circle punch, small paintbrush, white gel pen, and fine-tip marker can help with details.
Low-cost substitutes for specialty materials
Use a clean gift card as a straightedge, an old credit card to smooth paper, and a saucer or jar lid as a circle template. Replace foam tape with small loops of cardstock.
For a shaker card, clear packaging plastic can replace acetate. Cut clean, flat sections and tape all edges securely.

How to Make a Simple Folded Birthday Card
Choose the finished card size
Choose a card size that fits your envelope and leaves room for a front design and a personal message. If you need a smaller card, use a smaller sheet and fold it to the size you want. Keep decorations flat if you plan to mail the card.
Cut and fold the card base
- Cut paper to the desired card size.
- Fold it in half to create the card.
- Press the fold with a ruler, spoon, or bone folder.
- Add decorations to the front.
- Write the message inside.
- Allow glue or paint to dry fully before mailing.
For a neater fold, score a line before folding. If the card resists closing, remove a layer or trim the decoration.
Add a front design without making it bulky
Avoid adding so many layers that the card cannot close. Use one raised feature, such as a cake layer or balloon, rather than putting every decoration on foam tape.
Leave a small margin around large paper panels. This border helps the card look finished and keeps the edges from lifting.
Let wet glue and paint dry fully
Allow glue and paint to dry before closing the card. Place a clean sheet of paper over the card if the paper begins to curl. Do not close the card while the inside is damp.
Choose Paper, Colors, and Decorations That Work Together
Paper choices for the card base and layers
Use sturdy paper for the card base. Lighter paper works for decorative layers, though it may wrinkle under wet paint or liquid glue. Use lighter paper for small cutouts, pop-up pieces, and accordion folds. Thicker paper works well for the base, large lettering, and windows.
Optional birthday color palettes
- Bright and playful: red, yellow, blue, and white
- Soft and cheerful: peach, pale pink, sage green, and cream
- Simple and modern: black, white, kraft brown, and one color such as coral or navy
If your patterned paper already has several colors, choose one marker color from the pattern.
How to balance glitter, ribbon, stickers, and markers
Choose one main decoration and one supporting detail. Pair a ribbon rainbow with marker lettering, or use glitter candles on a plain paper cake.
Keep glitter away from the fold and edges. Loose glitter can make the envelope messy, so use glitter glue or a small amount of adhesive glitter paper instead.
When to use recycled paper or fabric scraps
Recycled paper adds texture to collage cards, number cards, and map cards. Fabric scraps are another option. Trim loose threads before gluing fabric and choose an adhesive that suits the materials. For more scrap-paper projects, see Easy Fall Crafts for Kids: 10 Simple Ideas.
Birthday Card Ideas for Different Ages and Personalities
Cards for children
Use bold colors, large shapes, animals, balloons, or the recipient’s age. A pop-up cake or number collage works well. For more paper projects to make with children, see Fall Coloring Pages for Kids: Free Ideas and Easy Activities.
Cards for teens
Try a photo collage, bold lettering, a map page, or a design based on a favorite hobby. Black cardstock with bright marker details gives a different look from a traditional cake design. Add an inside joke or a short caption instead of a long message.
Cards for adults
Use restrained colors, pressed flowers, watercolor balloons, or a simple border. A small design in one corner can keep the card simple. Choose a detail connected to the person’s interests, such as coffee cups, gardening leaves, books, music notes, or travel imagery.
Cards for grandparents and handmade-gift lovers
Include a photo, a child’s drawing, or a short list of favorite memories. Soft paper, pressed flowers, and handwritten lettering are good choices. Leave plenty of open space inside for a longer note.
Minimal designs for people who prefer simple cards
Use a cream card base, one paper shape, and black lettering. A single large initial, small flower, or watercolor balloon can be enough. Limit the design to two colors and skip raised decorations for a clean, flat card.
Write a Birthday Message That Feels Personal
A simple message pattern
- Say happy birthday.
- Name one quality you appreciate.
- Mention a specific memory or hope.
- End with a warm wish.
For example: “Happy birthday, Maya. You bring so much humor to every family gathering. I still laugh about our rainy beach picnic. I hope this year brings you plenty of good surprises.”
Message examples for friends, family, and coworkers
- Friend: “Happy birthday to my favorite coffee-and-conversation partner. I hope your day is full of good food and better company.”
- Family member: “Wishing you a very happy birthday. Thank you for always making time for everyone. I hope this next year is kind to you.”
- Coworker: “Happy birthday. I hope you get a quiet afternoon, a good lunch, and a year full of things to look forward to.”
- Child: “Happy birthday, superstar. I hope your day has cake, games, and at least one excellent surprise.”
How to add a specific memory or inside joke
Mention a place, meal, phrase, or small moment that belongs to both of you. Two specific sentences can be enough. Keep jokes kind and avoid private details that could embarrass the recipient.
What to write when you do not know the recipient well
Keep the message warm and simple: “Wishing you a wonderful birthday and a year filled with good moments.” For a coworker or neighbor, add a sentence such as “I hope you enjoy celebrating with family and friends.”
Common DIY Card Problems and Easy Fixes
Paper curling after painting or gluing
Use less liquid and apply glue from the center toward the edges. For painted backgrounds, tape the paper edges to your work surface before painting. Place the card under a book between two clean sheets of paper while it dries.
Uneven folds and rough cuts
Measure twice and mark the cutting line lightly with a pencil. For a rough edge, cover it with a narrow strip of contrasting paper or trim all four edges to match. Score the fold before pressing it flat.
Decorations that will not stay attached
Clean the paper surface and use a small amount of adhesive on every corner. For heavy items such as buttons or thick fabric, use an adhesive suited to those materials. Let the card sit flat while the adhesive sets.
A card that is too thick to mail
Remove extra foam layers, buttons, and bulky ribbon. Replace them with flat paper shapes, marker details, or a printed pattern. Test the card in its envelope before writing the address. If the envelope bulges, simplify the front design.
How to protect the finished card
Place the dry card inside a clear sleeve, plastic sandwich bag, or folded sheet of clean paper before putting it in an envelope. For a card with raised details, use an envelope that gives the edges room.
Frequently asked questions
What is the easiest DIY birthday card to make?
A lettering card with a handmade border is one simple option. Write “Happy Birthday” in the center, add a border of dots or leaves, and finish with a short message inside.
What paper should I use for a handmade birthday card?
Use sturdy paper for the card base. Regular paper, magazine pages, and wrapping paper work for decorative layers, cutouts, and collage details.
How can I make a birthday card without special craft supplies?
Use printer paper, scissors, a pen, and a glue stick. Replace patterned paper with magazine pages, use a cup as a circle template, and draw balloons, flowers, or candles by hand.
What should I write inside a homemade birthday card?
Start with “Happy birthday,” add one quality you appreciate, and mention a shared memory or hope for the coming year. Two specific sentences can make the message personal.
How do I make a handmade card flat enough to mail?
Use paper layers, markers, paint, and flat ribbon instead of buttons or thick foam pieces. Make sure the card is dry and flat before putting it in the envelope.
Photo credits
Photo (inline 1): Douglas Aircraft Company on wikimedia via Openverse, CC0 1.0