
AI disclosure: This article was drafted with AI assistance and reviewed by our editor before publishing. Learn more.
Air-dry clay survives everyday spills best when you build a thin, flexible, water-resistant barrier and accept that nothing is truly spill-proof. I seal pieces after they’re fully hard, follow the sealant’s instructions for coats and drying, and test finished pieces for moisture resistance as appropriate after curing.
Direct answer: How to seal air-dry clay so it survives spills
What to seal (and why)
- Seal every surface that will meet moisture: rims, bottoms, inside hollows, painted surfaces, and textured areas where liquids can collect.
- Use a sealant that forms a flexible, water-resistant layer so the finish won’t crack with normal handling or temperature swings.
- Plan for maintenance: even good seals need touch-ups over time, especially on frequently handled items.
Core steps
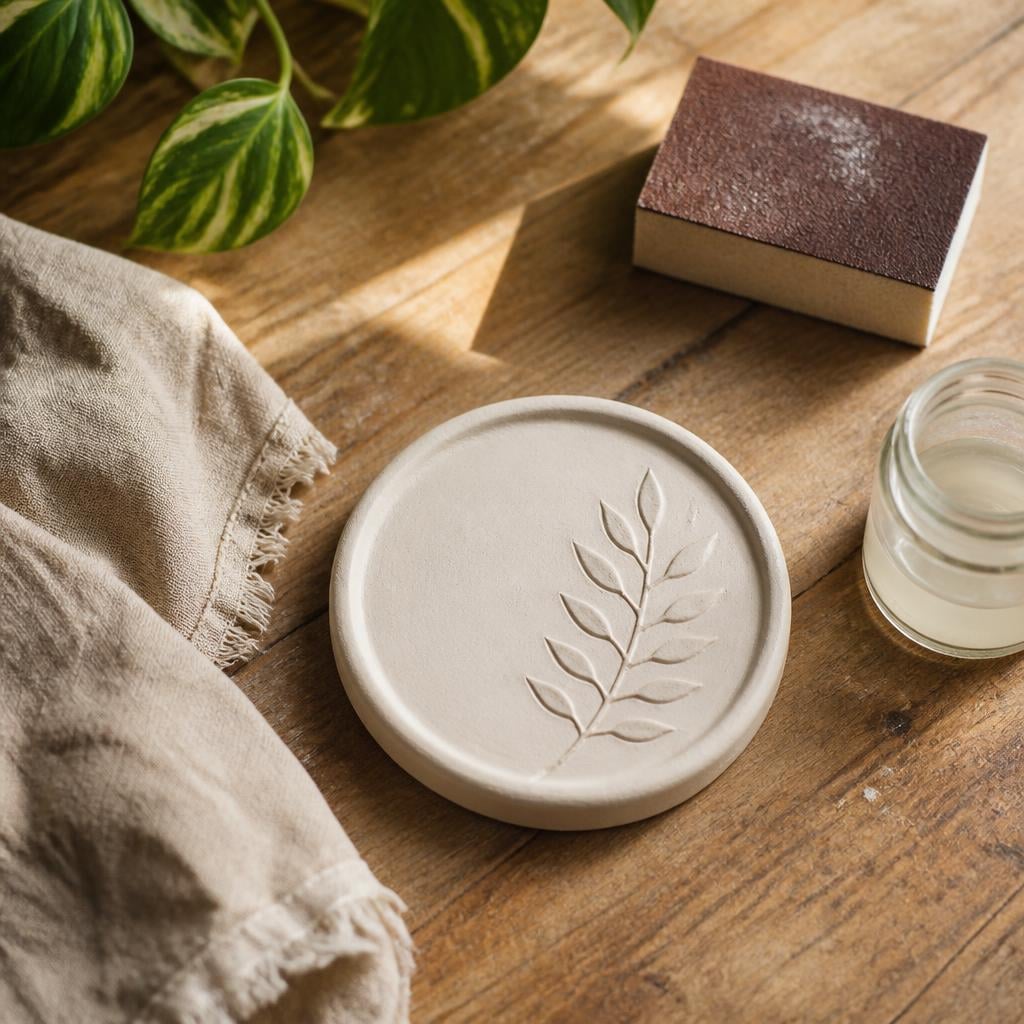
- Prep the surface: let the clay dry fully, then sand to smooth if desired.
- Apply thin, even coats of a suitable sealant (brush, sprayer, or wipe-on) without pooling, following the product directions.
- Follow the sealant’s drying and curing times; follow manufacturer guidance on sanding between coats.
- Test the finished piece for moisture resistance after the sealant has cured.
Reality check
No sealant makes air-dry clay completely spill-proof. Sealants reduce water and oil absorption and protect paint, but performance depends on the product and how you use the piece.
What makes air-dry clay vulnerable and how sealing helps
Air-dry clay absorbs moisture
Air-dry clays stay somewhat porous unless treated. They can soften or darken if they take on moisture, and pigments or paints can run when exposed to liquid.
How sealing helps
A sealant reduces the clay’s ability to absorb moisture by adding a barrier layer. It also protects paint from staining and reduces surface abrasion.
Aesthetic trade-offs
Sealants change the look: matte keeps a natural appearance, satin gives a soft sheen, gloss adds shine and beads liquids more readily. Some sealants can slightly darken or deepen paint colors; test on a scrap piece.
Expect trade-offs
Flexible, UV-resistant finishes resist cracking and yellowing better but may feel different to the touch. Strong solvent-based finishes can be more water-resistant but need ventilation and can be harder to recoat later.
Sealant options: what to consider for air-dry clay
Water-based vs solvent-based
- Water-based: easier cleanup, lower odor, safer indoors.
- Solvent-based: often more water-resistant after cure but require ventilation and careful handling.
Clear vs tinted
- Clear sealants preserve color.
- Tinted sealants can hide small stains or unify mixed materials but will alter the original color.
Finish types
- Matte: lowest shine, more natural feel, slightly less bead resistance.
- Satin: balanced sheen and bead performance.
- Gloss: highest shine, beads liquids best but shows fingerprints and surface wear.
Flexibility and cure
Choose finishes that remain slightly flexible after curing to reduce hairline cracks during handling. Allow the final cure time recommended by the manufacturer before exposing the piece to liquids.
Cure time and layers
Follow the sealant maker’s guidance on number of coats and dry times between coats. Follow sanding instructions if the product recommends it.
Safety considerations
Work in a ventilated space. Use non-toxic, water-based products for items that will be near children or pets. For vessels that will hold food or drink, use a finish explicitly labeled food-safe.
A practical step-by-step sealing process
| Finish type | Feel | Spill resistance | Notes |
|---|---|---|---|
| Matte | Natural, slightly textured | Good for light spills | Follow product instructions for cure and layering |
| Satin | Smooth, light sheen | Better bead formation | Follow product instructions for cure and layering |
| Gloss | Slick, shiny | Best bead formation, shows marks | Follow product instructions for cure and layering |
Notes: Always follow the sealant manufacturer’s directions for cure time, number of coats, and any sanding between coats. Test on a spare piece.
Prep, seal, cure: the 6-step process
- Let the piece dry completely until hard to the touch. Thick pieces require extra time—don’t rush. Sand if you want a smoother surface or to remove fingerprints.
- Wipe away dust with a clean, dry cloth. Make sure the piece is fully dry and at room temperature before sealing.
- Apply the first thin coat with a brush, foam applicator, spray, or wipe-on product. Keep strokes even and avoid pooling in crevices. Thin coats dry faster and sit flatter.
- Let the first coat dry per the label before proceeding. Check tackiness by touch only if the product permits.
- Sand between coats only if the product recommends it, then apply the next thin coat for even coverage. Add coats if the product or the piece’s intended use calls for extra protection.
- Let the piece cure fully in a dust-free area following the sealant’s specified cure time. Test and use the piece only after the manufacturer’s cure period.
If you make coasters for your coffee corner, sealing well matters; see my coaster project for what works in a high-contact spot: Air-Dry Clay Coasters for Your Coffee Corner.
Testing spill resistance and deciding on maintenance
- Test after full cure following the sealant guidance. Use small, deliberate tests so you don’t damage the piece.
- If failure appears after correct application, add a coat or try a product rated for higher moisture exposure.
- Re-seal on the schedule the manufacturer recommends or when wear becomes visible.
Care, cleaning, and long-term maintenance
- Cleaning: use a soft, damp cloth. Wring the cloth well so you don’t leave puddles.
- Avoid abrasive pads or strong scrubbing—those wear the sealant. For stubborn spots, test a mild cleaner on a hidden area and follow the sealant maker’s guidance.
- Heat and food safety: don’t assume a sealant makes a piece heat-safe or food-safe. Only use a vessel for food or drink if the product is labeled food-safe. Avoid microwaves and ovens unless the finish explicitly allows it.
- Storage: keep sealed pieces out of direct sun and away from humidity extremes to minimize yellowing and degradation.
Safety, disposal, and practical trade-offs
- Ventilation: open windows or use a fan with solvent-based products.
- Irritants: some finishes contain acrylics or solvents that irritate sensitive skin or lungs—wear gloves or a mask if needed.
- Cost: a decent sealant is a small upfront cost compared with rebuilding a water-damaged piece.
- Trade-offs: higher water resistance can mean harder re-coating and a different hand-feel; choose based on how the piece will be used.
If you keep small finished pieces on a trinket shelf, sealing and placement both help longevity; I wrote about small-shelf styling here: Trinket Shelf Ideas for a Cozy Coffee Corner. For something intended for a busy corner, plan both material and finish to match the use (see my apartment corner setup for small spaces): Apartment Coffee Station Ideas: A 60 cm Corner That Works.
Signed,
Nora Whitfield Editor, Latte & Loom
Watch the short version
Frequently asked questions
Can I seal air-dry clay with a clear kitchen-safe sealant if the piece will hold water?
Only use products explicitly labeled food-safe or suitable for direct contact with food and drink. If the manufacturer doesn’t state food-safe, don’t use the finish for vessels that will hold water or food.
How many coats should I apply for spill resistance?
Follow the sealant manufacturer’s instructions on number of coats and drying/curing times. The product will note whether sanding between coats is recommended.
Will sealing affect the texture of my sculpture?
Yes. Matte finishes feel more natural and retain texture; gloss finishes feel slick and highlight surface imperfections. Test on a scrap piece to confirm feel and look.
Is there a risk of yellowing over time?
Some sealants can yellow with age, especially with sunlight or heat exposure. Choose UV-resistant or non-yellowing formulas for items that will sit in sun, and store pieces out of direct light when possible.
What’s the best way to store sealed pieces?
Store sealed pieces in a dry area out of direct sunlight, avoid temperature extremes and high humidity, and place them on padded surfaces. Check pieces periodically and re-seal as wear appears.
Tools and gear mentioned
Free tool
Coffee Brew Ratio Calculator
Coffee-to-water for pour-over, French press, AeroPress and espresso.
Open calculatorFree tool
Cost Per Cup Calculator
What your home coffee really costs versus the café.
Open calculatorFree tool
Coffee Station Budget Planner
Pick a space and a budget tier and get an itemised shopping list.
Open calculatorFree tool
Caffeine Calculator
Caffeine per drink and your daily total against the 400 mg guideline.
Open calculator