
A moka pot is ready to put away when its used coffee has been removed, its parts have been cleaned as instructed, and everything is dry. Start with the care directions for your exact pot. A familiar shape does not tell you which cleaning products, removable parts or storage arrangement its maker permits.
This routine covers ordinary care after brewing with a stovetop moka pot. It does not cover electric models, descaling, blocked valves or repairs. The useful habit is to treat cooling, cleaning and drying as separate jobs instead of rinsing a closed-looking pot and immediately returning it to a cupboard.
Find the instructions for the pot you own
Look for the brand and model on the pot, its packaging or your purchase record. Save the matching instructions somewhere you can find again. A note in your phone can include the model and size without becoming another maintenance project.
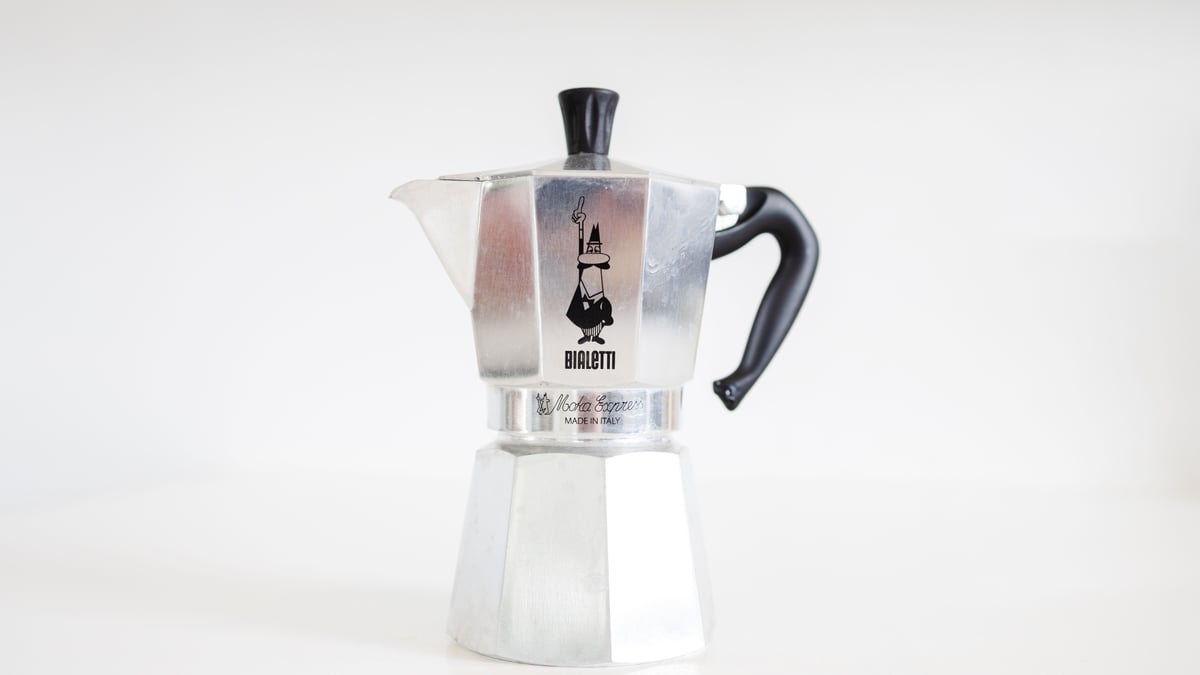
For one concrete example, Bialetti’s Moka Express page specifies a water-only rinse after use, with no detergent or dishwasher. That direction belongs to the Moka Express. It is not permission to choose a cleaning method for every metal coffee maker.
The Alessi DC06 Moka instructions also exclude soap and dishwasher cleaning for that model. Check your own instructions even if another pot looks almost identical. Material, finish and individual components all belong in that check; a steel-looking base is not a complete care label.
If you are still choosing a brewer, our moka pot and espresso machine comparison covers that broader decision. Here, keep the focus on the pot already in your kitchen.
Let the pot cool before opening it
Finish pouring, turn off the cooking heat and leave the pot in an appropriate safe position according to its instructions. Do not try to shorten cleanup by immediately twisting apart a hot pot.
Alessi’s DC06 cleaning directions explicitly say to wait for it to cool before opening or cleaning. Use your own model’s handling directions rather than a guessed number of minutes. Pot size and what has just happened in your kitchen are reasons not to treat a timer as proof that equipment is ready to handle.
While you wait, clear a landing place for the separated pieces. Move ordinary dishes out of the way and choose somewhere the parts can remain while drying. This small preparation keeps the next stage straightforward.
If the pot will not open as the maker describes, stop and consult its troubleshooting guidance. Do not add leverage or turn the handle into a tool.
Empty the used coffee without turning it into a second chore
Once the pot is ready to open, separate only the parts intended for routine cleaning. Empty the used coffee into the destination appropriate for your household and local collection arrangements.
Keep the funnel basket visible rather than dropping it into a pile of washing. Put each separated part on the landing place as you deal with it. If two similar pots live in your kitchen, keep their components in separate groups.
Use the manufacturer’s method for removing grounds. Avoid an improvised tool or forceful knock simply because it would make the basket empty faster. The aim is to finish with the right parts still easy to identify.
This is also a useful moment to notice whether an item is missing. Finding that out while the pieces are together is easier than discovering it when the next coffee is already being prepared.
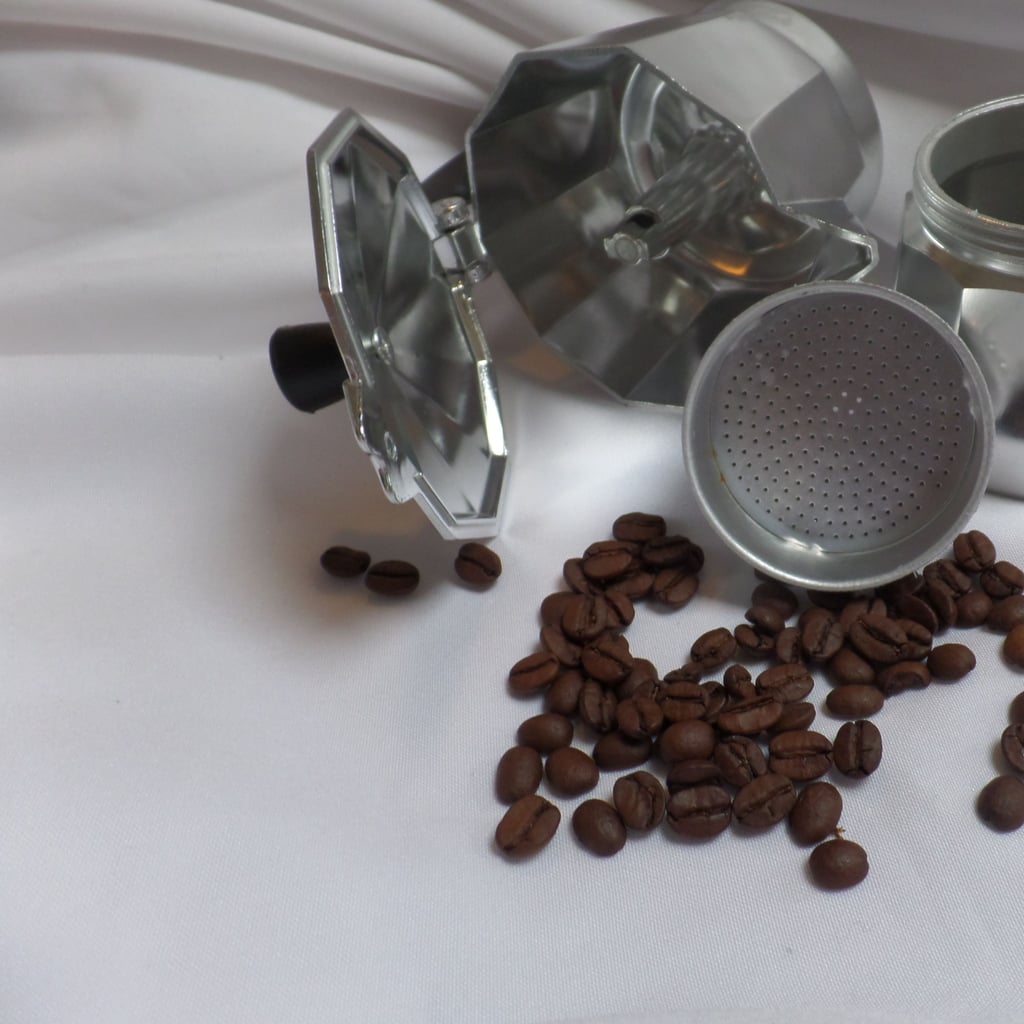
Photo: Ilona Jurtschenko-Roelofs / Pexels, Pexels License. Illustrative parts photograph, not a washing demonstration or assembly diagram.
Rinse each accessible area in a deliberate order
Follow the water temperature and cleaning method specified for your model. For the Bialetti Moka Express example, keep its stated water-only method distinct from the detergent routine you might use for cups.
Work from the larger chambers to the smaller parts so you can keep track of what has been done. Turn each piece to see its accessible interior and edges. A quick glance into the top chamber does not cover the whole cleaning task.
Alessi’s DC06 manual specifically names the funnel, filter plate, gasket and its seat among the areas needing careful rinsing. Use the parts diagram for your own pot to identify equivalent areas. Do not assume a similar-looking seal must be removed on the same schedule or in the same way.
Keep routine cleaning separate from periodic work. If a manual has different sections for after-use care, filter maintenance and descaling, bookmark those sections separately. That makes it less likely that a special procedure becomes an unnecessary daily step.
Finish one piece before moving it to the drying position. If the sink gets interrupted by breakfast dishes, your arrangement should make clear which components have already been cleaned.
Notice wear without turning cleanup into a repair
Look at the parts as you handle them and compare anything unfamiliar with the maker’s care guidance. Alessi’s DC06 manual calls for replacing worn parts with the appropriate original replacements. Use the exact model when asking for assistance or ordering a component.
A photograph and a short description can make that conversation clearer: identify the part, describe what changed and say when you noticed it. Keep any damaged or questionable equipment out of the next brewing routine until you have resolved the concern with the maker.
Do not try to diagnose every mark from an online photograph. This guide does not establish whether a particular stain, seal or valve is safe to use. It also does not give a procedure for altering a valve, widening a hole or forcing a blocked passage clear.
Give drying its own place in the routine
Dry the cleaned parts as your instructions require and leave them arranged so you can check them before storage. Do not let the wish for a clear counter become the reason to close up equipment that still needs attention.
For the DC06 example, Alessi recommends dry, ventilated storage with the pot disassembled, especially during longer periods without use. Follow your own model’s storage instructions rather than making a tightly assembled display the default.
Keep the parts together without hiding them underneath other washing. A small existing dish or suitable clear space may be enough to keep a basket with its matching pot. You do not need to buy a dedicated organizer to remember which components belong together.
If your kitchen has very little spare counter, choose the drying position before starting the washing. The home coffee station checklist can help you reconsider the surrounding tools. The pot’s care requirements should determine the available space, rather than the other way around.
Use a short finish check before putting it away
Make the last look specific enough to be useful:
- Have the parts received the cleaning method required for this model?
- Is anything still waiting to be cleaned or checked?
- Are all the matching components present?
- Has drying been completed as instructed?
- Does the storage arrangement follow the maker’s guidance?
- Is there any unresolved damage or wear to address before another brew?
This is an organizational check, not a substitute for the instructions or a guarantee about equipment condition. If something remains unfinished, keep it visible and return to that task instead of treating the pot as ready.
A repeatable routine can stay modest: give cooling time its place, work through the parts in a clear order, then complete drying and suitable storage. Your next coffee begins with equipment whose care has actually been finished.
Frequently asked questions
Can every moka pot go in the dishwasher?
No. Check the exact model's instructions. The Bialetti Moka Express and Alessi DC06 examples cited here both exclude dishwasher cleaning.
Should I remove the gasket after every brew?
Follow your model's disassembly and maintenance instructions. This guide does not prescribe a universal gasket-removal schedule.
Will this routine fix a blocked valve?
No. Stop using equipment with an unresolved fault and follow the manufacturer's troubleshooting or service guidance. This routine does not cover valve repair, descaling or modifications.
Photo credits
Photo (pin 1): Josh Withers on Pexels, Pexels License
Photo (pin 2): Josh Withers on Pexels, Pexels License
Photo (inline 1): Ilona Jurtschenko-Roelofs on Pexels, Pexels License