A bag of loose-leaf tea is easy to bring home and surprisingly easy to leave unopened. The infuser is in one drawer, the measuring spoon is somewhere else, and the coffee corner already feels full. A small tea kit can bring those loose pieces together without giving the kitchen another permanent display.
Start with one tea you want to drink and the equipment needed for that cup. Keep the dry tea in suitable storage nearby, and give the brewing pieces a place you can reach. The useful change is a shorter search before you make the drink, not a larger collection of accessories.
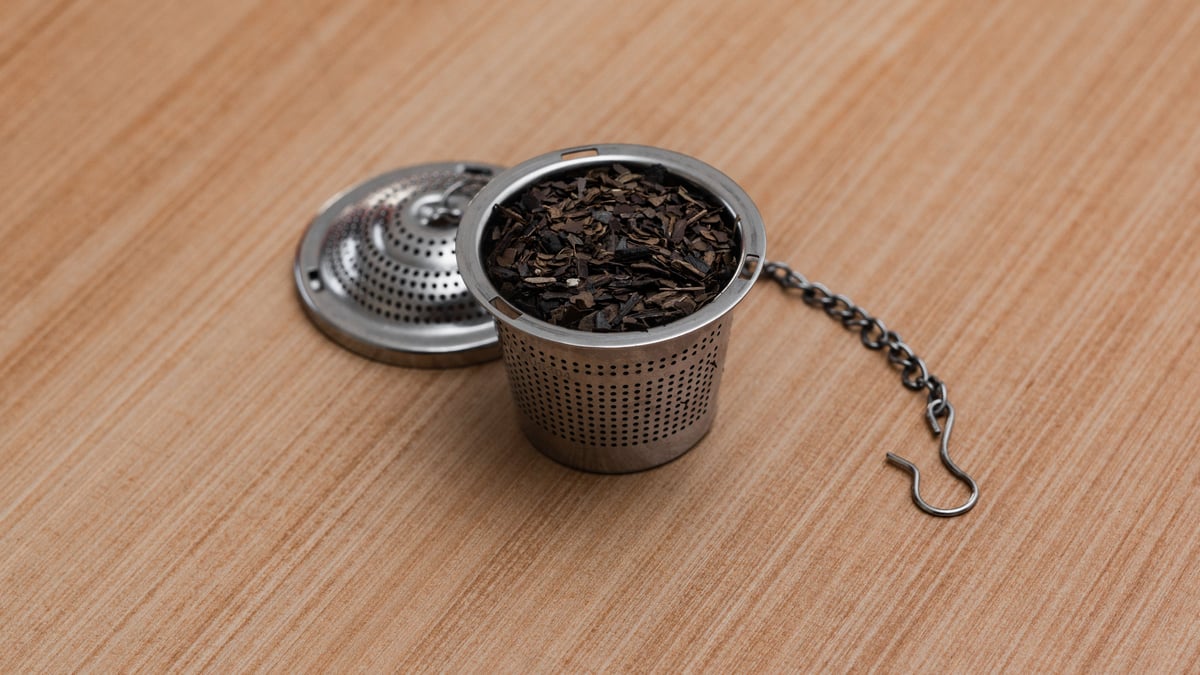
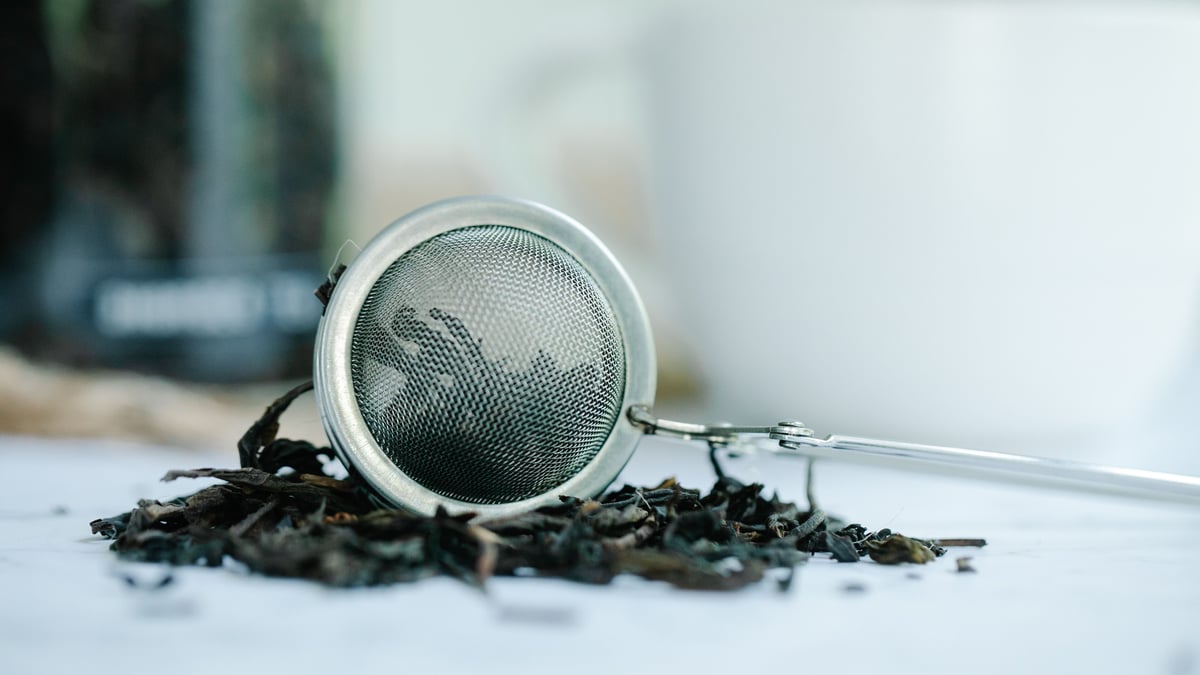
This is a setup guide rather than a universal tea recipe. Use the instructions for your particular tea and equipment. The stock photographs illustrate loose leaves and an infuser, not a tested product recommendation.
Begin with the cup you actually want to make
Choose one ordinary use for the kit: a mug in the afternoon, a pot to share, or a different drink when you do not want coffee. That choice tells you more about the equipment you need than a photograph of an elaborate tea shelf.
For a single mug, an appropriate infuser and a place to set it after brewing may be enough. If you already own a teapot with an infuser, include the parts that belong to it rather than buying a second system immediately. Check that every part is intended for use with the vessel and hot water.
Do not try to accommodate every possible tea ritual in the first arrangement. A practical starting point is the drink you are likely to make this week. You can change the kit when a real need appears.
Gather the pieces before choosing an organizer
Put the tea-making items you already own on a clear, dry surface. Match lids to pots and infusers to their intended cups. Check the manufacturer’s care and use instructions, including any limits on materials or handling.
Separate the items you need for this drink from the extras you enjoy owning. The everyday set might include a cup, an infuser, a scoop or scale, a timer and a small dish for the removed infuser. A phone timer can serve the timing job if that suits your kitchen.
| Job | Possible item | What to check |
|---|---|---|
| Hold the drink | Mug or teapot you already use | Suitable for the brewing method and amount |
| Hold or separate leaves | Infuser or filter designed for tea | Fits the vessel and can be removed as intended |
| Measure the tea | Scoop or scale | Matches the units in the tea’s instructions |
| Follow the steep | Timer or phone | Easy to start and notice while brewing |
| Rest the used infuser | Small suitable dish | Sits stably without crowding the work area |
You do not need a new tray to make these pieces a kit. A clear section of a cupboard shelf or a drawer can hold them together just as usefully.
Keep the tea’s instructions with the tea
Stash Tea’s loose-leaf brewing guide recommends following the package or product-page instructions because water temperature and steeping time can vary between teas. It describes infusers and filter bags as options and removing the brewing accessory after steeping.
For your kit, preserve the actual label rather than writing one temperature on a card for every tea. If you transfer the leaves to another suitable container, keep the tea’s identity and instructions available. A photograph of the packet can be convenient, but make sure you can find it when you need it.
Keep the units clear. If the directions use grams, use the stated mass instead of assuming your household spoon is equivalent. If they specify a volume measure, follow that guidance. This article does not supply a conversion between spoons and grams or a tested brewing ratio.
Give the dry tea a separate storage home
The place where you brew does not have to be the place where you store the leaves. Harney & Sons’ storage guidance identifies light, high temperatures, humidity, oxygen and surrounding odors as things to avoid. It favors opaque, airtight storage for protecting tea.
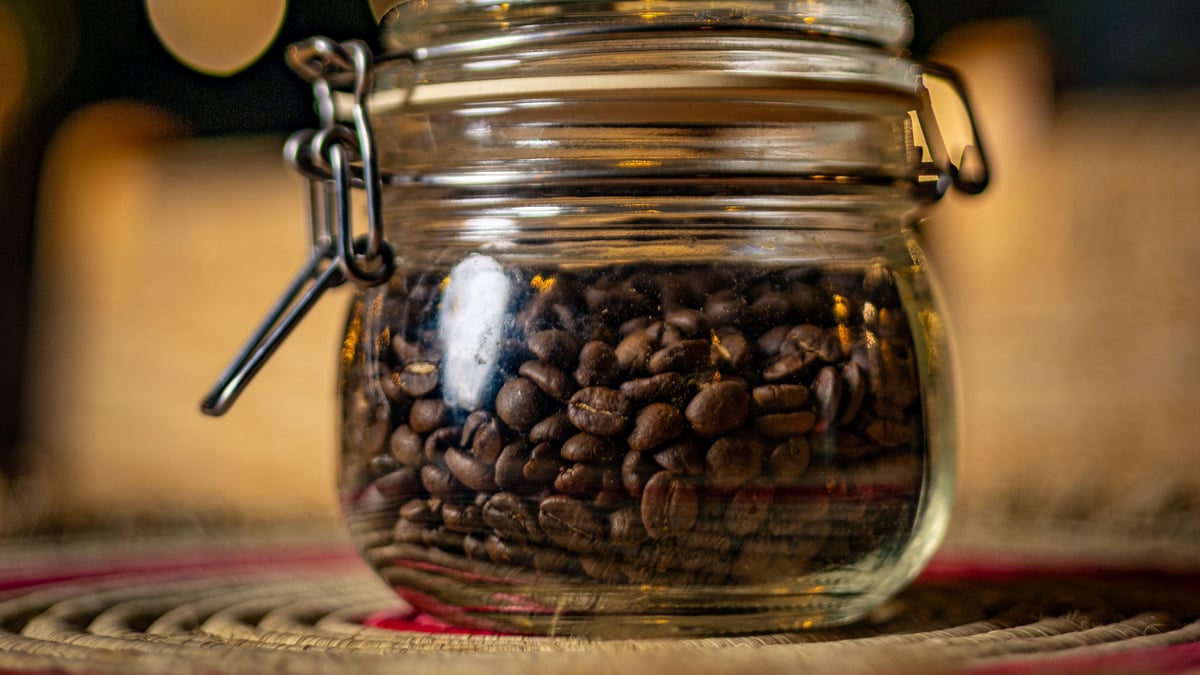
Choose a cool, dry storage spot away from the kettle’s steam and strongly scented supplies. Follow the tea producer’s instructions for the packaging you own. A decorative jar or tin is not automatically suitable merely because it has a lid; the photograph cannot verify a seal.
Keep the current tea easy to identify. If several people share the shelf, place the name where it is visible without opening every container. An organizer can make packages easier to retrieve, but it does not replace their appropriate closure or storage conditions.
Leave a working area, not a crowded tea display
Bring out the pieces for the next cup and check that there is a stable, suitable place to set the vessel down. Keep the kettle in its intended operating position with the clearance its maker requires. Avoid arranging the kit so you must reach across hot equipment to retrieve a spoon.
If coffee and tea share the counter, give each routine enough room to finish. The tea accessories can live nearby while the coffee equipment stays in its usual place. Our home coffee station checklist can help you decide which existing tools need to remain accessible.
Try the arrangement with the equipment cool and empty before brewing. Pick up the mug, open the tea container, reach the timer and set down the infuser dish. Move anything that makes those ordinary actions awkward.
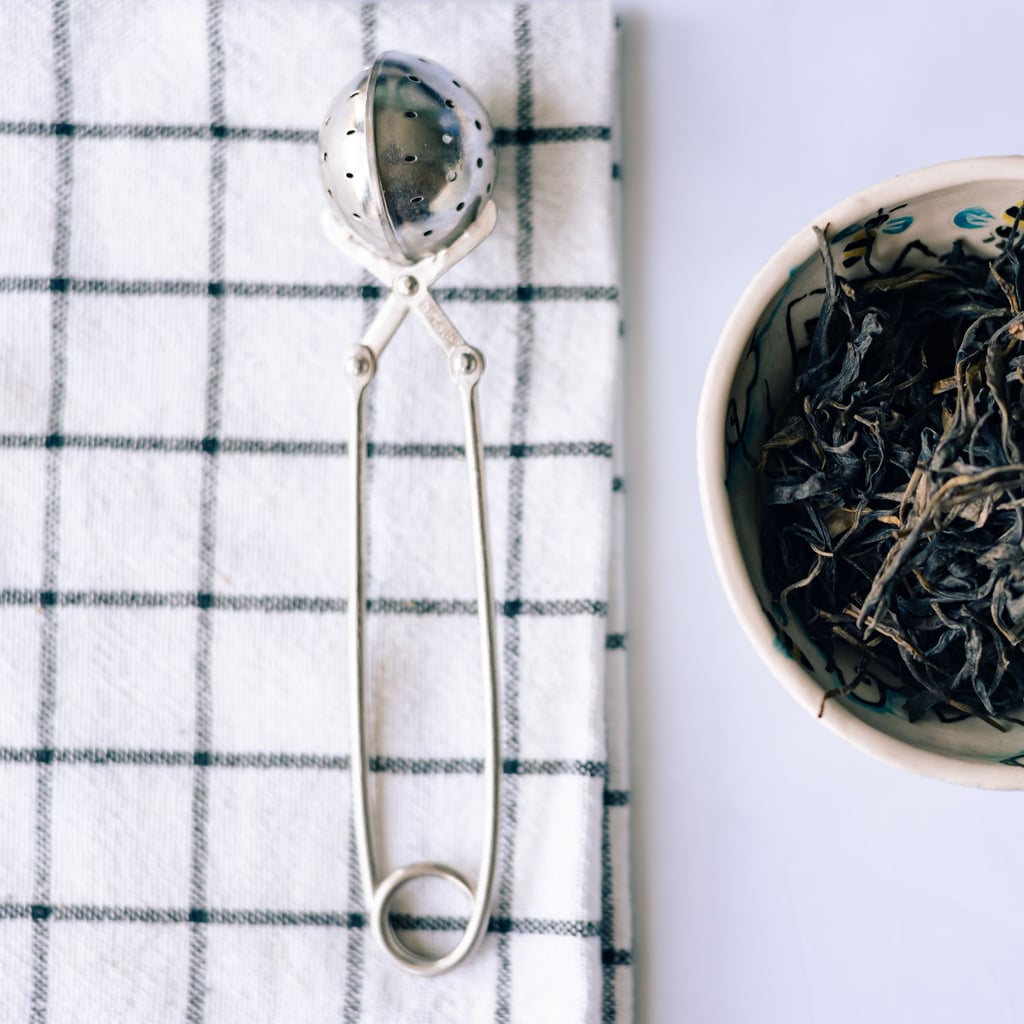
Photo: Kseniya Budko on Pexels. The open bowl illustrates the leaves during preparation; return unused dry tea to suitable closed storage.
Make the end of the steep easy to handle
Before adding water, decide where the removed infuser or filter will go. Place the resting dish within a convenient reach without blocking the vessel. Follow the equipment’s handling instructions, and remember that the infuser and its contents may be hot.
Start the timer when appropriate for the tea’s directions, then remove the brewing accessory as instructed. A place ready for that step is more useful than another decorative object beside the cup.
If you brew in a pot, follow its pouring and straining arrangement rather than assuming it works like a mug infuser. The kit should support the equipment you have, including the cleanup it requires.
Build the return trip into the kit
After use, dispose of spent leaves in the way your household normally handles them and clean the brewing pieces according to their care instructions. Give them room to dry before returning them to their storage place. Keep used, wet equipment separate from the dry tea supply.
Notice which part repeatedly gets left behind. If the dish reaches the sink but the infuser stays on the counter, the storage position may be inconvenient. Adjust the location before adding more boxes or labels.
For a shared kitchen, agree on a simple home for the clean parts. Someone putting the dishes away should not need to recreate a styled photograph to finish the job.
Keep only the details that help the next cup
After trying the kit, note whether you could find the tea, follow its directions and return the pieces without rearranging the counter. Those are useful measures of the setup, even if the corner looks ordinary.
If you want to remember a preferred result, borrow the short recipe-and-impression structure from our coffee brew log guide, using the tea’s own instructions and measurements. Do not copy coffee ratios into a tea recipe.
Keep the pieces that earn their place, store the dry leaves appropriately and leave room to set down the finished cup. A small tea kit has done its job when the next drink feels straightforward to begin and easy to put away.
Frequently asked questions
Do I need a new teapot for a small tea kit?
Not necessarily. Start with suitable equipment you already own and follow the instructions for the vessel, infuser and tea.
Can one temperature and steeping time work for every tea?
Use the directions for the particular tea. Temperature and timing can vary, so keep its label or product instructions available.
Should I store dry tea in the open bowl shown in the photo?
No. The bowl illustrates preparation. Return unused dry tea to suitable closed storage following the producer’s instructions.
Photo credits
Photo (pin 1): Anna Pou on Pexels, Pexels License
Photo (pin 2): Anna Pou on Pexels, Pexels License
Photo (inline 1): Kseniya Budko on Pexels, Pexels License