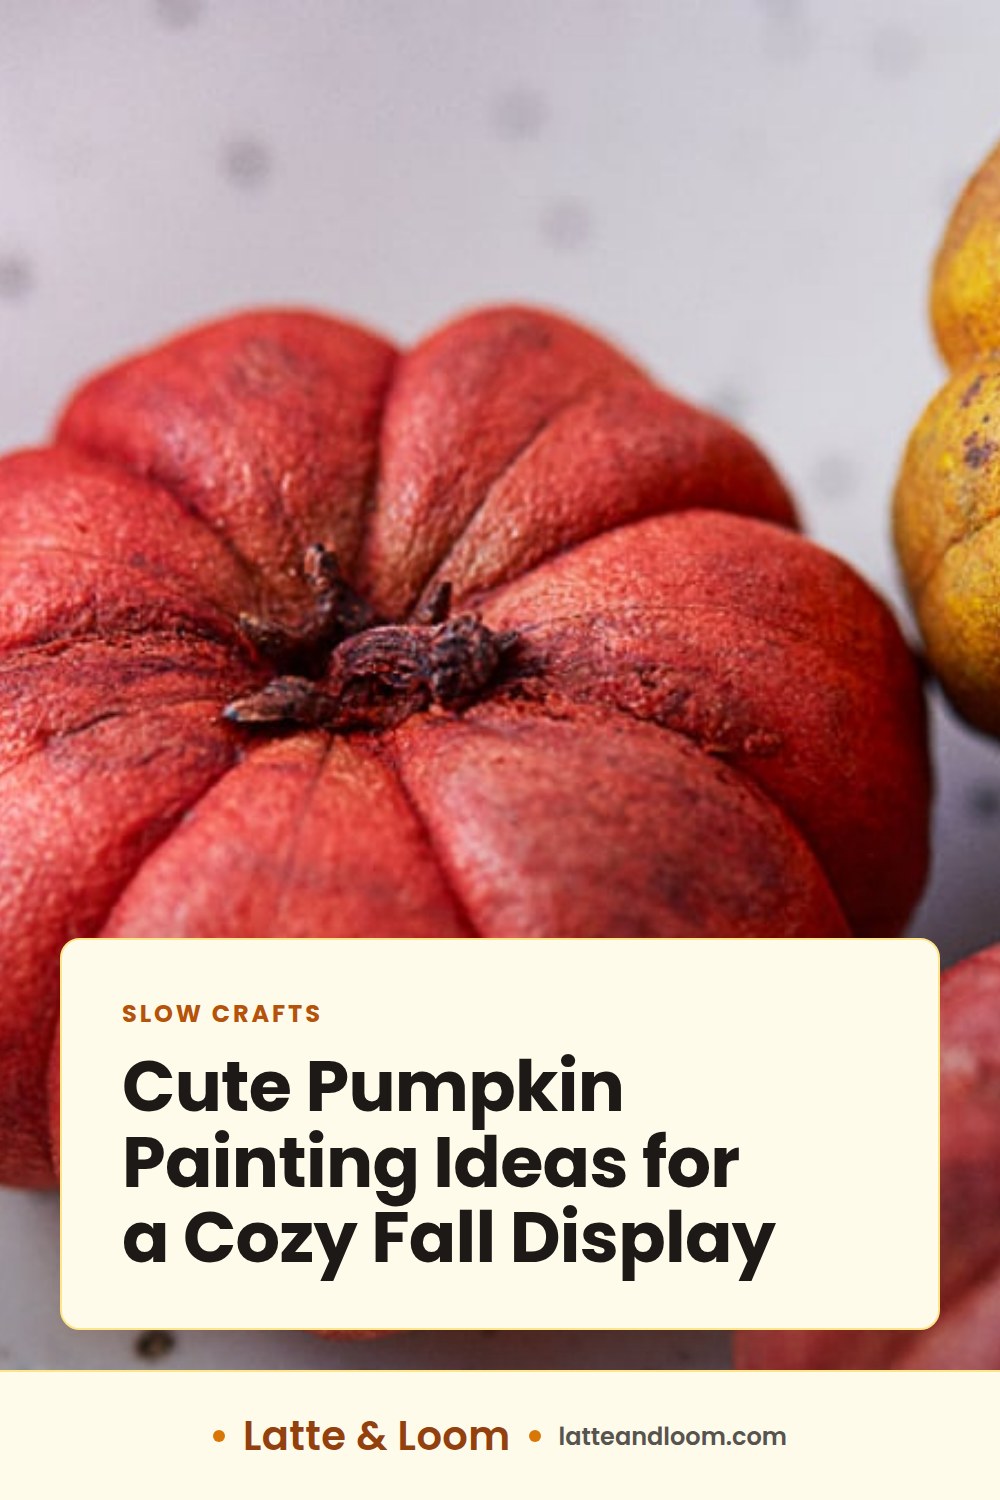
Cute pumpkin painting ideas can stay simple. Choose shapes and colors that suit the room around them, then try dots, scallops, small faces, leaves, or mushrooms on real or craft pumpkins. Group a few sizes together for a small fall display.
Cute Pumpkin Painting Ideas to Try First
| Design idea | Suggested colors | Best display location |
|---|---|---|
| Sweet mushroom pumpkin | Cream, rust, sage | Bookshelf or coffee table |
| Tiny flower and vine pumpkin | Ivory, dusty blue, olive | Entry table |
| Simple ghost pumpkin | White, black, blush | Porch or mantel |
| Cozy sweater-pattern pumpkin | Oatmeal, terracotta, brown | Tray or shelf |
| Polka-dot pumpkin | Cream, peach, muted green | Kitchen counter |
| Animal-face pumpkin | Tan, black, pink, cream | Child’s room or entry table |
Sweet mushroom pumpkins
Paint the pumpkin warm cream or pale tan. Add three or four small mushrooms around the front, using rust or terracotta caps with short cream stems. Tiny white dots on the caps add a little detail without filling the whole surface.
For a softer look, paint a few sage leaves between the mushrooms. Keep the stems and leaves small if you prefer a cleaner design.
Tiny flower and vine pumpkins
Choose a pale base such as ivory, dusty blue, or muted peach. Paint a thin, winding vine along one or two pumpkin ridges. Add tiny five-petal flowers at intervals instead of covering the whole surface.
A small pumpkin works well for this open design. Use one flower color and one leaf color to keep the palette easy to repeat.
Simple ghost pumpkins
A white or cream pumpkin can become a friendly ghost with two black oval eyes and a small curved mouth. Add tiny pink cheeks for a sweeter expression.
For a group display, give each ghost a slightly different face. One can have closed eyes, another round eyes, and a third a tiny surprised mouth.
Cozy sweater-pattern pumpkins
Paint the pumpkin oatmeal, soft gray, or terracotta. Once the base is dry, add short lines that suggest knit stitches, diamonds, stripes, or small repeating zigzags.
Work with the pumpkin’s ridges if that suits your process. A simple vertical stripe on each ridge is a good choice for a less detailed pattern.
Polka-dot and scallop pumpkins
Use a cotton swab, the end of a small paintbrush, or a round stencil to make dots in two sizes. Slight variations in size make the pattern feel hand-painted.
Scallops can form a border around the top or bottom of the pumpkin. Paint a row of half circles in cream, blush, or terracotta, then add a thin line above them for a defined edge.
Animal-face pumpkins
Turn a pumpkin into a cat, fox, bear, or mouse with a few painted shapes. Start with ears near the stem, add eyes and a nose, then finish with small whiskers or cheek marks.
Try tan with cream cheeks for a fox, or gray with pink ears for a mouse. Place the face on the front section of the pumpkin and leave the sides plain.
Choose a Pumpkin Painting Style
Minimal designs with one or two colors
A cream pumpkin with terracotta dots or a sage pumpkin with white leaves keeps the display quiet. Choose one base color and one detail color, then repeat that pairing across two or three pumpkins in different shapes.
For more fall craft ideas in the same simple style, see fall crafts for a cozy home you can finish this weekend.
Whimsical faces and small characters
Faces add personality without requiring a detailed painting. Use rounded eyes, tiny mouths, and simple blush marks for an easy expression.
Small characters can include ghosts, acorns, mushrooms, woodland animals, or sleepy moons. Sketch each face lightly first if you want to adjust the expression before painting.
Nature-inspired leaves, flowers, and mushrooms
Try small oak leaves, curved vines, acorns, mushrooms, or flowers with five rounded petals. Paint only one side of the pumpkin for an open design, or carry a vine from the base toward the stem with a few leaves along the way.
Patterned pumpkins for a modern look
Repeating patterns work well for a graphic pumpkin. Try arches, checkerboards, narrow stripes, dots, or small diamonds.
Use a limited palette and let the pumpkin’s ridges create breaks in the pattern. You do not need to cover every section.
Pumpkins that match a coffee table or porch display
Start with colors already near the display. Cream, tan, brown, rust, sage, and dusty blue work with wood, woven baskets, ceramics, and neutral textiles.
For a coffee table, choose smaller pumpkins with quieter patterns. Larger shapes and stronger contrast can stand out on a porch. Pair the finished pieces with ideas from fall decor ideas for a cozy home.
Paint Colors That Make Pumpkins Look Cute
Warm neutrals with cream, tan, and terracotta
Cream makes a useful background for many detail colors. Tan and terracotta add warmth without a bright orange palette.
Try a cream pumpkin with tan lines and terracotta flowers, or use terracotta as the base with cream dots.
Soft pastels for a gentle fall palette
Dusty pink, pale peach, soft lavender, muted yellow, and light blue work with cream details. Add one grounded shade such as brown, olive, rust, or warm beige to connect the palette to fall.
High-contrast black and white details
Black and white faces, leaves, and patterns stand out on orange, cream, or green pumpkins. Use black for outlines and facial features.
A white pumpkin with black scallops is one option. An orange pumpkin with cream dots and a small black stem is another.
Muted green, sage, and dusty blue
Sage and muted green pair with cream, tan, and brown. Dusty blue also works with warm neutrals and gives fall decor a quieter color scheme.
How to use one accent color without making the design busy
Choose a neutral base, then use one accent color for flowers, dots, faces, or stripes. Repeat the accent on two or three pumpkins to connect the designs.
If the pumpkin has a strong pattern, leave the stem and some ridges plain. Open space helps small painted details stand out.
How to Paint a Pumpkin Without Making It Complicated
A simple preparation and painting checklist
- Select the pumpkin. Choose a firm pumpkin with an even surface and a stem that is not loose. Small pumpkins suit a first project, while wide pumpkins give more room for faces and patterns.
- Clean the surface. Wipe away soil and dust with a slightly damp cloth, then let the surface dry.
- Prime if needed. An optional primer coat can help on a slick craft pumpkin or an uneven surface. Follow the product label if you use one.
- Sketch the design. Use a very light pencil line or washable marking tool. Plan the front-facing area first, then decide how much of the sides should carry the design.
- Paint the base colors. Apply a thin, even coat. Work around the stem and ridges with a small brush.
- Add the details. Paint large details first, followed by dots, outlines, facial features, leaves, or pattern marks.
- Let each layer dry. Use the paint label as your guide. Add another coat when the first feels dry to the touch.
- Check the finished pumpkin. Touch up gaps, clean stray marks, and add a little detail near the stem if the top feels empty.
- Dry before display. Set the pumpkin aside until the surface feels fully dry, then place it in your chosen location.
How to sketch a design before adding paint
Divide the pumpkin into visible sections by following its ridges. Place the main face, flower, or mushroom on the front section, then use neighboring sections for supporting details.
For repeating patterns, mark a few guide points around the pumpkin first. This helps you plan dots, scallops, or diamonds without covering the entire pumpkin in pencil lines.
Ways to paint around ridges and the stem
Use a smaller brush near the stem and let the brush follow the curve of each ridge. Rotate the pumpkin instead of twisting your wrist around it.
You can leave a narrow unpainted line beside the stem if the area feels difficult.
When to add dots, outlines, and small details
Add details after the base feels dry. Use the end of a brush or a cotton swab for round dots. Vary the dot size slightly for a less uniform design.
How to plan for drying between layers
Divide the work into several thin layers. Keep one pumpkin aside while another dries if you are working on more than one design.
Cute Pumpkin Ideas for Different Skill Levels
Beginner designs that use dots and simple shapes
Try polka dots, scallops, stripes, simple leaves, or a single ghost face. A cream pumpkin with terracotta dots is one idea. A green pumpkin with three white leaves on the front is another.
For more projects to make with children, browse fall crafts for preschoolers or toddler fall crafts you can do together.
Intermediate designs with faces and repeating patterns
Try animal faces, sweater marks, mushrooms with spotted caps, or a repeating arch pattern. Sketch the main shapes first and paint the details in stages. Stop when you like the amount of detail.
More detailed designs for confident painters
Combine a background color, a vine, several flowers, and tiny leaves. Another option is a night-sky pumpkin with a muted blue base, cream stars, and a small crescent moon.
Keep the details on one side if you prefer a clear focal area.
Easy ideas for painting with children
Dots, stripes, faces, hand-painted leaves, and simple color blocks are approachable project ideas. Let each child choose a small color palette or one shape to repeat across the pumpkin.
Display and Care Ideas for Painted Pumpkins
Indoor displays for shelves, trays, and entry tables
Place one large pumpkin behind two smaller ones on a tray. Add a folded napkin, a small vase, or a ceramic bowl nearby.
On a shelf, line up three pumpkins in related colors. On an entry table, one character pumpkin can serve as the focal point. For more seasonal styling, see cozy fall decor ideas for a warm home.
Outdoor placement considerations
A craft pumpkin is a useful choice if you want a reusable display. Choose the placement based on the surface, finish, and look you want for the area.
How to group pumpkins by size and color
Try a triangle arrangement with one tall pumpkin, one medium pumpkin, and one small pumpkin. Repeating one color across the group helps the pieces feel connected.
You can also group by mood: warm neutrals together, pastels together, or black-and-white designs together.
Preserving and storing painted pumpkins
A craft pumpkin can be set aside for another season if you want a reusable display. Store painted pieces where they will not be crowded by other decor.
How to refresh a design after handling
Dust the pumpkin gently with a dry, soft cloth. If a detail has rubbed away, repaint that small area and let it dry before returning the pumpkin to the display.
A new row of dots, a sharper eye, or a small leaf can refresh the design without repainting the whole pumpkin.
Frequently asked questions
What kind of paint works best for painting pumpkins?
A water-based craft paint is one possible option. Check the product label for surface suitability.
Do I need to wash or prime a pumpkin before painting it?
Wipe away soil and dust, then let the surface dry. An optional primer coat can help on a slick craft pumpkin or an uneven surface.
How long should pumpkin paint dry between coats?
Use the drying direction on the paint label. Add another coat when the first feels dry to the touch.
Can painted pumpkins be displayed outside?
A craft pumpkin is one option for a reusable display. Check the product label before choosing an outdoor location.
How can I keep a painted pumpkin from spoiling or losing its finish?
Choose a craft pumpkin if you want a reusable display. For a painted pumpkin that has been handled, dust it gently with a dry, soft cloth and touch up small worn areas.
Photo credits
Photo (inline 1): Bim24 on wikimedia via Openverse, CC0 1.0