You can absolutely craft with preschoolers this fall - as long as you pick simple steps, safe materials, and expect short attention spans. Use washable supplies and blunt tools, and aim for cozy results rather than perfection. Keep sessions short and age-appropriate so children stay engaged.
First, yes you can craft with preschoolers this fall
Short answer: yes. I do it at home and in small groups. Preschoolers want hands-on, sensory play. Fall gives you ready materials - leaves, pinecones, felt - that fit small hands.
Keep steps simple and repeated so children feel successful. Stamp a leaf, glue a pom-pom, string a few felt shapes. Those small wins add up to a seasonal craft they helped make.
If you want more project ideas that fit slightly older toddlers or a longer session, see my post on Toddler Fall Crafts You Can Do Together. For crafts that become part of your home decor, I also link related ideas in Fall Crafts for a Cozy Home You Can Finish This Weekend and Fall Decor Ideas for a Cozy Home.
What makes a fall craft suitable for preschoolers
- Short, age-appropriate sessions that keep engagement high.
- Materials that are non-toxic, washable, and large enough to avoid choking hazards.
- A cozy result the child can use or display at home - a garland, a window rubbing, or a bird feeder at child height.
I aim for a balance: enough structure so the child knows what to do, and enough choice so they feel proud of the result.
Safety and setup before you begin
Age-appropriate expectations
- Ages 3 to 5 have variable coordination. Three-year-olds usually need one-on-one help with scissors and squeezing glue. Four- and five-year-olds can practice cutting straight lines, folding, and basic threading with supervision.
Safe materials and tools
- Use washable tempera paints and non-toxic school glue.
- Choose blunt-tipped child scissors only.
- Avoid small beads or parts for children who still mouth objects.
- Check family allergy information before using food-based items. If allergies are a concern, skip edible materials or use non-food substitutes.
Workspace setup and cleanup plan
- Cover the table with a washable tablecloth or craft mat.
- Use a muffin tin or small bowls to portion paints, glue, and small parts.
- Keep wet wipes, a trash bowl, and a towel within reach.
- Plan a brief wind-down and cleanup routine at the end; kids can help stack, scrape, and toss scraps.
A short, predictable cleanup routine helps kids transition out of focused play. I give simple jobs: “You put the glue stick back, I’ll wipe the table.” It takes two minutes and reduces stress.
Low-muss, high-cozy fall craft ideas
No-mess or low-mess options
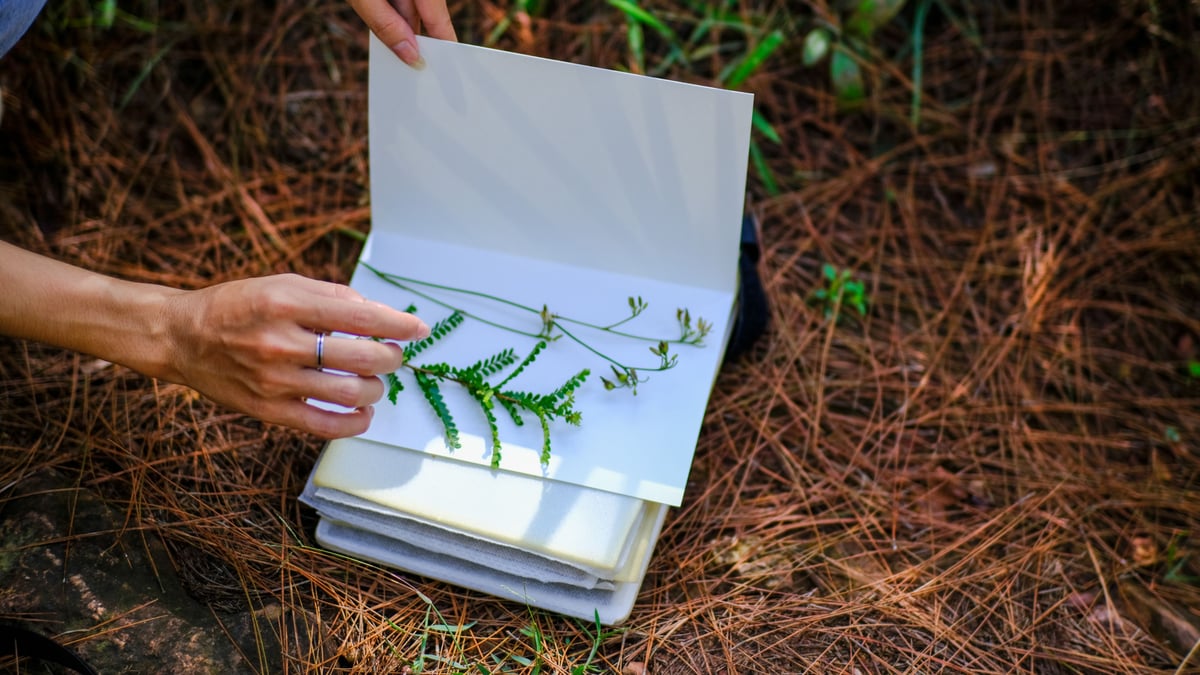
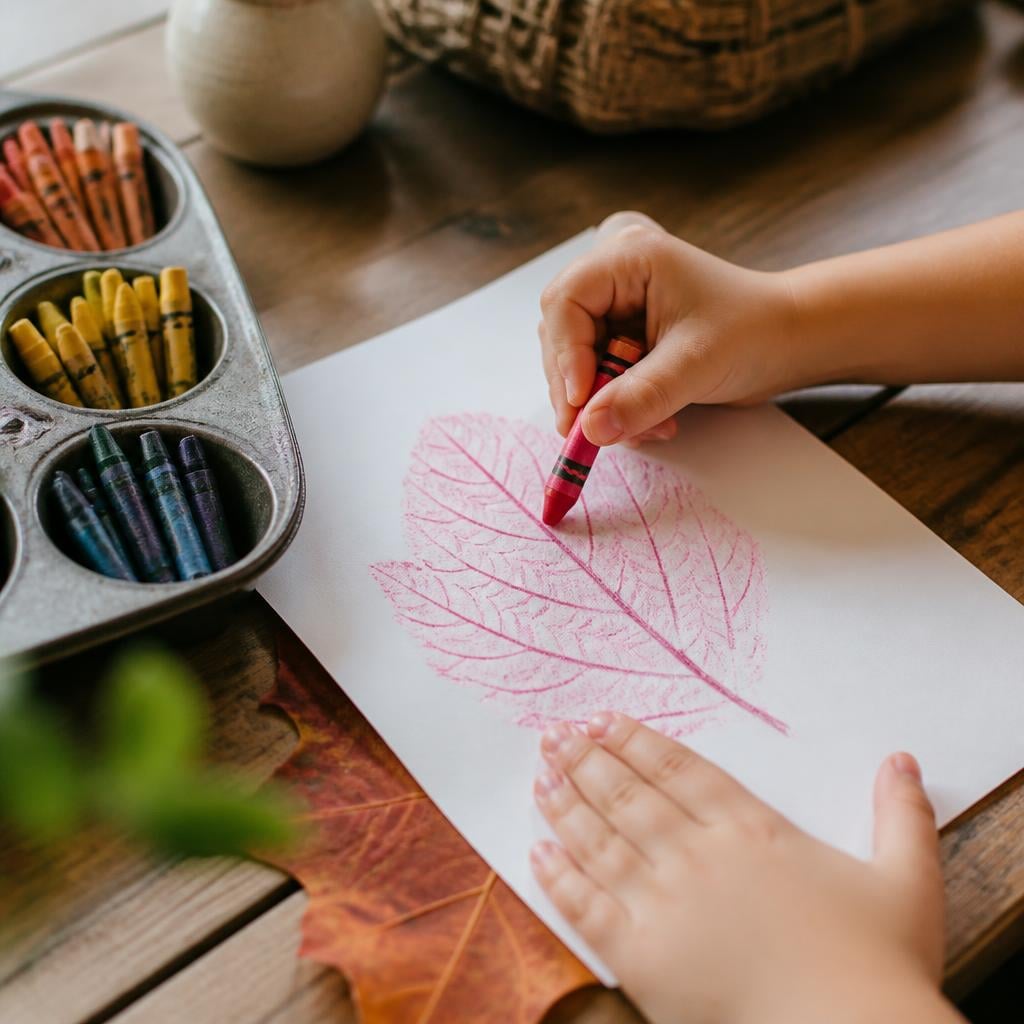
- Leaf rubbings with crayons over paper - no glue, no paint.
- Sticker collages on cardstock - minimal tools and quick to finish.
- Pre-cut felt shapes glued with a glue stick.
Texture and color ideas preschoolers can handle
- Soft felt, large pom-poms, and thick yarn for tactile interest.
- Fall palette suggestions: burnt orange, mustard yellow, deep red, and olive green in small amounts.
- Natural textures like smooth acorns, pinecones, and dried leaves - brush them clean and check for bugs before use.
Adaptations for different skill levels
- Make a pattern for children who need tracing - draw leaf outlines for cutting.
- Tailor complexity to your group: add small sewing or threading steps only when you know the child can handle them safely and with close adult help.
- Offer choice: one child uses stickers, one paints. Both get a meaningful result.
If you want sturdier keepsakes, pair these projects with my post on How to Seal Air-Dry Clay to Survive Spills. That technique helps craft pieces last through play and spills.
Step-by-step crafts you can start today
Three simple projects with exact materials and steps.
- Leaf Rubbing Collage
Materials per child: several leaves, paper, crayons.
Steps:
- Place a leaf vein-side up under the paper.
- Lay the paper flat and hold still.
- Rub the crayon flat over the paper until the leaf pattern appears.
- Let the child glue rubbings onto a second sheet to make a collage.
Why this works: no glue or paint up front, quick success, and easy to repeat.
- Pinecone Bird Feeder
Materials: clean pinecones, an allergy-conscious spread or non-food binder if preferred, birdseed or another safe coating, twine.
Steps:
- Tie twine around the top of the pinecone to make a loop with adult help.
- Let the child spread a small amount of a sticky, allergy-appropriate binder over the scales while an adult assists.
- Roll the pinecone in birdseed or another safe coating until coated.
- Hang at a visible, supervised spot outdoors.
Safety note: confirm allergies with caregivers before using any food-based ingredients and consider non-food options if there is any concern.
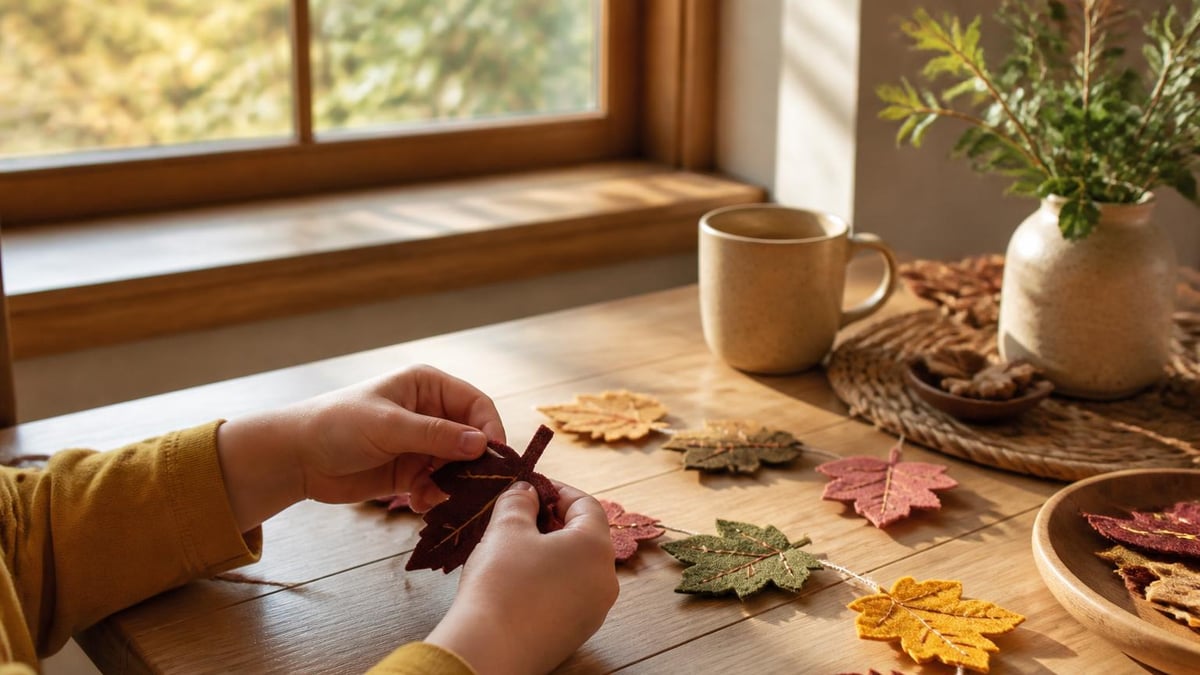
- Felt Leaf Garland
Materials: pre-cut felt leaves, yarn or ribbon, hole punch, glue stick, optional large buttons.
Steps:
- Punch a hole at the top of each felt leaf.
- Let the child thread leaves onto the yarn with help.
- Tie knots to space leaves and make loops at each end to hang.
- Display at a child-accessible height for enjoyment and rotation.
This project keeps little hands busy and produces a display you can move around the house.
Turn crafts into learning moments
- Count while you glue: “Let’s put three leaves here.”
- Talk textures: “This pinecone is bumpy. The felt is soft.”
- Add a short book or a nature walk before crafting so the activity connects to real leaves and seasonal change.
I keep these prompts short. They guide language and observation without taking over the play.
Materials, safety tips, and age-appropriate questions
Checklist of safe supplies
| Item | Why I use it | Notes |
|---|---|---|
| Washable tempera paint | Easy cleanup | Keep small portions for each child |
| Non-toxic white school glue | Dries clear | Apply in thin layers and supervise |
| Blunt child scissors | Safer cutting | Supervise closely with younger children |
| Large craft sticks, pom-poms, felt | Big parts, tactile | Avoid small beads for children who mouth objects |
| Muffin tin or small bowls | Keeps supplies organized | 6 compartments handle paint/glue |
| Wet wipes & smock | Fast cleanup | Keep within arm’s reach |
Common caregiver concerns and short responses
- What if the child eats materials? Choose non-toxic, food-safe options if hand-to-mouth behavior is common. When in doubt, avoid food-based steps.
- How do I handle a child who wants to do it their own way? Offer a safe alternative and let them lead a small part. Ownership helps.
- What if a craft falls apart? Celebrate the process, take a photo, and try sturdier adhesives or lamination if you want durability.
Storage and reuse ideas to cut waste
- Store partially used paints in sealed jars and label them.
- Save felt scraps and yarn clippings in a scrap box for mosaics or sensory bottles.
- Photograph finished crafts and recycle paper pieces if you need to save space.
Seasonal display and participation ideas
Turning crafts into home decor
- Hang garlands across a low mantle or a child art wall. Choose a visible length that fits your space.
- Use washi tape or a clipboard to rotate leaf rubbings weekly.
- Turn bird feeders into a nature station: a small tray with binoculars and a simple bird ID card.
Involving kids in cleanup and sharing
- Make cleanup a short, fun routine and assign small, simple tasks.
- Encourage sharing by making two small versions of a craft to give: one to keep and one to gift.
Why these choices work
This plan is practical and safety-first. Short sessions, clear steps, and familiar materials let preschoolers stay engaged. The projects make cozy, seasonal things without complicated techniques. They require a little adult help and give a lot of hands-on practice.
If you want a longer list of projects that turn into decor or seasonal home touches, check my roundup on Fall Crafts for a Cozy Home You Can Finish This Weekend.
Frequently asked questions
What age is best for fall crafts at home with preschoolers?
Ages 3 to 5 are the typical range. Three-year-olds need more one-on-one help; four- and five-year-olds can do simple cutting, folding, and threading with supervision. Tailor steps and supervision to each child.
Which materials are safest for toddlers and preschoolers?
Use non-toxic, washable paints and glues, blunt scissors, and large craft parts that won’t fit in a child’s mouth. Always check family allergies before using food items and supervise closely.
How can I reduce mess while still making engaging crafts?
Portion paints in a muffin tin, offer stickers instead of loose glitter, choose pre-cut shapes or felt, and put a washable tablecover under the work area. Plan a brief tidy routine at the end.
How long should a typical preschool craft session last?
Aim for short, age-appropriate sessions that maintain engagement, then a brief wind-down and cleanup. Watch each child’s attention and stop before frustration starts.
What if a child is resistant to crafts or gets frustrated?
Pause and offer a simpler role - handing glue, sorting colors, or making one small contribution. Praise effort rather than the outcome, and offer a different short activity if they need a break.
Tools and gear mentioned
Coffee Brew Ratio Calculator
Coffee-to-water for pour-over, French press, AeroPress and espresso.
Cost Per Cup Calculator
What your home coffee really costs versus the café.
Coffee Station Budget Planner
Pick a space and a budget tier and get an itemised shopping list.
Caffeine Calculator
Caffeine per drink and your daily total against the 400 mg guideline.