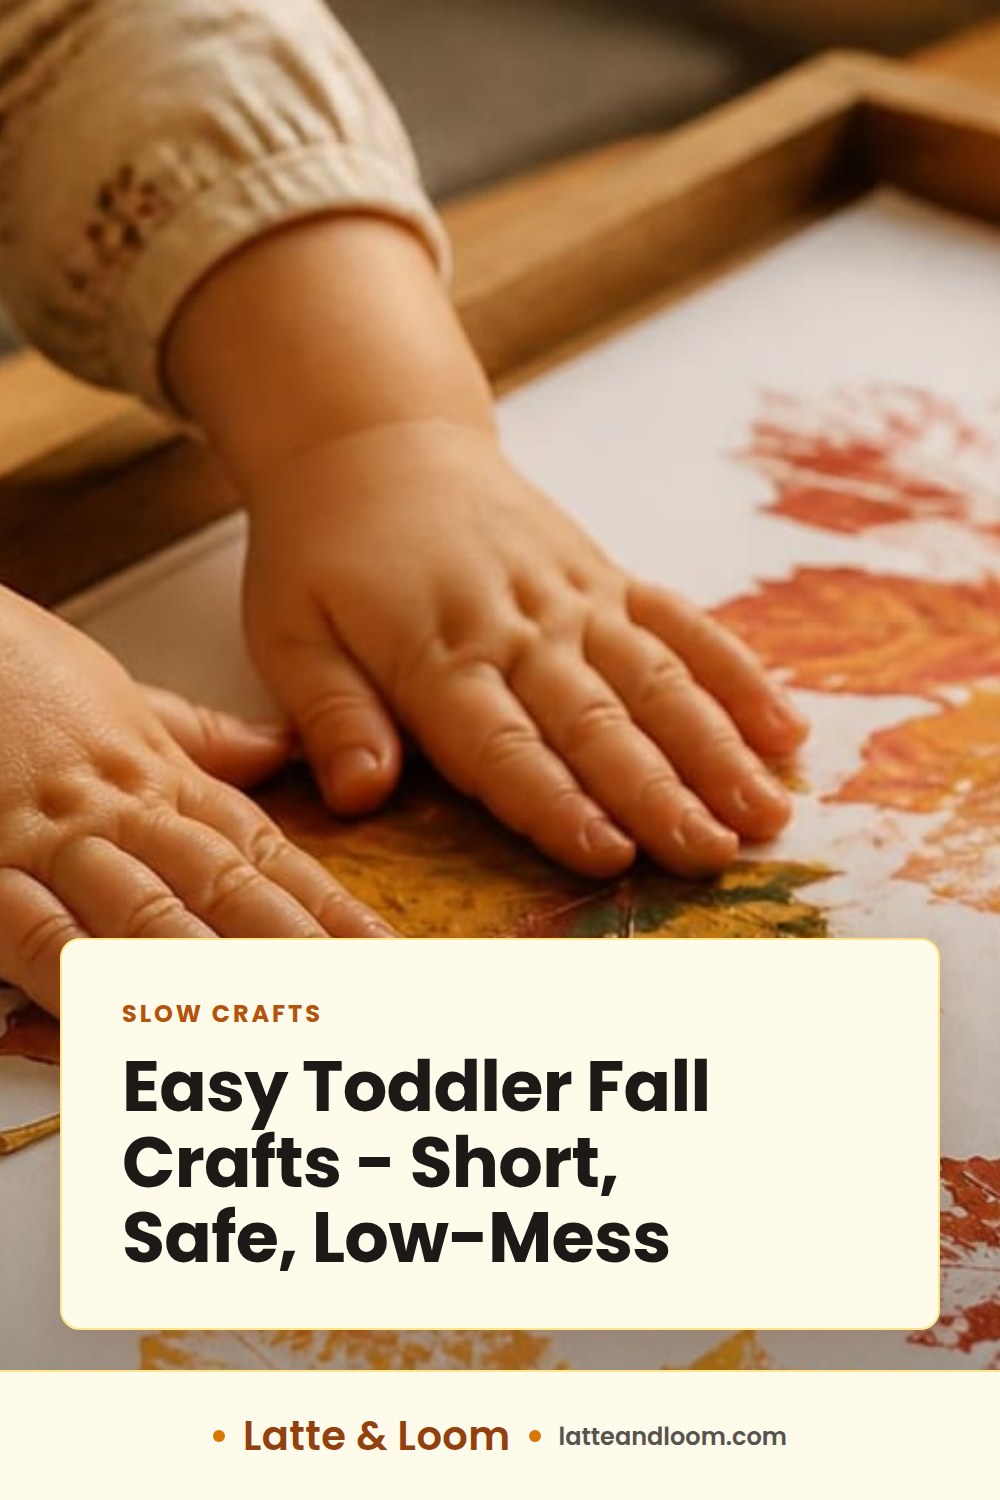
Simple, safe toddler fall crafts focus on large, sturdy pieces, predictable steps, and very short hands-on time. Pick one or two projects, prepare materials in a tray, demonstrate the action briefly, let the child try for a few minutes and adjust based on their engagement, then move to cleanup.
Toddler fall crafts that answer the question in one pass
Toddler fall crafts you can do together should be short, sensory, and easy to reset. Use big items - large paper, chunky crayons, sponge stamps, whole leaves - and plan for quick cleanup so the fun does not derail the rest of the day.
What makes a craft toddler friendly
- Big parts: pieces should be larger than a toddler’s mouth and easy to grasp with thumb and fingers. I use 2 inches or more for loose pieces.
- Short steps: one clear action at a time - stamp, stick, rub, drop.
- Predictable mess: if paint or glue is involved, keep it in a tray and limit quantities to contain spread.
- Repeatable moves: toddlers build confidence by repeating the same motion - pressing a sponge, rubbing a leaf, or placing stickers.
A practical plan for short sessions
I plan for 10 to 20 minutes total per session: 3 to 5 minutes of setup, a few minutes of focused play adjusted to the child’s interest, then 5 to 8 minutes for cleanup and display. Keep one tray with everything for a single project so you can reset quickly.
What to know before you start
Choosing age-appropriate materials
- Use washable paints and markers labeled washable.
- Choose glue sticks over liquid glue when possible.
- Avoid beads, sequins, buttons, and other small pieces for young toddlers. Use large pom-poms, foam stickers, and pre-cut paper shapes instead.
- Choose a large sheet of paper so the toddler has lots of room to work.
Supervision and safety basics
- Stay within arm’s reach during the activity. I position myself so I can guide hands and redirect if something goes toward the mouth.
- Never leave a crafting toddler alone with items that are a choking risk.
- Read labels: if a product is labeled non-toxic, keep the packaging and check the manufacturer guidance for age suitability.
Workspace and cleanup setup
- Create a contained space: a low table, high chair tray, or a large baking sheet as a work tray.
- Protect surfaces with a washable tablecloth, old shower curtain, or newspaper.
- Keep wet wipes, a damp towel, and a small trash bag within reach.
- Have a drying rack or a spot on a windowsill for finished pieces.
Easy projects that work well for toddlers
Below is a short table with quick estimates for each project. Times are typical for toddlers, based on short attention spans.
| Project | Active time (minutes) | Key materials | Mess level |
|---|---|---|---|
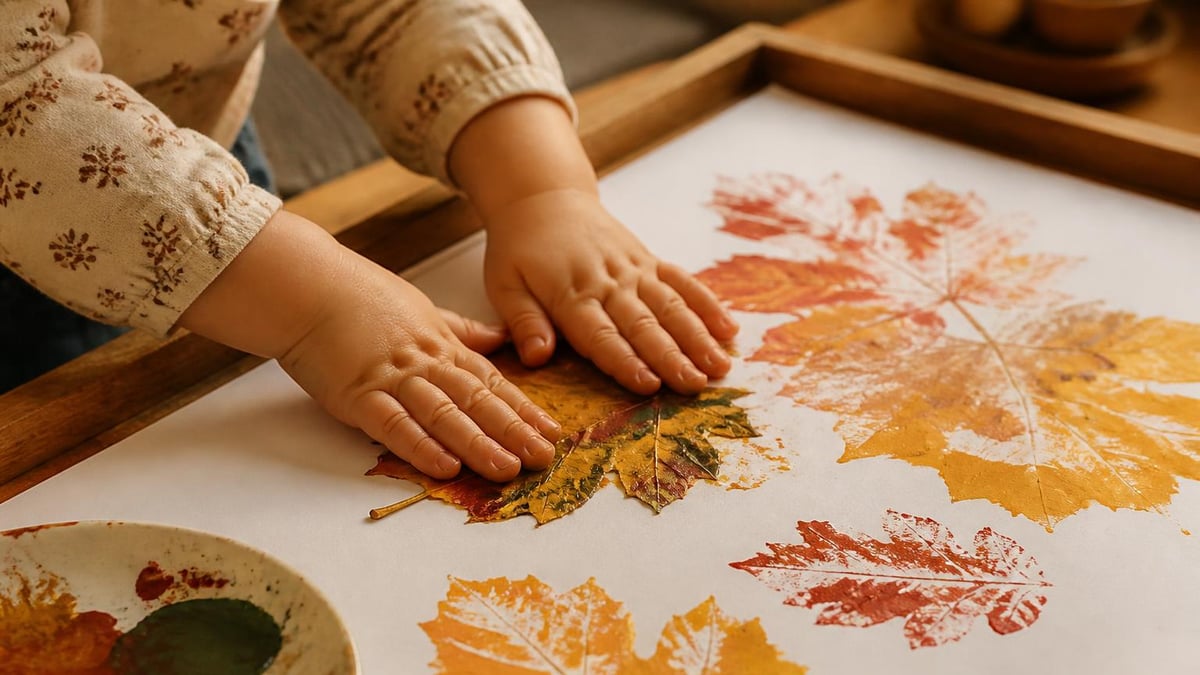
| Leaf or sponge stamping | 5 - 10 | Washable paint 2 colors, large sponge or leaves, large cardstock or paper | Low to medium |
| Pumpkin or leaf collage | 7 - 12 | Large paper, glue stick, pre-cut shapes, large stickers | Low |
| Nature rubbings | 5 - 8 | Chunky crayons, textured leaves or bark, paper | Very low |
| Foam seasonal shapes | 5 - 10 | Foam stickers, cardstock, glue stick (optional) | Very low |
Stamping with leaves or sponges
What to prepare
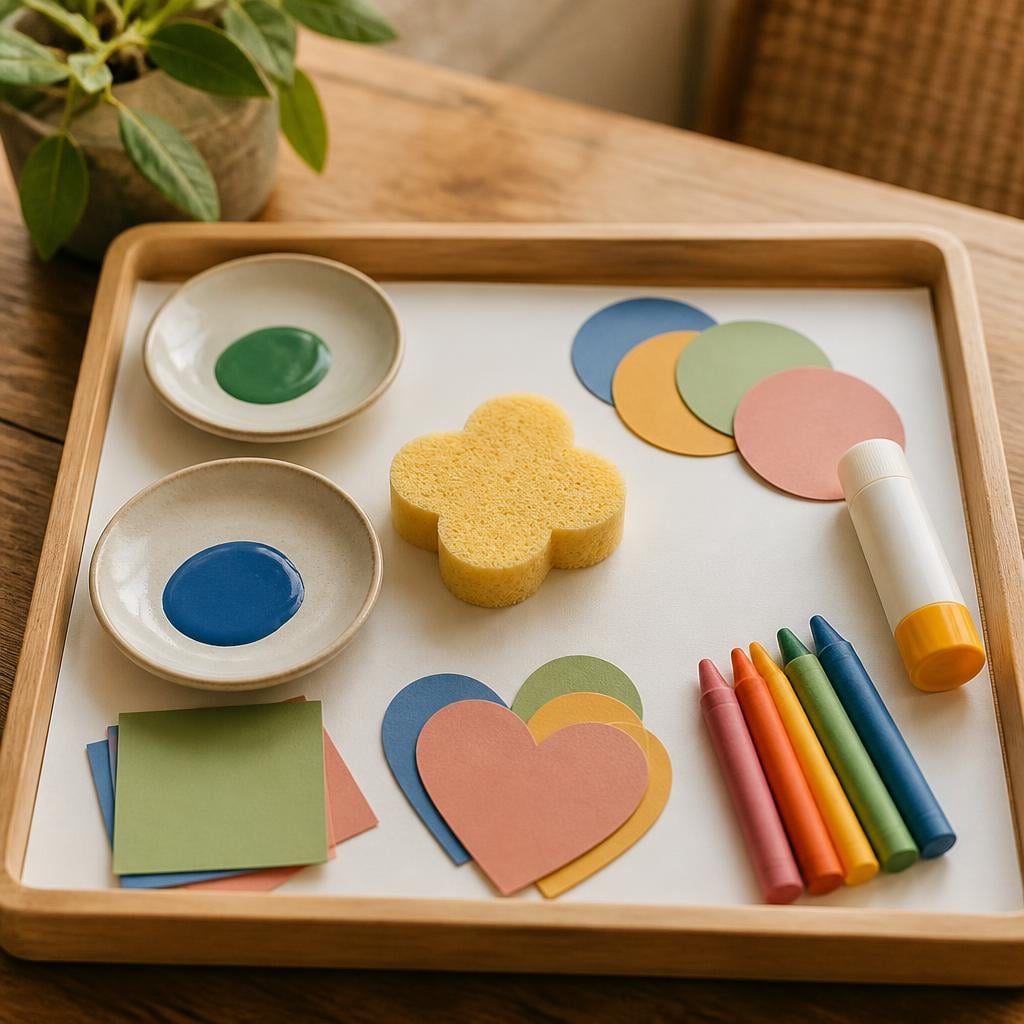
- 2 small shallow dishes with 1 to 2 tablespoons of washable paint each.
- One or two large leaves or a clean kitchen sponge cut into a big shape.
- One large sheet of cardstock or paper.
How I run it
- Put paint in the dishes and place them on a tray.
- Demonstrate pressing the leaf or sponge into the paint and then onto paper briefly.
- Let the child stamp for a few minutes while you supervise and hand them paper as needed, adjusting based on their interest.
Tips
- Use contrasting colors so prints show clearly.
- If outdoors, stamping on cardboard is easier to transport.
Pumpkin or leaf collage on large paper
What to prepare
- One large sheet of paper per child, pre-cut pumpkin and leaf shapes in cardstock, a glue stick, and large stickers.
How I run it
- Let the child pick a pumpkin shape and stick pre-cut shapes onto it. Limit the options to 5 pieces to avoid overwhelm.
Tips
- Glue sticks are cleaner and dry fast. Hold the paper steady for littlest hands.
Nature rubbings with crayons
What to prepare
- Crayons without sharp points, leaves or textured items, plain paper.
How I run it
- Place a leaf under the paper and show how to rub the crayon sideways to observe the texture and complete a single rub. Toddlers like feeling the texture under paper.
Tips
- Crayon stubs work well because they are chunky and easy to grip.
Foam family or seasonal shapes
What to prepare
- Foam sheets or stickers in fall colors, pre-cut family shapes if you prefer, cardstock base.
How I run it
- Give a parent or caregiver a foam piece to hand over. Toddlers arrange shapes and press them down to make a scene.
Tips
- Foam stickers are great for very young toddlers because they are self-adhesive.
A simple, reliable plan you can reuse
Use this repeatable plan every time I set up a toddler craft. It keeps the activity predictable and reduces frustration.
- Gather one or two simple craft projects with large pieces.
- Prep a dedicated crafting tray with materials for each project.
- Demonstrate the action briefly.
- Let the toddler try for a few minutes with supervision, adjusting to their engagement.
- Move to cleanup mode, wipe surfaces, and place finished crafts on display.
Step by step workflow
- Prep 3 to 5 minutes: gather materials on a tray, protect the surface.
- Demonstrate briefly: show the motion, let the toddler touch the tools once.
- Activity a few minutes: short and focused. Offer help if the toddler gets stuck.
- Wind-down 1 to 2 minutes: invite the child to place tools on the tray.
- Cleanup 5 to 8 minutes: wipe hands, surfaces, and put materials away. Put art on a drying rack or display.
Time and material estimates
- Prep per project: 3 to 5 minutes.
- Active craft time: a few minutes for toddlers; up to 15 minutes for older preschoolers.
- Cleanup: 5 to 8 minutes.
- Materials per child: one large sheet of paper, 2 oz paint if painting, 1 glue stick, a handful of large stickers or shapes.
Cleanup routine
- Keep a small bin or caddy with wipes, a towel, and a brush for paint cups.
- Rinse brushes immediately after use and put paint lids back on.
- Show toddlers one quick tidy action - put stickers back in a container or hand you the glue stick - and praise them.
Safety, supervision, and materials
Non toxic, washable materials
I use products labeled washable and non-toxic. Read the label and follow manufacturer age recommendations. If you are unsure about a product, leave it out or save it for older kids.
Choking-hazard awareness
Anything small enough to fit into a toilet paper roll is a choking risk for many toddlers. Keep small beads, buttons, and sequins off the work mat. Use large foam shapes, big pom-poms, and stickers labeled for toddlers.
Supervision levels by craft
- Very close supervision: paint, glue, anything with liquid or smearable textures.
- Close supervision: foam stickers and pom-poms.
- Less close but present: crayon rubbings and sponge stamping once you have shown the motion.
Storage, reuse, and rotation ideas
How to store finished crafts
- Label a shallow box or portfolio for seasonal crafts. Cardstock and small collages stack flat and stay in good shape for months.
- Photograph 4 x 6 prints of bulk projects and store the photos if you do not want to keep every item.
Good reusable materials
- A set of washable paints, a plastic tray, sponge stamps, and a set of foam stickers can be used for many sessions.
- Reusable trays and a small drying rack save time and reduce waste.
If you use air-dry clay for a simple impression or keepsake, follow the sealing steps in How to Seal Air-Dry Clay to Survive Spills before putting the piece on display.
Rotating craft ideas to avoid overload
- Cycle through one messy project, one low-mess project, and one nature-based project each week.
- Keep a simple sleeve with 6 to 8 prepped templates ready so you can swap projects in 2 minutes.
Seasonal context and expectations
What to expect in a typical session
Expect a toddler to focus for a few minutes on a single task. They enjoy repetition and sensory feedback more than completing a formal project. You will likely need to prompt, model, and help place items.
Adjusting for development
Younger toddlers need chunkier tools and close hand-over-hand help. Older toddlers can handle stickers and controlled brush strokes and may spend 10 to 15 minutes exploring details.
Ways to keep projects meaningful
- Tie the craft to a simple story or routine - press leaves then look for the same colors outside.
- Display finished pieces at eye level for the child so they see the result of their work. If you are setting a seasonal display, a small corner next to your coffee station works well; see Autumn Coffee Station Decor for a Cozy Home for layout ideas.
Quick project table and links
If you want an indoor, low-mess fall option that still looks finished, foam pumpkin stickers on cardstock work well. For a slightly more grown-up keepsake, try simple air-dry clay impressions and then finish them following the steps in Air-Dry Clay Coasters for Your Coffee Corner to adapt size and shape.
Frequently asked questions
What is the best age range for toddler fall crafts?
Toddlers are typically 1 to 3 years old. Crafts that emphasize big movements, chunky tools, and short sessions work best for that range. Adjust materials and supervision as they grow toward preschool.
What supplies are essential for a fall craft station?
A washable mat or tray, a large sheet of paper, a washable paint set, chunky crayons, glue sticks, and a small set of large stickers or foam shapes. Also keep wipes, a towel, and a drying area handy.
How can I involve siblings without chaos?
Give each child a separate tray with their own materials and a clearly defined space. Assign simple roles for older siblings - hand materials, help press shapes - and keep activities short so everyone stays engaged.
How can I teach cleanup as part of the craft time?
Make cleanup one final step of the craft: sing a short tidy-up song while the child hands you tools, wipes the tray, or places stickers back in a container. Offer a small praise or a sticker for helping to reinforce the habit.
Are there seasonal crafts that are quick and low mess?
Yes. Leaf rubbings with a crayon and paper, foam pumpkin stickers on cardstock, or stamping with dry sponges are quick and low mess. These let toddlers enjoy fall colors without wet paint or glue.
Tools and gear mentioned
Coffee Brew Ratio Calculator
Coffee-to-water for pour-over, French press, AeroPress and espresso.
Cost Per Cup Calculator
What your home coffee really costs versus the café.
Coffee Station Budget Planner
Pick a space and a budget tier and get an itemised shopping list.
Caffeine Calculator
Caffeine per drink and your daily total against the 400 mg guideline.