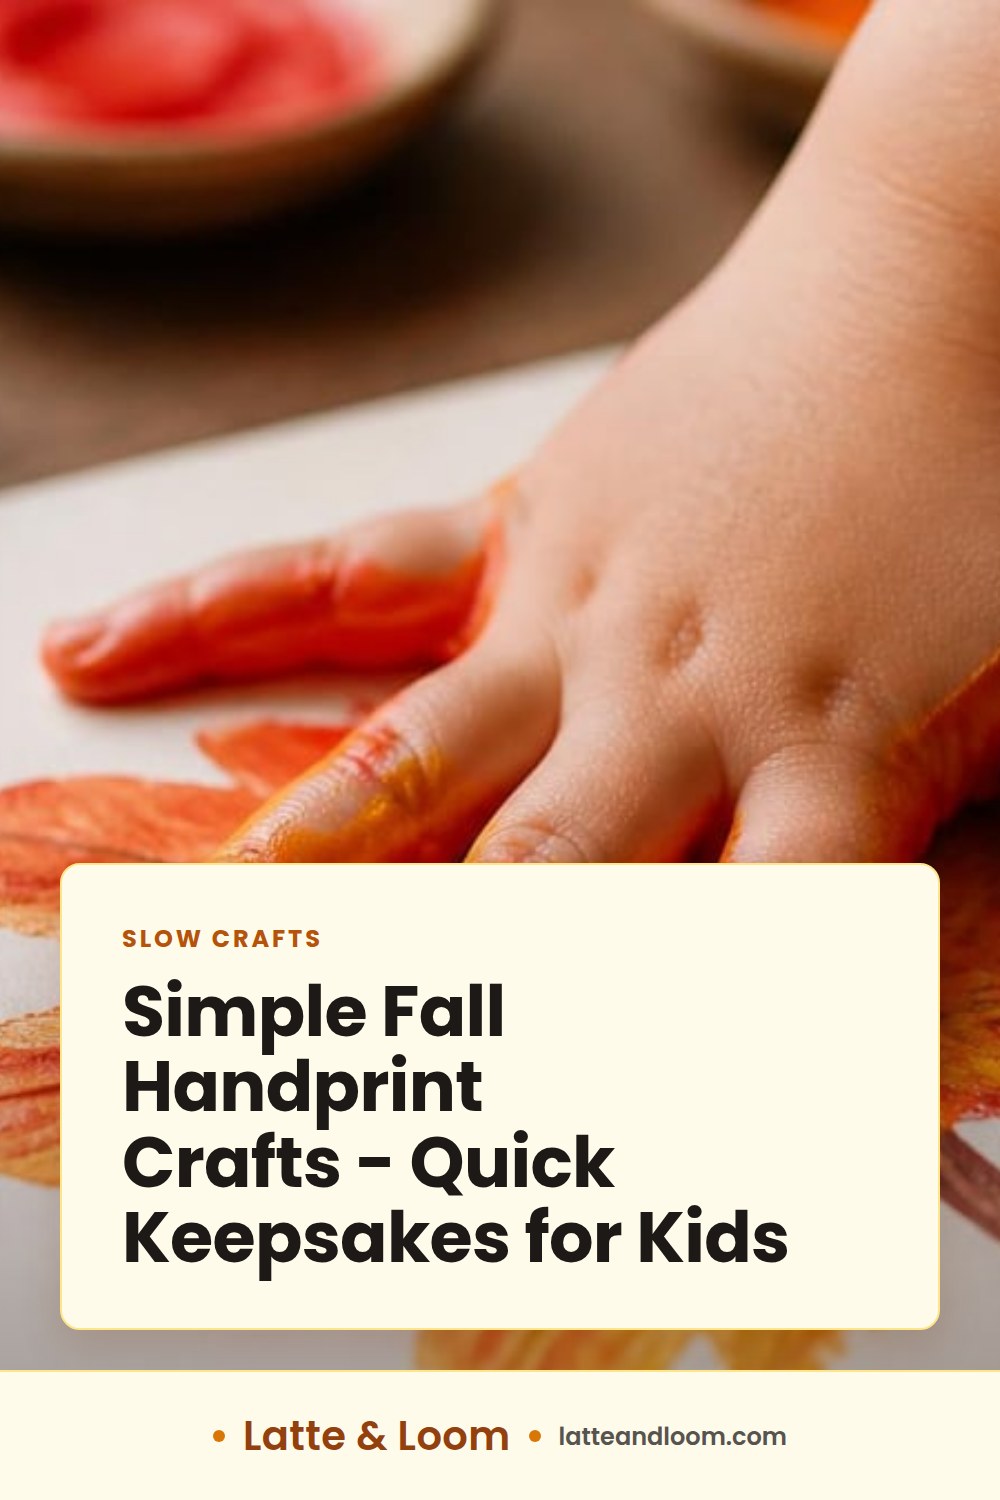
Fall handprint crafts are a low-stress way to make meaningful keepsakes in a weekend. Plan a short, focused session with washable, non-toxic paints, simple surfaces like cardstock or fabric, and clear drying times. You can complete base prints in a short session - about 1 to 2 minutes active per child - allow 20 to 40 minutes between thin layers, and expect 12 to 24 hours for final drying or sealing.
Answering the question: how to plan and execute fall handprint crafts
Handprint crafts work because they are fast, personal, and easy to scale from toddlers to older kids. Planning is mostly about choosing materials that are washable and safe, setting a short timeline, and giving each child one clear task so things move quickly and everyone stays happy.
If you need simpler toddler projects, see my notes on Toddler Fall Crafts You Can Do Together. For preschoolers, this fits well with the ideas in Fall Crafts for Preschoolers: simple, safe, and cozy ideas. If you want to turn results into home decor, I also like pairing handprints with projects in Fall crafts for a cozy home you can finish this weekend and Cozy Fall Decor Ideas for a Warm Home.
Why handprint crafts work for fall
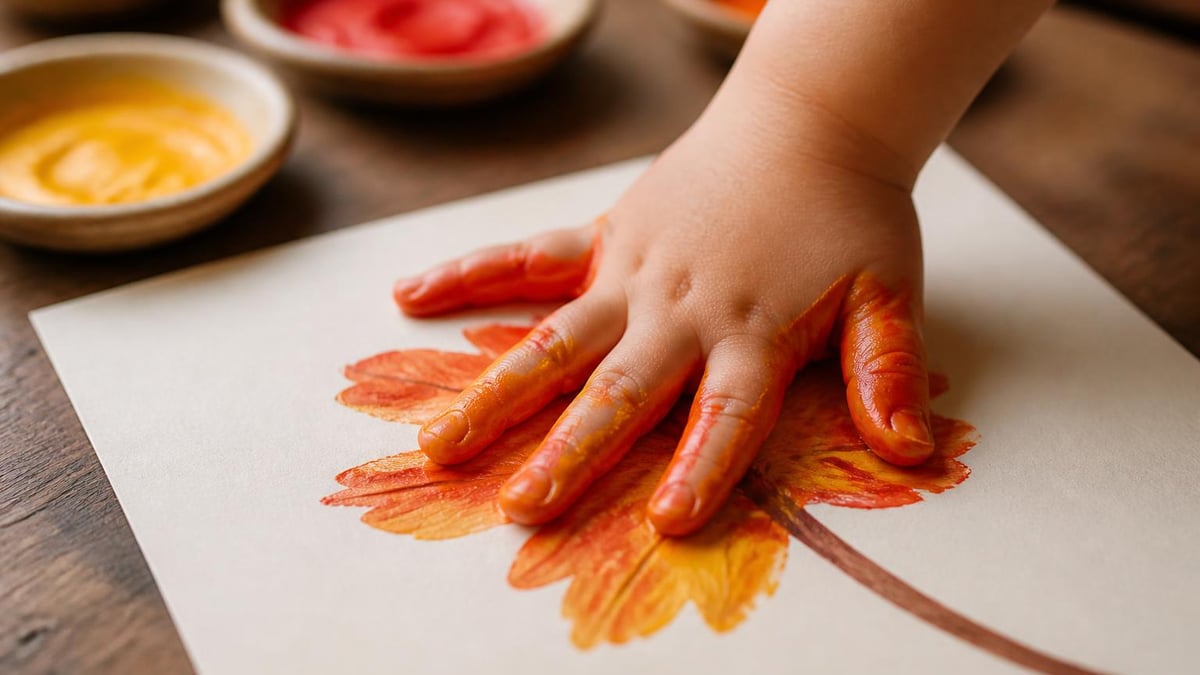
Handprints mimic leaves in shape and scale. They give you an instant seasonal silhouette and a record of a child’s hand size at a moment in time. They also forgive mistakes: a smear becomes texture, and a smeared finger can be painted into a stem or a pumpkin.
They are quick. Base painting is 1 to 2 minutes of active time per child. Drying between thin layers is 20 to 40 minutes. Final drying or sealing is typically 12 to 24 hours depending on surface and humidity.
Choosing materials that are safe and easy to clean
Use washable, non-toxic paints labeled safe for skin contact. For paper, choose cardstock or construction paper sized 8.5 x 11 or larger. For fabric, use pre-washed 100 percent cotton tea towels or canvas tote bags and fabric paint designed to be heat-set.
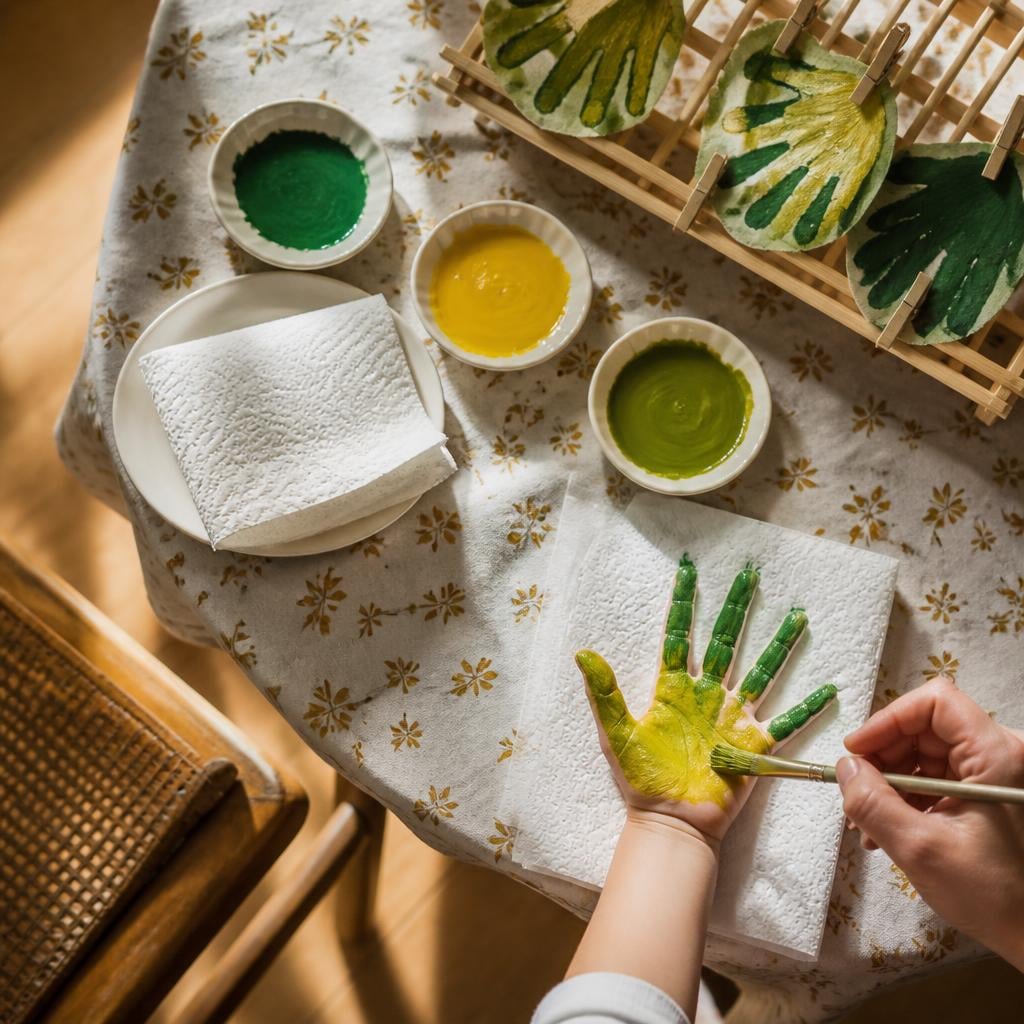
Keep brushes small - flat brushes 1/2 inch to 1 inch for applying base color and a small round brush for stems and veins. Use shallow dishes so kids can dip without tipping jars. Have a bowl of warm water, paper towels, wet wipes, and a waterproof tablecloth. One adult or an older sibling assigned to hand-wipe between color changes makes a big difference.
Practical targets: aim for a paint film about 1 mm thick for clean transfers. Too thick and it smudges; too thin and it drips.
Materials and setup: what you need and how to prepare
- Washable tempera or finger paints - non-toxic and skin-safe.
- Cardstock or construction paper (8.5 x 11 or larger) or pre-washed cotton fabric.
- Flat brushes (1/2 inch to 1 inch), small round brush for details.
- Shallow tray or muffin tin for paint, a bowl of warm water, paper towels, wet wipes.
- Waterproof tablecloth, aprons or old shirts, cardboard or clipboards to press prints evenly.
Practical note: keep paint in small shallow dishes so kids can dip without tipping jars.
| Materials | Key steps | Approximate drying times |
|---|---|---|
| Washable tempera paint, shallow dishes, brushes | Paint hand, press onto paper/fabric, lift straight up | 20 to 40 minutes between thin layers |
| Cardstock or construction paper | Add stem and veins after base dries | 20 to 40 minutes for detail layers |
| Cotton fabric or tea towels, fabric paint | Heat-set according to fabric paint directions | 12 to 24 hours before heavy use; heat-set per manufacturer |
Setup tips that reduce mess
- Limit each child to one paint color at a time for base prints. Wait 20 to 40 minutes before adding details.
- Use a thin, even coat of paint about 1 mm thick.
- Designate a drying rack area with clipboards, clothes pins or a low rack. A box fan on low helps if the room is 68 to 72°F with normal humidity.
- Rinse brushes immediately after use. Wipe surfaces while paint is wet to avoid stubborn stains.
A base handprint project you can customize
My go-to project is a simple handprint leaf that you can finish in one weekend.
- Set up - 10 minutes: cover surface, arrange paints in shallow dishes, place paper or fabric on clipboards. Pre-wash hands if needed.
- Paint application - 1 to 2 minutes per child: either dip the palm into paint in a shallow dish or use a flat brush to paint an even coat on the palm and fingers.
- Press print - 3 to 5 seconds: press painted palm straight down on the paper, hold gently then lift straight up.
- Initial dry - 20 to 40 minutes: lay flat to dry. Use a fan on low; do not stack prints.
- Add veins and stem - 5 to 10 minutes: with a small round brush, paint a stem and fine veins. Brown or dark orange works well.
- Optional second layer - 20 to 40 minutes: wait the same drying time before adding highlights or metallic accents.
- Seal or frame - 12 to 24 hours: for paper, use a clear spray sealer labeled acid-free. For fabric, heat-set per paint instructions - many recommend ironing at the fabric’s appropriate temperature for 2 to 4 minutes.
These times assume room temperature around 68 to 72°F. If your house is colder or more humid, add 10 to 20 minutes to drying estimates.
Variations by age
- Toddlers: single-color prints on cardstock. Do one print each and switch to stickers while things dry.
- Preschoolers: two-tone leaves. Let the base dry 20 to 40 minutes, then add veins or speckles.
- Elementary kids: combine two hand sizes to make a tree or paint on fabric to sew into a pillow later.
- Older kids and adults: try metallic or pearlescent paints and frame a coordinated set.
Drying times, sealing and preservation
- Between thin layers: 20 to 40 minutes.
- For full handling and sealing: 12 to 24 hours for paper or fabric with heavy coverage.
- Fabric: follow the fabric paint manufacturer. A common approach is to heat-set with an iron at the recommended fabric temperature for 2 to 4 minutes; then wait 24 to 48 hours before heavy use.
- Paper: frame behind glass or spray with an acid-free clear sealer and store flat in a cool place.
Display ideas and inexpensive finishes
- Framed prints: mount one or three handprints on white matting in an 8 x 10 or 11 x 14 frame. Thrift-store frames often cost $3 to $10.
- Mantel garland: string 6 to 10 handprint leaves on twine with mini clothespins.
- Fridge gallery: stick small prints to magnetic sheets or laminate for bookmarks.
- Fabric uses: heat-set printed tea towels or a tote bag for everyday use.
If you want a coordinated seasonal look, pick 3 to 5 colors and stick to them. That shortens decision time and speeds the session.
Common issues and how to handle them
- Smears while wet: gently blot with a damp paper towel and reprint on a spare sheet. Keep extra sheets ready.
- Smears after dry: treat as texture. Paint veins or a stem to incorporate the mark.
- Multiple kids, one table: assign each child a shallow dish and an adult to wipe hands between colors. Disposable plates or muffin tins help keep colors separate.
A simple 1 to 2 day weekend schedule
Morning - base prints
- 9:00 to 9:10 am: set up supplies.
- 9:10 to 9:40 am: base prints. Each child 1 to 2 minutes active. Aim for 3 to 4 prints per child.
- 9:40 to 10:00 am: move prints to drying area and quick clean.
Afternoon - details and finish
- 2:00 to 2:20 pm: add stems, veins, or a second color. Allow 20 to 40 minutes to dry.
- 3:00 to 3:30 pm: frame, string into a garland, or prepare fabric for heat-setting.
Cleanup
- Rinse brushes and palettes immediately with warm water. Wipe down surfaces while paint is wet. Store paints sealed in a cool place.
Keep craft time calm and simple
I use a small folding table with a vinyl tablecloth and an old cookie sheet to hold paints. That keeps everything contained and makes it easy to move outside.
Limit active painting to 10 to 20 minutes per session. Pre-mix two or three colors and label them to avoid too much re-coloring. Praise prints for size, color, or texture. A small snack after the session helps with cleanup.
If you want more project ideas or variations, see Fall crafts for a cozy home you can finish this weekend and Cozy Fall Decor Ideas for a Warm Home.
Frequently asked questions
What materials are safest for toddlers when making fall handprint crafts?
Use washable, non-toxic finger or tempera paints labeled safe for skin contact. Work on cardstock or pre-washed 100% cotton fabric. Keep wet wipes, a bowl of warm water, and paper towels at hand. Limit active painting to 10 to 15 minutes for toddlers.
How can I make handprint crafts with multiple children without mixing colors too much?
Give each child a dedicated shallow dish or disposable plate with one color. Use muffin tins to keep colors apart. Assign an adult or older sibling to wipe hands between prints. Limit each child to one or two colors per session.
What’s the best way to preserve a handprint on paper or fabric long term?
For paper, frame behind glass or spray with an acid-free clear sealer and store flat. For fabric, use fabric paint that is heat-set per the manufacturer. A common approach is to iron at the appropriate fabric temperature for 2 to 4 minutes, then wait 24 to 48 hours before heavy use.
How long do these crafts take from start to finish for a basic project?
Active time is short - 10 to 20 minutes for base prints and another 10 to 20 minutes for simple details. Allow 20 to 40 minutes between thin layers and expect 12 to 24 hours for full drying or sealing depending on material and humidity.
What should I do if paint smears after it dries?
Work the smear into the design by adding painted veins, stems, or texture. If you need a clean print, keep spare sheets so the child can try again without stress.
Tools and gear mentioned
Coffee Brew Ratio Calculator
Coffee-to-water for pour-over, French press, AeroPress and espresso.
Cost Per Cup Calculator
What your home coffee really costs versus the café.
Coffee Station Budget Planner
Pick a space and a budget tier and get an itemised shopping list.
Caffeine Calculator
Caffeine per drink and your daily total against the 400 mg guideline.