

AI disclosure: This article was drafted with AI assistance and reviewed by our editor before publishing. Learn more.
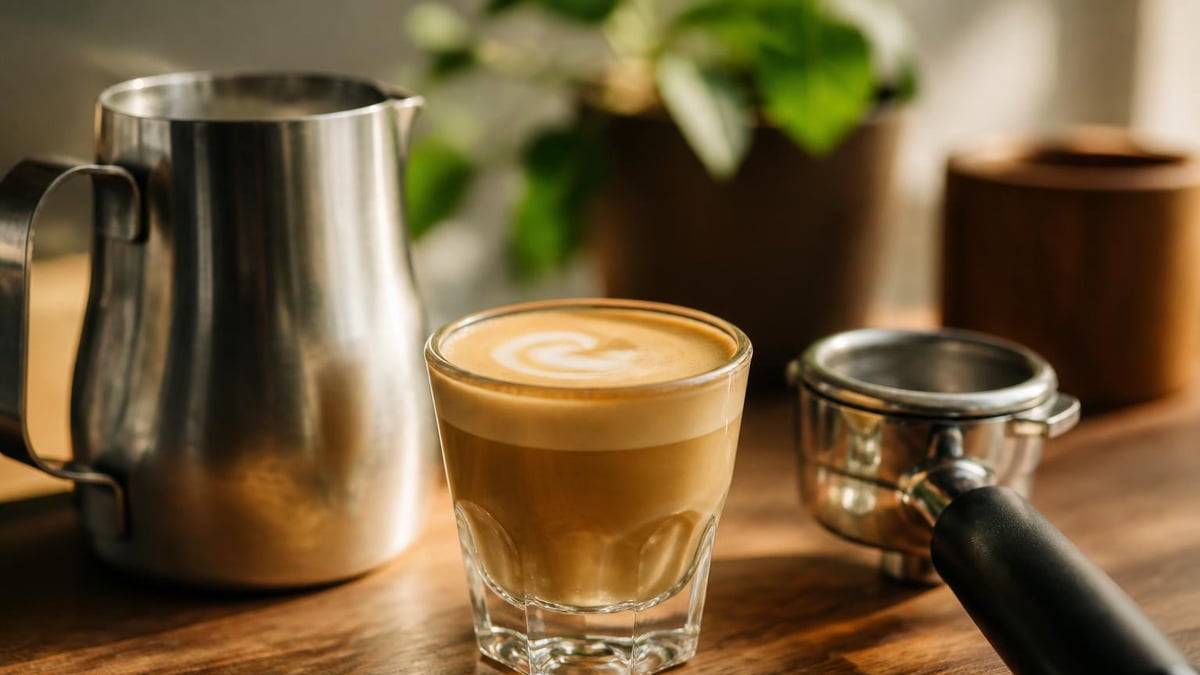
A cortado at home is espresso cut with warm milk. Typical home servings often fall around 120–140 ml (4–5 oz). There’s no single formal size or strict 1:1 rule — think of the cortado as a small, balanced espresso drink where milk softens and rounds the shot without turning it into a latte.
First, what a cortado is and how it differs from other espresso drinks
Definition and typical size
A cortado is espresso “cut” with warm milk. Home drinks commonly land in the 120–140 ml (4–5 oz) range because that keeps milk from overwhelming the espresso while softening acidity and rounding flavors. Different cafés and traditions vary; treat that range as a guideline.
Espresso-to-milk balance
The hallmark of a cortado is balance: enough milk to mellow the espresso, not so much that the coffee is diluted. Some people aim for roughly equal parts espresso and milk; others use slightly more espresso or slightly more milk. Use whatever ratio gives the sweetness and intensity you prefer.
Why home baristas stumble with balance
Most home mistakes are simple: too much milk, milk that’s too foamy, or espresso that’s under- or over-extracted. A cortado needs attention to dose, grind, extraction, and milk texture. If any of those are off you’ll get a weak, sour, or bitter result.
Equipment and ingredients you’ll actually use
Espresso setup
- Grinder: a good burr grinder with fine adjustment. If you’re choosing a first grinder, consider my head-to-head Baratza Encore vs Timemore C3.
- Machine: a pump espresso machine with a steam wand. Lever machines can work but are harder to repeat — I wrote about how owning better gear changed my approach to coffee here.
- Portafilter: the size that fits your machine.
- Scale: grams resolution.
- Timer/stopwatch.
- Tamper: flat and the right size for your basket; aim to apply consistent pressure.
Weigh your dose and track yields to dial in consistency. How much you use depends on your basket and preference — adjust until the shot tastes balanced with the milk you plan to use.
Milk and milk texturing
- Jug: 350–500 ml stainless pitcher is convenient for a single cortado.
- Thermometer: quick-read or one on the steam wand is helpful but not mandatory.
- Milk: whole milk is often easiest for stable microfoam; plant milks vary (see below).
Purge the wand before you steam, and always wipe it after.
Temperature control and tools
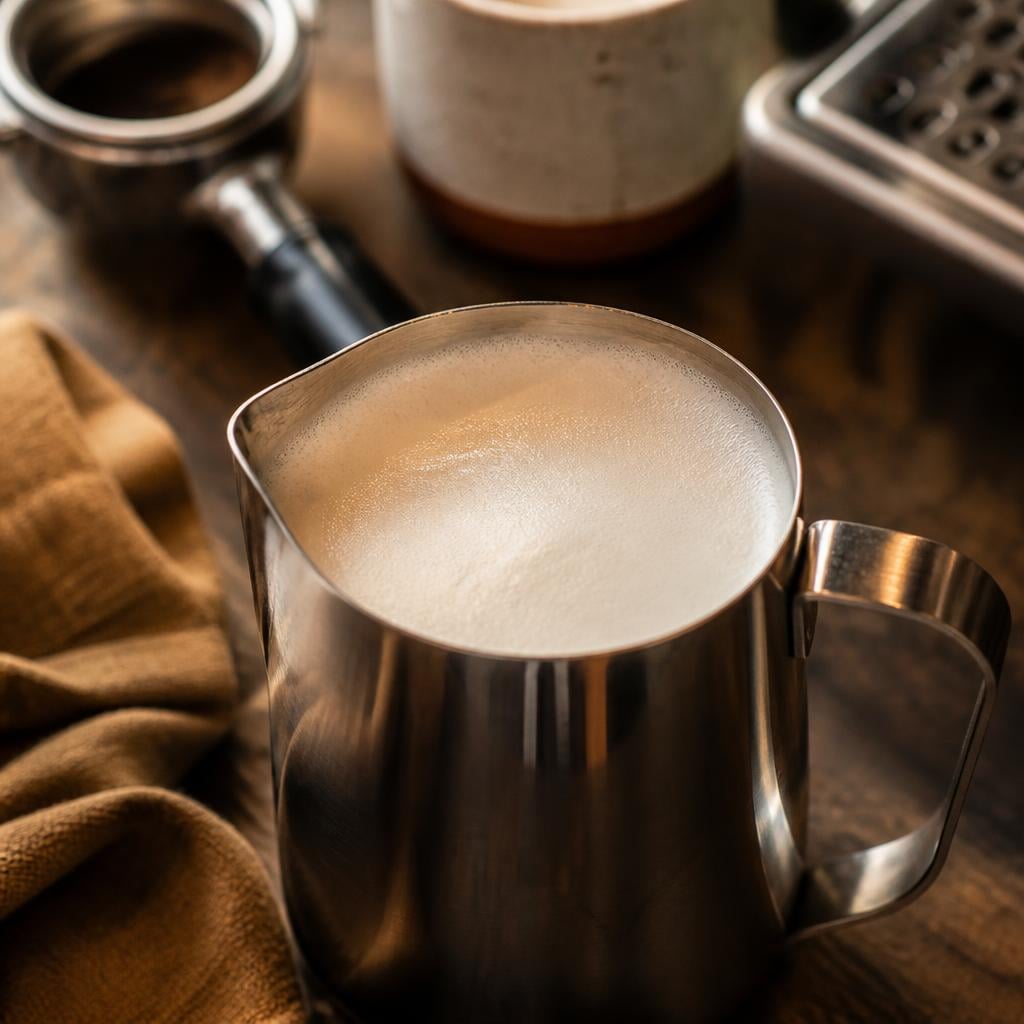
Skip rigid temperature rules. Steam milk to a comfortable, glossy microfoam without scalding; you want sweetness and body, not burnt protein flavors. Preheat your cup or glass with hot water if you like, then discard the water before pouring.
| Item | Guideline |
|---|---|
| Coffee dose | Weigh and adjust to taste and basket size |
| Espresso yield | Aim for a balanced shot that tastes clean and complete |
| Milk for steam | Enough to balance the shot (see ratio guidance) |
| Cup size | A cup that holds a small espresso-plus-milk drink (many home pours use ~120–140 ml) |
Milk, texture, and ratios: nailing the balance
What temperature to aim for in the milk
Avoid fixed temperature targets. Steam until the milk feels hot but not scalding and has a glossy texture. If you use a thermometer, you’ll find a range that works for your milk and taste — otherwise use the hand test: stop steaming when the pitcher is hot to touch but not painfully so.
Microfoam texture for a cortado
You want glossy, velvety microfoam with very fine bubbles — a satin texture rather than stiff peaks. The milk should pour in a steady ribbon and integrate into the espresso rather than floating on top as a thick foam. The finished milk volume should be enough to balance the espresso and achieve the mouthfeel you prefer.
Common milk types and how they behave
- Whole milk: usually easiest; it sweetens and gives stable microfoam.
- Reduced-fat cow’s milk: slightly less body but workable.
- Oat: often the most forgiving non-dairy option for microfoam; textures vary by brand.
- Soy/almond: can foam but results vary; expect different mouthfeel and watch for separation.
Espresso: dialing in the shot for a cortado
Dose, yield, and grind
Adjust dose and grind to achieve a balanced shot. Use your scale and taste: if the shot tastes thin and bright, try increasing dose or making the grind finer; if it’s harsh or bitter, try reducing dose or coarsening the grind. Your target is a shot that retains clarity and body when mixed with milk.
Extraction time and flavor targets
Aim for a balanced extraction that produces sweetness, body, and clarity. Exact times and yields depend on your equipment, beans, and dose — focus on tasting and adjusting rather than chasing a single number.
What makes a cortado shot different from an espresso shot
Choose a shot that is slightly sweeter and clear so it holds up when cut with milk. You want clarity and body that will mix, not vanish under milk.
Step-by-step method: how to make a cortado at home
Follow these steps for a reliable, balanced cortado — adjust the details to your gear and taste:
- Preheat cup and portafilter.
- Grind and dose coffee appropriate to your basket; weigh if possible.
- Pull a shot that tastes balanced and complete to you; note yield and time so you can repeat or adjust.
- Steam enough milk to balance the shot, creating glossy microfoam without scalding.
- Build the cortado by combining espresso and milk in a cup that fits a small espresso-plus-milk drink (many home pours use cups around 120–140 ml). Aim for a pleasing balance rather than a strict measurement.
- Serve promptly so texture and temperature are enjoyed at their best.
Expanded notes:
- Flush group head briefly and lock in a clean, warmed portafilter. Preheat a cup if you like and discard the water.
- Dose, distribute and tamp consistently. Start your shot and watch its appearance and timing so you can tune grind and dose next time.
- Pull a shot that tastes balanced; adjust grind or dose if it’s sour/bright or harsh/bitter.
- While the shot is extracting or right after, steam milk. Purge the wand, aerate briefly to create microfoam, then finish heating for a smooth texture. Stop before the milk becomes scalding.
- Pour espresso and milk so they integrate; the finished drink should be small and balanced.
- Enjoy promptly; cortados are best fresh.
Tips for consistency
- Weigh everything where practical: dose and milk.
- Keep a log of grind settings, shot times, and taste notes.
- Clean portafilter and group head between shots to avoid channeling.
- Keep the steam tip just below the milk surface at first, then sink it to finish heating for smooth texture.
- Use a pitcher with a narrow spout if you want more control while pouring.
What to adjust if it’s not balanced
- Too sour: aim for a longer or fuller extraction (finer grind or different dose) and check bean freshness.
- Too bitter: try a shorter extraction or coarser grind; check for over-roasted beans or overheated milk.
- Too milky/weak: reduce milk volume relative to espresso or use a shot with more intensity.
- Flat/no sweetness: improve milk texture, use fresher beans, or tweak dose and grind.
Serving, storage and common mistakes to avoid
Best serving approach
Serve in a warmed small glass or porcelain cup. Present without a thick foam cap — the cortado’s clarity comes from the even mix. Drink while it’s hot and the texture is fresh. If you need ideas for arranging a compact home setup, my apartment coffee station tips are useful: Apartment Coffee Station Ideas.
Storage and freshness
Use beans when they taste best to you; store at room temperature in an opaque, airtight container. Once pulled, espresso and steamed milk don’t sit well — make one at a time if you want the best result.
Troubleshooting common issues
- Channeling: uneven tamp or distribution; correct by distributing and leveling before tamping.
- Sparse crema: could be stale beans or a too-coarse grind; try fresher beans and adjust grind finer.
- Overheated milk: causes scorched taste and large bubbles; stop earlier and refine steaming technique.
Variations and upgrades to try after you’ve got it
Different milks and flavorings
Try a naturally processed or single-origin espresso for fruit-forward sweetness, or a medium roast for chocolate notes. A small sprinkle of cinnamon or a touch of syrup (start small and adjust) can work; don’t overload.
Non-dairy options
Oat milk often gives a mouthfeel closer to whole milk; other plant milks vary widely — read the label and test brands to find one that steams well for you.
Playing with texture or heat
If you want a silkier mouthfeel, focus on finer microfoam and stop steaming when the milk is pleasantly warm rather than very hot. Reheating cups slightly can warm the beverage without overheating the milk.
If you want, tell me what equipment and milk you have and I’ll suggest a starting dose, a target shot feel, and how much milk to steam for a balanced cortado with your gear.
Watch the short version
Frequently asked questions
What is the traditional cortado ratio and size?
Cortados emphasize a small espresso cut with milk. Home servings commonly run 120–140 ml (4–5 oz) and many people aim for a roughly balanced espresso-to-milk relationship, but practices vary. Use the balance that tastes best to you.
Can I use a single shot espresso for a cortado at home?
Yes. A single shot makes a smaller drink and can work if you scale the milk and cup size down so the espresso still reads through. Many home cooks prefer a double or a more intense shot so the coffee’s character remains when milk is added.
What milk texture should I aim for in a cortado?
Glossy, velvety microfoam with very fine bubbles — more liquid and satin-like than stiff foam. The milk should integrate with the espresso, not sit on top as a cap.
How do I fix a cortado that tastes burnt or sour?
Burnt flavors commonly come from overheated milk or over-extraction; sourness often comes from under-extraction or too-light a roast. Adjust extraction and milk temperature/technique and taste as you go.
What’s the best equipment setup for a small home café?
A good burr grinder, a pump espresso machine with a steam wand, a scale, and a thermometer (optional) will cover most needs. Spend on a grinder first — consistent grind size gives the biggest improvement in shot quality.
Tools and gear mentioned
Free tool
Coffee Brew Ratio Calculator
Coffee-to-water for pour-over, French press, AeroPress and espresso.
Open calculatorFree tool
Cost Per Cup Calculator
What your home coffee really costs versus the café.
Open calculatorFree tool
Coffee Station Budget Planner
Pick a space and a budget tier and get an itemised shopping list.
Open calculatorFree tool
Caffeine Calculator
Caffeine per drink and your daily total against the 400 mg guideline.
Open calculator