
AI disclosure: This article was drafted with AI assistance and reviewed by our editor before publishing. Learn more.
Owning better gear didn’t magically make me a better barista — practice did. What the gear did was remove variables: I stopped blaming unpredictable machines and started noticing small technique problems, which I could then fix with measured, repeatable changes.
Direct answer: Quality gear won’t make you a better barista on paper, but it creates the conditions for repeatable results, mindful practice, and honest feedback.
Consistency over hype
Reliable machines and grinders give you the same starting point every time. If your grinder is well maintained and your machine holds a stable temperature, you can test one variable at a time — dose, distribution, tamp, or extraction — and see whether it helped. That’s how skill grows: small, intentional changes with clear outcomes.
Understanding limits through reliable tools
Good gear shows you limits more clearly. When an espresso puck under-extracts on a stable machine, you learn it’s a grind or distribution issue, not an inconsistent boiler. A dependable steam system gives steadier feedback for milk texturing, so you notice what your technique is doing faster.
What “best gear” actually contributes to daily work
- Stable temperature and a predictable machine response help repeatability.
- A well-maintained grinder reduces variability in grind distribution, aiding consistency.
- A responsive workflow — gear that heats and stabilizes reasonably quickly — lets you practice more often.
These are practical, not flashy, benefits. They shorten the loop between trying something and seeing whether it worked.
How gear changes the practice space
From guesswork to measurement
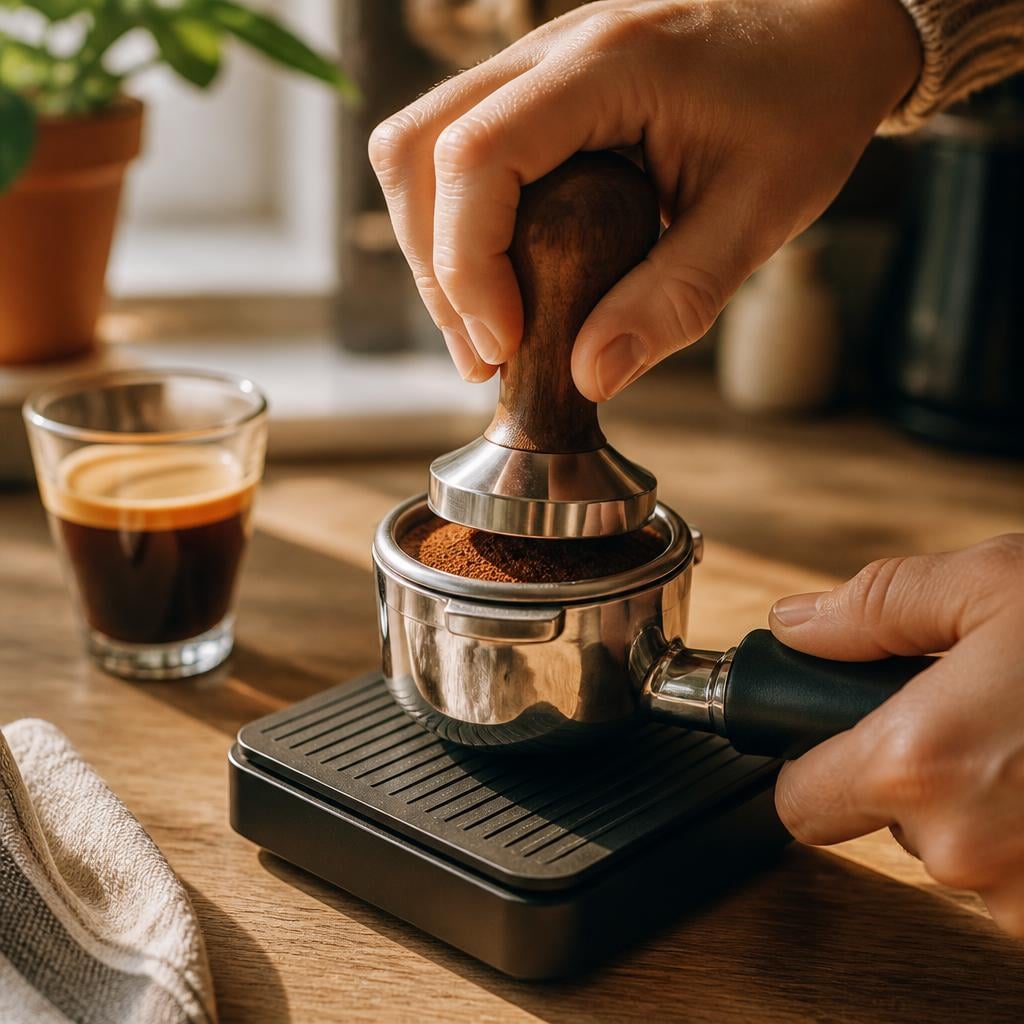
When I upgraded my grinder and got a scale that reads to 0.1 g, I stopped eyeballing doses. Measurement forces honest feedback: you either hit your numbers or you don’t.
Practical guidance I use regularly:
- Use a scale to dose your basket accurately and establish a dose based on your machine and basket size.
- Aim for a consistent yield close to your target brew mass and adjust based on taste and bean type. (If you want help calculating yields, try the Brew Ratio Calculator.)
- Dial in for a balanced shot within your typical range, adjusting grind and dose to achieve a balanced flavor.
- Target a stable temperature within your machine’s typical espresso range and adjust by taste.
These are tactics, not hard rules. Your machine, beans, and palate will guide the specifics.
Speed and patience in the same breath
Better gear can be faster, but faster doesn’t mean sloppier. Faster heat-up and consistent steam mean I can practice milk texture in short bursts between shots. At the same time, I learned to slow down when dialing in — small grind changes, then a full shot to evaluate. The gear lets me be efficient with my practice time.
The role of maintenance in skill
A clean, well-calibrated machine tells you the truth about your technique. If a shot tastes off after a string of clean extractions, it’s probably technique. If the machine is neglected, you can’t trust the feedback. Maintenance — daily backflush or brew-group rinse, weekly group head cleaning, monthly burr knock-outs and brushouts — became part of my training routine, not an annoyance.
What “best gear” means in a home cafe
Rationale for a dedicated espresso setup
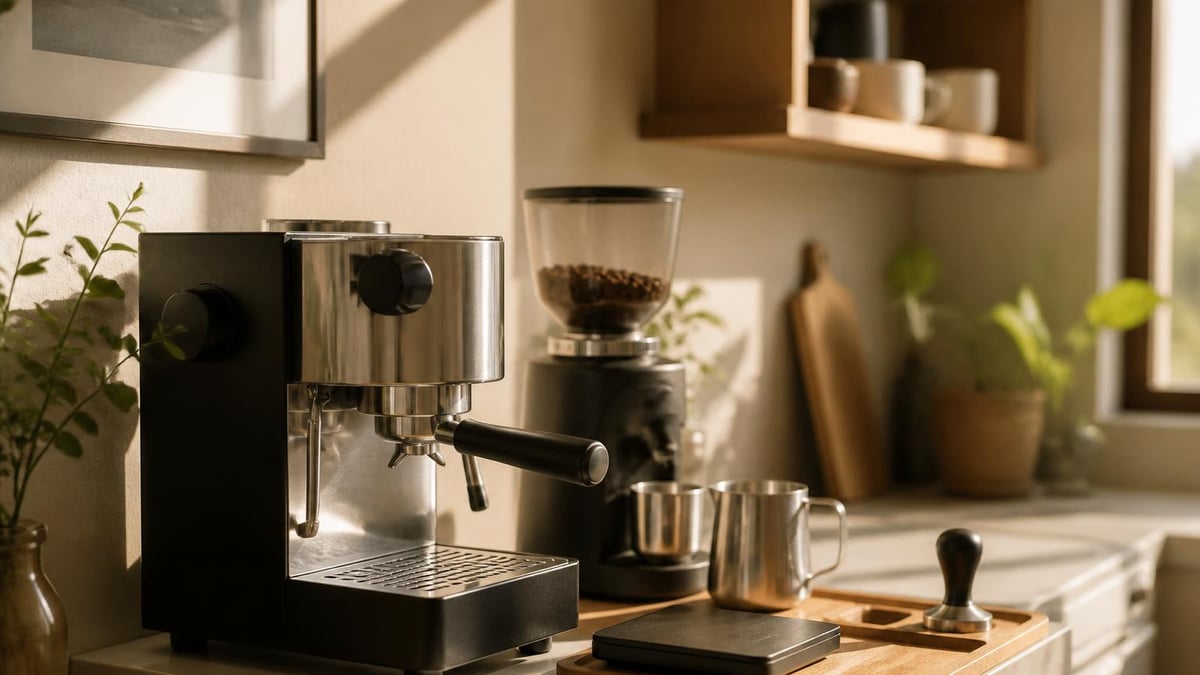
A dedicated espresso machine and grinder on a small counter frees you from juggling consumer drip kettles or a multi-purpose grinder that’s never optimal for espresso. The investment is about creating a repeatable workflow: dose, distribute, tamp, extract, steam. If you practice this sequence 3–5 times per week for a month, you’ll notice measurable improvement. For layout ideas that fit tight spaces, see our apartment setup guide at Apartment Coffee Station Ideas.
Choosing a grinder that supports your goals
Look for a grinder with:
- Stepped or stepless adjustment that lets you make fine changes.
- Low burr speed or design choices that limit heat buildup.
- Consistent dose if dosing by weight or reliable timed dosing if that’s your method.
If you aim to dial in and iterate quickly, pick a grinder that lets you change grind size in small increments and doesn’t overheat the coffee. I compared entry-level options in Baratza Encore vs Timemore C3 and use that kind of comparison when choosing hardware.
Dialing in: where gear helps, where it doesn’t
Gear helps make grind, dose, and temperature consistent. It won’t teach you how to tamp evenly, how to distribute coffee in the basket, or how to read taste to decide if a shot is sour, bitter, or hollow. Those are skills you must practice — but better gear makes your practice more efficient and your feedback less noisy.
The day-to-day routines that turn gear into skill
Calibration rituals
A simple morning routine that I use:
- Bring the machine to operating temperature and stabilize it.
- Run a quick blank to settle the group head.
- Do a brief grinder check and confirm dose on the scale.
- Pull a control shot and taste for baseline.
Establish a simple routine to check grinder calibration and shot consistency, then compare results over time. Keep the steps consistent so changes are easier to spot.
Shot dialing with reliable equipment
When dialing a shot:
- Change only one variable at a time (grind first, then dose, then yield/extraction).
- Make small adjustments on the grinder.
- Pull a full shot and taste; don’t judge by sight alone.
Repeat until puck, extraction behavior, and taste line up.
Maintenance as a training habit
A maintenance checklist I use:
- Daily: wipe group, purge steam wand after each use, backflush or rinse group head.
- Weekly: backflush with detergent as appropriate; clean portafilter and baskets.
- Monthly: empty grounds tray, brush burrs, clean hopper.
- Quarterly: deep clean seals and descale as needed.
Maintenance keeps feedback honest and prevents bad shots caused by old coffee oils or scale.
Trade-offs you’ll tolerate (and those you won’t)
Budget vs. reliability
You can spend less and get capable gear, but cheaper equipment often means more variability and faster wear. I chose reliability over novelty: a modestly priced, well-built grinder and a machine with a simple, serviceable group head. That trade-off saved time and frustration. If you need help setting a budget, start with the Coffee Station Budget Planner.
Footprint and energy use
A dedicated espresso setup takes counter space and often runs hotter than single-cup devices. Expect a warm‑up period and slightly higher energy use during extended practice sessions. If counter real estate or energy costs are tight, weigh those against how often you plan to use the setup.
Learning curve and setup time
Better equipment usually has a learning curve: you’ll need to learn flow rates, pressure behavior, and basic maintenance. Plan for a few focused practice sessions. You’ll spend more time initially, but that investment pays off quickly because the gear rewards repeatable improvements.
A practical plan for readers
If you’re buying new gear
- Start with a grinder that has stepless or fine-stepped adjustments and burrs sized for espresso.
- Pick an espresso machine with consistent temperature control and a serviceable group head.
- Include a scale (0.1 g resolution), a tamper, and a thermometer-equipped milk pitcher if helpful. Buy the simplest reliable model you can afford that meets these requirements; you want predictability, not novelty.
A 4-week calibration plan
- Week 1 — Baselines: Run the morning calibration ritual daily. Record dose, yield, extraction behavior, and tasting notes for each shot.
- Week 2 — Grind focus: Make one small grind adjustment per day, keep dose and yield consistent, and log changes.
- Week 3 — Distribution & tamp practice: Keep grind fixed; practice distribution techniques (WDT, tapping) and a consistent tamp technique for short daily sessions.
- Week 4 — Milk & recipes: Practice steaming pitchers per session, then combine texture practice with the espresso shots you’ve dialed in.
Do this plan repeatedly if you can; repetition is the point.
Maintenance calendar you can actually keep
| Task | Frequency | Time |
|---|---|---|
| Wipe group head, purge wand | Daily | 2–5 minutes |
| Clean portafilter and baskets | Weekly | 10–15 minutes |
| Empty grounds tray, brush hopper | Monthly | 10 minutes |
| Deep clean group seals / descale (as needed) | 3–6 months | 30–60 minutes |
Small, scheduled maintenance prevents long sessions of frustrating troubleshooting later.
Research notes
| Data point | Value |
|---|---|
| Sources fetched | 0 |
| Facts extractable from notes | 0 |
| Notes summary | “No sources fetched for this topic. Unable to extract facts.” |
Watch the short version
Frequently asked questions
Is more expensive gear always better for a home barista?
No. More expensive gear often brings finer control and better build quality, but it also increases cost, complexity, and maintenance. For most home setups, a mid-range grinder and a reliable machine that holds temperature and responds predictably will give the biggest improvement.
What’s the first upgrade you’d make if you’re starting from scratch?
A good grinder. It controls particle size distribution and a grinder that lets you make small, repeatable adjustments gives you leverage over taste in a way most machines alone cannot.
How often should I calibrate and clean my gear?
Do a quick calibration and check daily with a control shot and scale check; full dial-ins when you change beans or notice a shift. Clean daily/wipe and purge; weekly cleaning of portafilters and baskets; monthly burr and hopper cleaning; deeper service every few months based on use and water.
Can I get cafe-quality espresso without top-tier gear?
Yes. Consistency, good beans, and solid technique matter more than the absolute top-tier hardware. Mid-range, reliable gear plus disciplined practice can produce excellent espresso.
What’s a realistic monthly budget for gear and maintenance?
Budget varies widely. Monthly consumables (detergent, water filters, small replacement parts) are usually modest; the initial equipment cost is the larger investment. Use a budget planner to estimate setup costs and ongoing expenses.
Tools and gear mentioned
Free tool
Coffee Brew Ratio Calculator
Coffee-to-water for pour-over, French press, AeroPress and espresso.
Open calculatorFree tool
Cost Per Cup Calculator
What your home coffee really costs versus the café.
Open calculatorFree tool
Coffee Station Budget Planner
Pick a space and a budget tier and get an itemised shopping list.
Open calculatorFree tool
Caffeine Calculator
Caffeine per drink and your daily total against the 400 mg guideline.
Open calculator