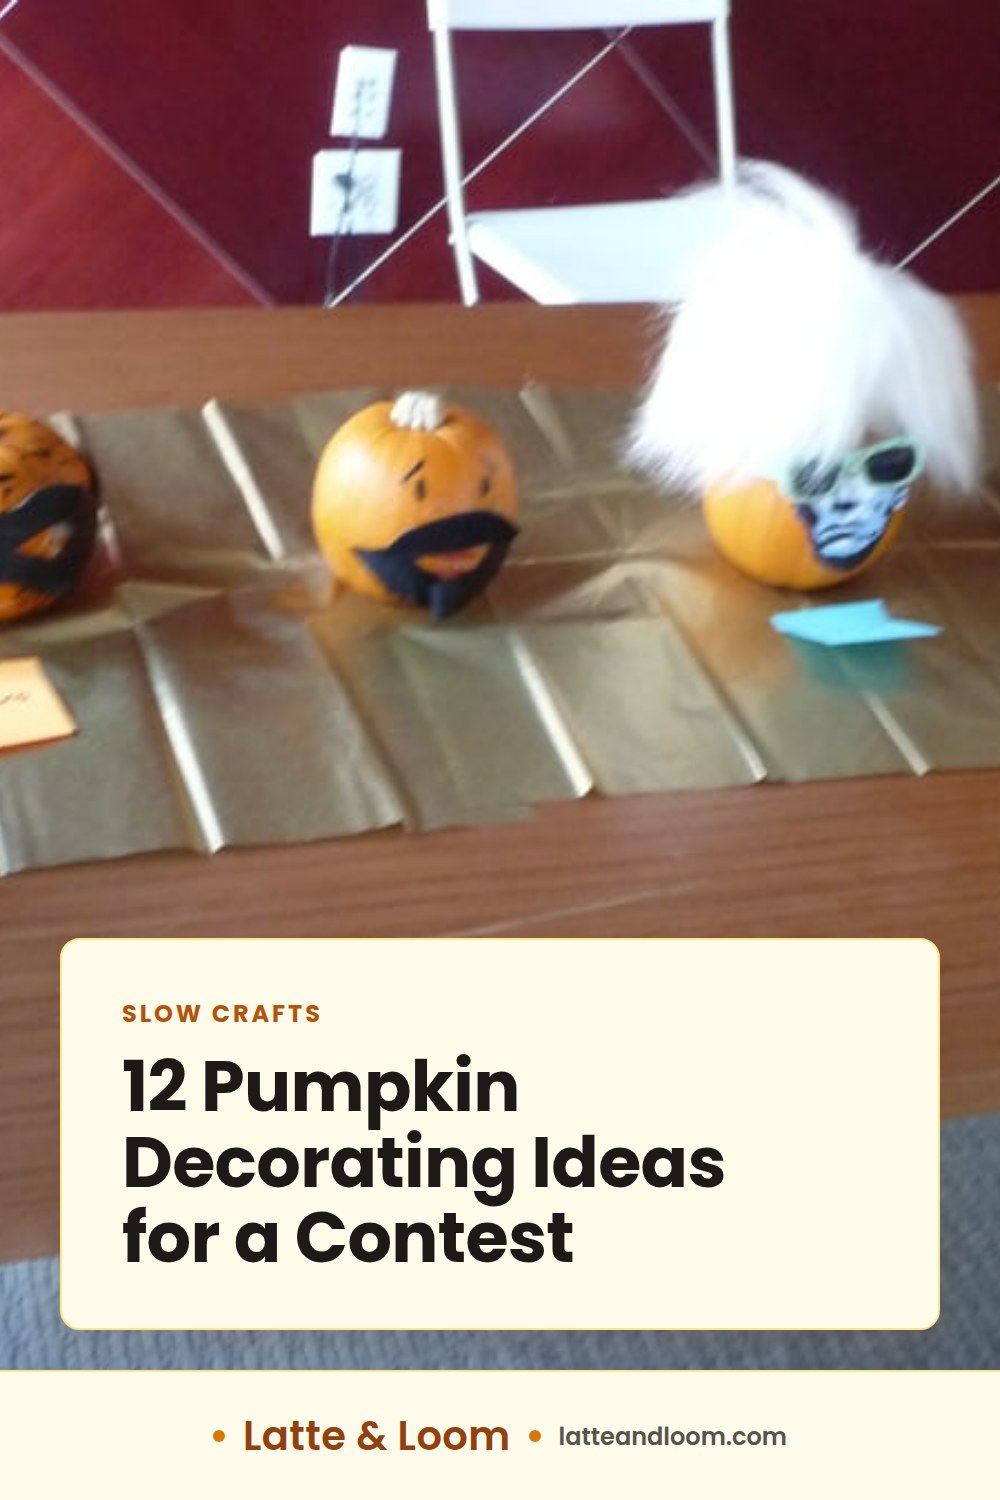
Choose one clear idea, build it neatly, and give the finished pumpkin a simple display. A design that fits your time, tools, and skill level will usually look stronger than an ambitious project with rough edges, wet glue, or unfinished sides.
Start With a Contest-Worthy Pumpkin Idea
Choose one clear theme
Make the main idea easy to see from the intended viewing distance. Pick one subject, such as a café, moonlit forest, cottage, or mushroom garden, and let every color and detail support it.
A pumpkin with a café, haunted house, flowers, stars, and lettering may contain good elements, but the eye has no clear place to rest. Before buying supplies, describe the design in one sentence:
“A tiny coffee shop glowing under a starry sky.”
If the sentence is clear, the pumpkin will have a clearer direction.
Match the concept to your time and tools
Choose a plan that fits the time, materials, and tools you have. Keep to techniques you already know. A simple idea executed neatly can look stronger than a detailed design with rough cuts or loose pieces.
| Planning approach | Possible design choice | Possible techniques |
|---|---|---|
| A shorter project | Bold animal, lettering, or color-blocked pumpkin | Paint, paper, felt |
| A project with more detail | Cottage, café, market, or celestial design | Paint, collage, small details |
| A highly layered project | Forest scene, portrait, or carved design | Paint, carving, mixed media |
For more low-pressure fall projects, see these cute pumpkin painting ideas and fall crafts you can finish this weekend.
Use the pumpkin’s shape and ribs
Look at the pumpkin before choosing the concept. Its ribs can divide a design into sections or become tree trunks, cottage walls, sweater stitches, or rays around a moon.
Choose a manageable palette that suits the design. Try black, cream, rust, and gold for a vintage look; navy, white, gray, and silver for a moonlit forest; or sage, brown, coral, and cream for a mushroom garden.
12 Pumpkin Decorating Ideas That Stand Out
Miniature pumpkin café
Paint a warm cream storefront on the front. Add a black awning, a short sign, and two or three painted windows. Small coffee cups made from air-dry clay or cardstock can sit at the base.
Use one short café name, such as “The Little Bean,” and keep the lettering large enough to see from a short distance. Coffee-themed paper details can work well here too, such as the ideas in this coffee-themed junk journal ephemera guide.
Moonlit forest scene
Paint the pumpkin deep navy or charcoal. Layer black pine trees against the background, then add a cream moon, a few stars, and a narrow gray or muted blue path.
Place the tallest trees in front and the smallest trees near the moon to create a simple sense of depth.
Pressed-flower pumpkin
Cover the pumpkin in ivory, dusty blue, or pale green. Arrange pressed flowers or paper flowers in a diagonal band from the lower left to the upper right.
Use a small amount of craft glue under each flower and a thin coat over the top. Keep the arrangement simple so the pumpkin still shows through.
Classic black-and-white design
Paint the pumpkin white, then add black stripes, checkerboard sections, dots, or oversized lettering. A black stem can give the design a finished appearance.
Work slowly around the ribs so the lines stay even.
Textured sweater pumpkin
Paint the pumpkin cream, oatmeal, or muted red. Add raised cable-knit lines with dimensional fabric paint, yarn, thin rope, or narrow felt strips.
Repeat one stitch pattern instead of covering the pumpkin with several competing textures. A dark brown stem can resemble a wooden toggle.
Storybook cottage
Turn the pumpkin into a small cottage with a round door, windows, a roofline, and a chimney. Use cardboard or craft foam for pieces that extend from the surface.
Add a path, two shrubs, or a small paper wreath. Keep the background quiet so the cottage stays in focus.
Gilded celestial pumpkin
Paint the pumpkin matte black, deep green, or midnight blue. Add a gold moon, stars, constellations, or thin sunbursts with metallic paint.
Use a pencil and ruler to plan straight lines before applying gold paint. A few deliberate shapes will look cleaner than a surface covered in scattered details.
Pumpkin portrait
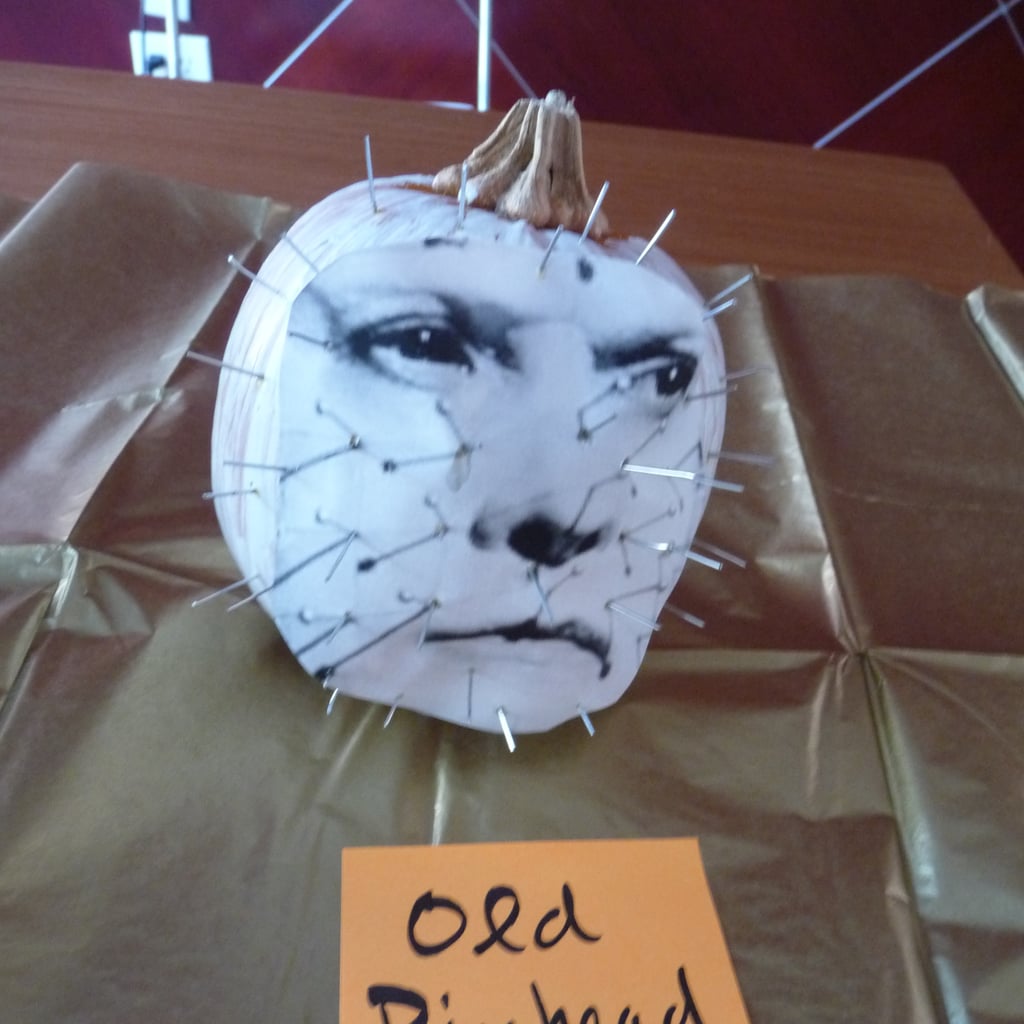
Paint a face, historical figure, pet, or fictional character on the widest side of the pumpkin. Block in the large areas first, then add eyes, hair, clothing, and small highlights.
A simplified portrait is easier to control than a highly realistic one. Use a reference image and reduce it to clear shapes with strong contrast.
Harvest market display
Paint a striped market awning across the top third of the pumpkin. Add painted crates, apples, pears, flowers, and a small sign.
Cardboard baskets or miniature wooden boxes can sit around the base. Repeated shapes and warm colors will keep the display organized.
Retro motel sign
Paint a tall oval sign with a bold border and a short name such as “Moon Rest” or “Harvest Inn.” Add a starburst, arrow, or painted light bulbs around the edge.
Masking tape can help create clean bands when used with the paint’s directions.
Mushroom garden
Paint the pumpkin green, brown, or warm cream. Add mushrooms in red, orange, white, or tan, varying their sizes and placing the tallest caps near the center.
Add painted leaves, moss-colored dots, and a few pebbles around the base. Repeated mushroom shapes will make the theme easy to read.
No-carve animal pumpkin
Make a fox, owl, cat, bear, or hedgehog with felt, paper, paint, and cardstock ears. Paint the main face first, then attach the ears, eyes, nose, and whiskers.
Choose one animal and emphasize a recognizable feature, such as pointed fox ears or large owl eyes. For more simple material ideas, browse these easy fall crafts for kids.
Pick the Best Decorating Method
Painting for color and lettering
Use a broad brush for the background and a small round brush for lettering. Two thin coats can look cleaner than one thick coat. Let each layer dry before adding details.
Painting works well for portraits, signs, landscapes, patterns, and simple scenes. It also makes it easier to repeat colors across the design.
Collage and fabric for texture
Paper, felt, fabric, yarn, pressed flowers, and cardstock add texture without carving tools. These materials work well for animal faces, sweater patterns, cottages, and flower arrangements.
Apply glue sparingly and press each piece in place. Visible glue marks can affect the finish, especially on dark paint.
Carving as a design approach
Carving can create silhouettes, windows, stars, and cutout scenes. Plan the main shapes before cutting, and keep the composition simple enough to see from the front.
No-carve designs
Paint, paper, felt, and attached details offer plenty of color and lettering options without carving. Since these designs can look flat, add depth with raised pieces, layered paper, contrasting colors, or a shadow painted behind each major element.
Combine two techniques with control
Use one primary technique and one supporting technique. Paint a cottage and add a cardstock roof, or paint a celestial background and attach a few raised gold stars.
Avoid combining carving, heavy collage, glitter, fabric, and large lettering on one pumpkin. Two controlled techniques can create a more cohesive result than five competing ones.
How to Make Your Entry Look Polished
Clean and dry the pumpkin
Wipe away dirt with a slightly damp cloth, then dry the surface. Clean the stem and lower edge so paint and glue have a firm surface.
Do not decorate a pumpkin with soft spots, leaking areas, deep cracks, or a loose stem. Choose one that feels firm and sits without rocking.
Build from large shapes to small details
Start with the background, then add the main subject, secondary shapes, and small accents. This keeps the design balanced and prevents details from disappearing under later layers.
Give paint and glue enough time to dry before handling the pumpkin. Rushing can smear lettering, pull up paint, or loosen attached pieces.
Use a limited color palette
Repeat colors in at least two places. If the moon is cream, use cream again in the stars or lettering. If the cottage door is red, repeat that red in a flowerpot or sign.
A limited palette separates the main subject from the background and makes the entry look intentional.
Hide seams, glue marks, and rough edges
Trim paper and felt with sharp scissors. Paint the edges of cardboard pieces, tuck fabric corners behind larger shapes, and cover glue marks with a small matching detail.
Turn the pumpkin slowly as you work. Check the sides and top as well as the front.
Create a stable base and simple display
Set the pumpkin on a flat tray, wood slice, or shallow box if it rocks. Keep the base quiet and clean so it supports the entry without becoming a second project.
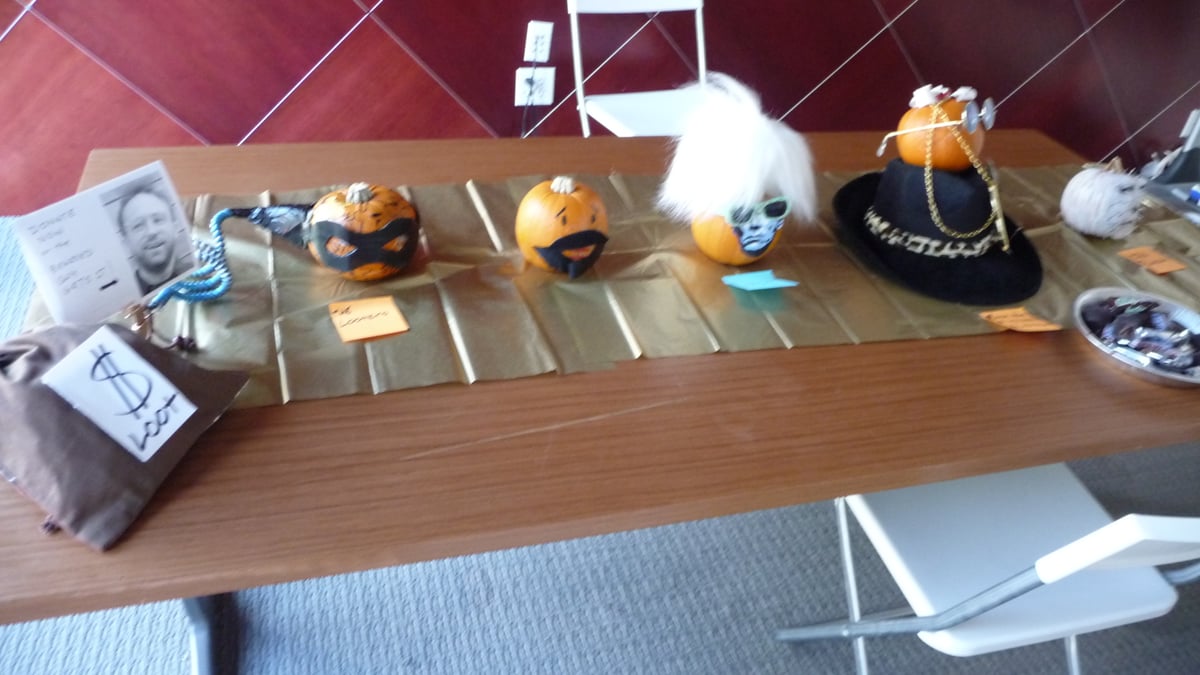
A small sign with the design title can help, but it should not hide the pumpkin. Leave space around the piece for viewing. These cozy fall decor ideas can help with a restrained display.
A Simple Step-by-Step Contest Workflow
- Choose the concept and gather materials. Pick a design that fits your time, tools, and contest requirements.
- Sketch the front, sides, and top. Mark the main subject, major color blocks, lettering, and pieces that will extend from the pumpkin.
- Protect the work surface. Set out a tray or drop cloth before opening paint or glue.
- Prepare the pumpkin. Wipe away dirt, dry the surface, check for soft spots, and make sure the base sits securely.
- Apply the background and major elements. Paint the base color first, then add the largest shapes.
- Add details after the base layer dries. Paint lettering, eyes, windows, stars, stems, and borders. Attach paper or fabric pieces with the right amount of glue.
- Let every layer dry. Follow the drying time for the paint and glue you use before packing or moving the entry.
- Inspect and repair the entry. Look at the front, back, top, base, edges, and stem. Touch up uneven lines, remove loose threads, and wipe away stray glue.
- Create the display. Place the pumpkin on a stable base with open space around it. Add only a small sign or prop if it helps the theme.
- Photograph the finished entry. Take a straight-on image, an angled view, and a close-up of the strongest detail before transporting it.
Avoid These Common Pumpkin Decorating Mistakes
Starting without checking the contest requirements
Make sure your pumpkin fits the contest’s size and theme requirements before buying materials or cutting pieces.
Using too many materials or colors
Too many textures can hide the main idea. Choose one dominant material, one supporting material, and a restrained palette.
Decorating a soft or unstable pumpkin
Test the base before decorating. Reject any pumpkin that feels soft or rocks badly.
Handling paint or glue too soon
Fingerprints, lifted edges, and smudged paint can spoil a clean design. Move the pumpkin by the base rather than by the stem.
Leaving the back and display area unfinished
The sides and back do not need the same detail as the front, but they should have a consistent background. Remove scraps and clean the base before displaying the entry.
A Simple Judging Rubric
Score each category from 1 to 5 if you need a clear way to compare several entries.
| Category | What to look for |
|---|---|
| Creativity | A distinct idea and thoughtful use of shape |
| Craftsmanship | Clean edges, secure pieces, and careful details |
| Theme | A clear connection to the contest prompt |
| Presentation | Stable setup, finished sides, and an attractive display |
List each entry by number rather than by maker’s name. Leave room for a short comment under each category, such as “strong lettering” or “loose edges near the base.” Use the same categories and point range for every pumpkin.
Transport and Display
Pack the pumpkin in a box with crumpled paper around the base, not directly on painted or glued details. Lift it from underneath with both hands.
Keep a few matching paint colors, glue, paper scraps, and scissors nearby for small repairs. If the pumpkin develops soft spots, leaking areas, deep cracks, or a loose stem, remove it from display.
A strong contest entry has one readable idea, careful construction, and a calm display. Spend as much attention on edges, drying, and the base as you do on the decoration itself.
Frequently asked questions
What is the easiest pumpkin decorating idea for a contest?
A no-carve animal pumpkin is a simple option. Paint a clear face, then add cardstock or felt ears, eyes, and a nose. A bold black-and-white pattern can also look polished when the lines are even.
Is it better to carve or paint a pumpkin for a competition?
Painting and carving create different effects. Choose the method that fits your skills, materials, available time, and contest requirements.
What type of pumpkin is best for decorating?
Choose a firm pumpkin with an unbroken surface, a stable base, and a shape that suits your planned composition. It should sit securely and provide enough usable surface for the design.
How long should pumpkin paint and glue dry before judging?
Use the drying time listed for the paint and glue you choose. Let both dry fully before packing, transporting, or handling the entry.
How can I keep a decorated pumpkin looking good during the contest?
Pack it in a box padded around the base, avoid pressing on raised details, and lift it from underneath rather than by the stem. Bring a small repair kit with matching paint, glue, paper scraps, and scissors.
Photo credits
Photo (inline 1): Cary Bass on wikimedia via Openverse, CC BY 3.0